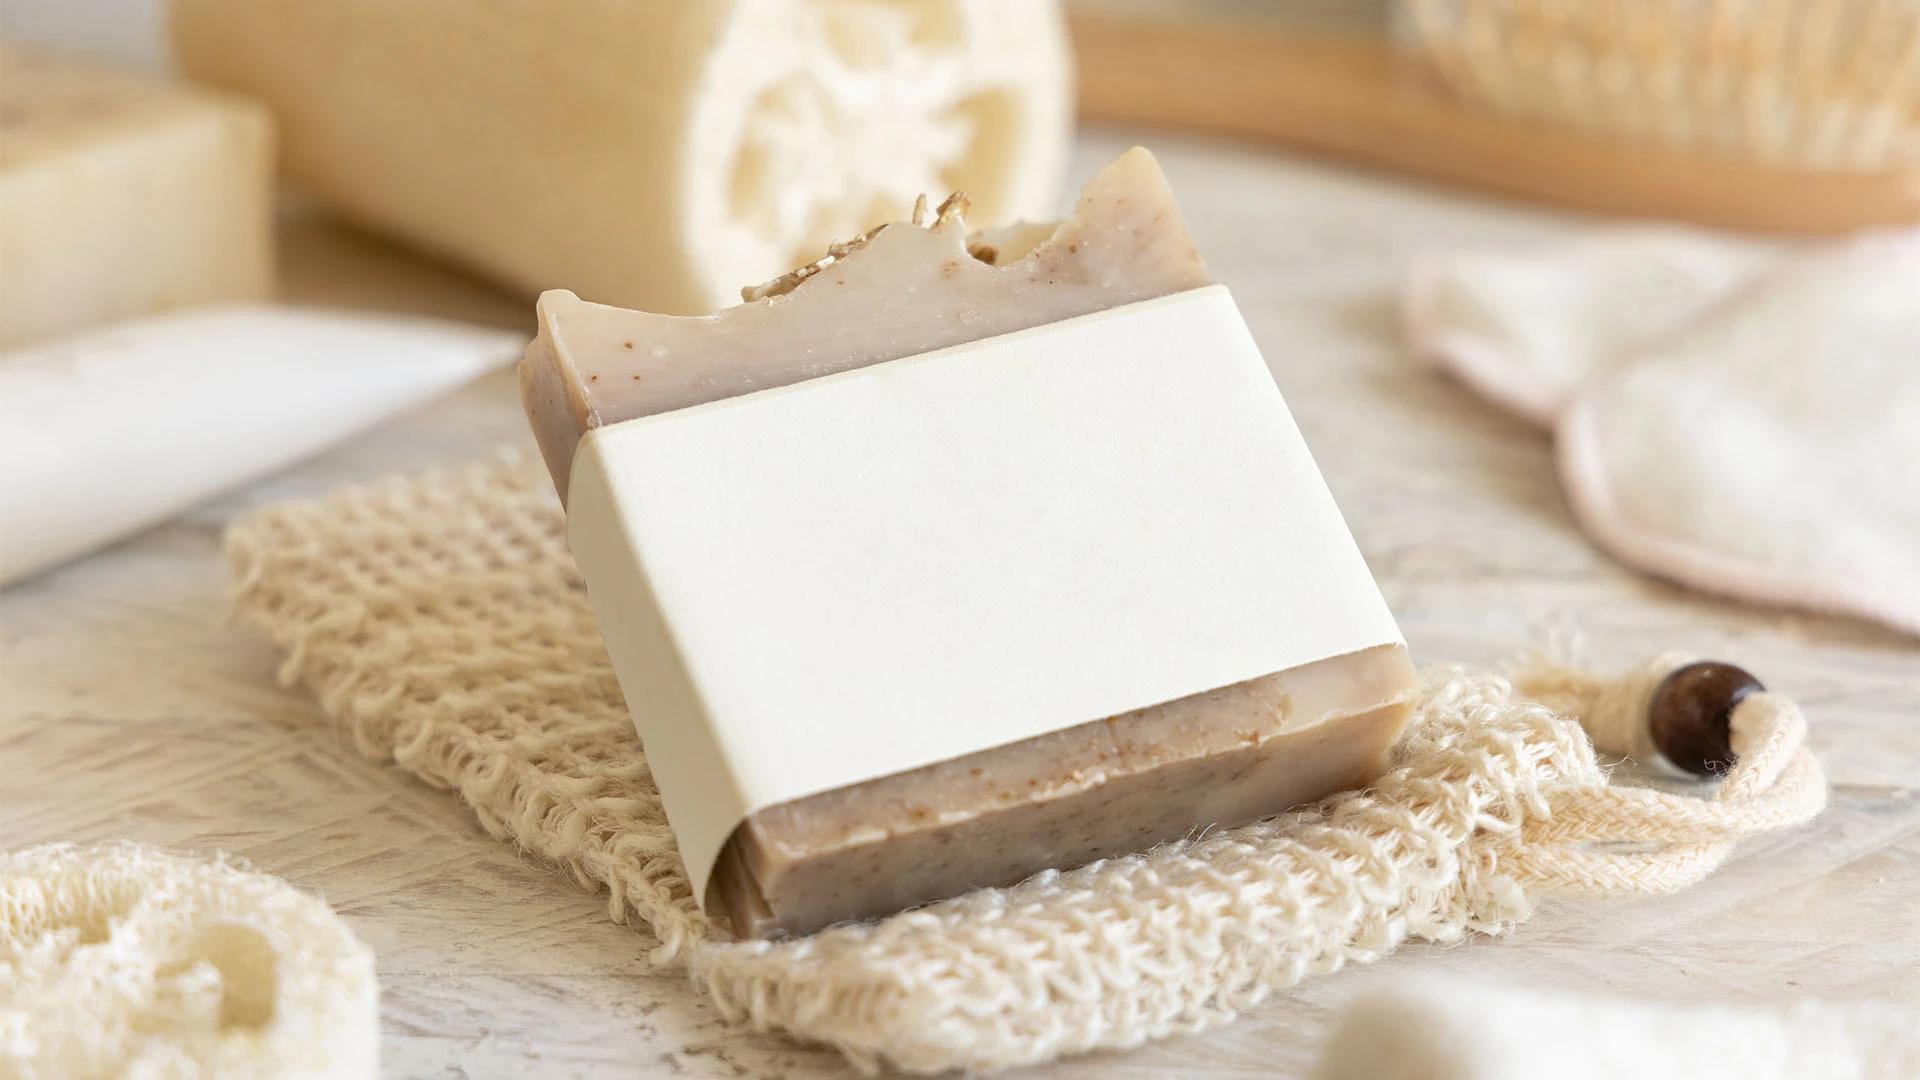
DIY Body Skin Whitening Soap: Step-by-Step Guide

Lightening & Brightening Face Wash “White Essence”
Let's be real—achieving that glowing, even skin tone has become everyone's skincare goal lately. Making your own body skin whitening soap at home isn't just trendy, it's actually brilliant for your wallet and your skin. You get to control exactly what goes into your brightening bath bar, skip the harsh chemicals, and create something that's perfectly tailored to tackle your specific concerns like dark spots or uneven patches. Plus, there's something so satisfying about crafting your own natural skin lightening solution that actually works. Ready to whip up your own fair complexion soap that might just become your new skincare obsession?
Skin whitening isn't about changing who you are—it's about revealing your skin's natural radiance and tackling those pesky concerns that make you feel less confident. The science is actually quite fascinating: your skin produces melanin (the pigment that gives skin its colour), and sometimes this process goes a bit overboard, especially after sun exposure or hormonal changes. That's where a good melanin-reducing cleanser comes in handy.
The beauty of DIY approaches is that you can create gentle formulas that work gradually, unlike some commercial skin bleaching products that can be harsh. Your homemade soap will help reveal brighter, more uniform skin whilst keeping things natural and safe.
These soaps are absolute game-changers for several skin issues:
• Hyperpigmentation treatment - those stubborn dark patches from acne scars or melasma
• Uneven skin tone that makes your complexion look patchy
• Dark spots from sun damage or ageing
• Post-inflammatory marks that linger after breakouts
Making your own soap is honestly such a smart move. You'll save loads of money compared to shop-bought versions, plus you know exactly what's going on your skin. No mysterious ingredients or chemicals you can't pronounce—just pure, effective goodness that you've chosen yourself.
The magic happens when you combine the right base with powerful active ingredients. Think of your soap base as the foundation and your active ingredients as the stars of the show. Getting this balance right is what separates an okay soap from one that actually delivers results.
Don't worry about sourcing exotic ingredients—most of what you need is available online or at your local health store. The key is using fresh, quality ingredients that haven't lost their potency.
Your base is crucial for creating a soap that's both effective and gentle. Melt-and-pour glycerine soap base is perfect for beginners—it's foolproof and creates a lovely, moisturisingbar. You can also add nourishing oils like coconut or olive oil to keep your skin soft and hydrated.

Gentle Cleansing and Skin Illumination Kit Combo For Normal to Oily Skin (Women)
This is where the real action happens. Kojic acid soap ingredients like kojic acid are brilliant for targeting dark spots—they work by gently inhibiting melanin production. Vitamin C is another superstar that brightens whilst protecting against future damage. Glutathione and niacinamide are also worth trying for their skin-evening properties.
Nature's got some amazing options too. Licorice extract is a gentle yet effective brightener, whilst papaya enzymes provide mild exfoliation. Turmeric has been used for centuries to create that enviable glow, and lemon essential oil adds a lovely scent whilst contributing to the brightening effect.
You don't need a fancy laboratory setup—just a few basic tools that you probably already have in your kitchen. The right equipment makes the process smoother and ensures your soap turns out perfectly every time.
Investing in proper moulds is worth it though. Silicone moulds are brilliant because they make removing your finished soap so much easier, plus they come in fun shapes that make your homemade bars look properly professional.
• Silicone soap moulds (rectangular or fun shapes)
• Double boiler or microwave-safe bowl
• Digital thermometer for accuracy
• Wooden stirring spoons or silicone spatulas
A soap cutter gives you those perfect, even slices if you're making a large batch. pH strips are handy for testing your soap's gentleness, though not essential for beginners. Safety gear like gloves is always wise when handling active ingredients.
Right, let's get into the fun bit—actually making your soap! This process is surprisingly therapeutic, and watching everything come together is genuinely satisfying. Take your time with each step; rushing leads to lumpy soap or uneven distribution of your precious active ingredients.
The whole process takes about an hour from start to finish, though your soap will need time to set afterwards. It's the perfect weekend project that gives you something amazing to look forward to using.
Set up your workspace with everything within reach. Wear gloves when handling kojic acid or other active ingredients—they're generally safe but it's better to be cautious. Have your moulds ready and lightly spray them with rubbing alcohol to prevent bubbles.

Glutalight Skin Brightening Soap
Cut your soap base into small, even chunks—this helps it melt uniformly. Use gentle heat, whether you're using a double boiler or microwave. If microwaving, do it in 30-second bursts, stirring between each session. You want it liquid but not scorching hot.
Once your base is melted and slightly cooled (around 60°C), it's time to add your star ingredients. Start with small amounts—kojic acid should be about 2-3% of your total mixture. Stir gently but thoroughly to ensure even distribution throughout your gentle exfoliating soap.
Add your natural ingredients whilst the mixture is still warm but not hot. This preserves their beneficial properties. Essential oils go in last—just a few drops will do, as they're potent. The mixture should smell lovely and have a beautiful, even colour.
Pour slowly and steadily to avoid air bubbles. If you spot any bubbles, give the mould a gentle tap or spritz the surface with rubbing alcohol. Your soap will be ready to unmould in about 2-4 hours, but leave it overnight for best results.
This is where you can get creative and make the soap truly yours. Everyone's skin is different, so tweaking the recipe to suit your specific needs makes perfect sense. Think of it as creating your signature blend—something that works perfectly for your skin type and concerns.
Platforms like Smytten are brilliant for discovering new skincare ingredients to experiment with. You can try different actives in mini sizes before committing to larger quantities for your soap-making adventures.
If you have dry skin, add extra moisturising oils like sweet almond or jojoba. For oily skin, keep the oil content lower and consider adding a touch of tea tree oil. Sensitive skin needs gentler actives—start with lower concentrations and see how your skin responds.
Want your soap to work as a dark spot remover too? Add gentle exfoliants like finely ground oatmeal or rice powder. These help slough off dead skin cells, allowing your brightening ingredients to work more effectively. Just don't go overboard—a little goes a long way.
Now comes the exciting part—actually using your creation! How you use your soap makes a huge difference to the results you'll see. Consistency is key with any hyperpigmentation treatment, so make it part of your regular routine rather than an occasional treat.
Remember, achieving an even skin tone takes patience. Your skin didn't develop these concerns overnight, so give your homemade soap time to work its magic.

Deep Cleansing Instant Glow Face Wash for Men and Women
Use your soap 2-3 times a week initially, building up to daily use as your skin adjusts. Work up a rich lather and let it sit on your skin for 30-60 seconds before rinsing. This gives the active ingredients time to work without being harsh.
Always follow up with a good moisturiser—brightening can be drying, so keep your skin happy and hydrated. Sunscreen is absolutely non-negotiable when using any brightening products. Your newly revealed skin will be more sensitive to UV damage, so protect it religiously.
Let's talk safety—because beautiful skin should never come at the cost of your health. Most natural ingredients are gentle, but everyone's skin is different. What works brilliantly for your best mate might not suit you, and that's completely normal.
The golden rule is to start slowly and listen to your skin. If something doesn't feel right, trust your instincts and adjust accordingly.
Before using your new soap all over, test it on a small patch of skin first—the inside of your wrist is perfect. Wait 24-48 hours to see if any irritation develops. It's a small step that can save you from a lot of discomfort later.
Watch out for redness, excessive dryness, or irritation. Some tingling is normal with active ingredients, but burning or stinging isn't. If you experience persistent irritation, reduce usage frequency or concentration of actives in your next batch.
Creating your own body skin whitening soap is such a rewarding journey—you're not just making a product, you're crafting a personalised solution for your skin concerns. The beauty of DIY skincare lies in the control you have over every ingredient that touches your skin. Whether you're targeting stubborn dark spots or working towards a more radiant complexion, your homemade soap can be the gentle yet effective solution you've been searching for.
Remember, achieving beautiful, even-toned skin is a marathon, not a sprint. Be patient with the process and kind to your skin. If you're curious about trying different active ingredients before committing to large quantities for soap-making, Smytten offers curated trial packs from over 1,500 trusted skincare brands. You can explore various brightening ingredients and products through their Trial Points system, getting up to 8 minis for just ₹249, helping you discover what works best for your unique skin needs before incorporating them into your DIY recipes. After all, why settle for maybe when you can Try It All and find your perfect skincare combination?
