Master the Art of Lip Plumper Gloss: A Step-by-Step Guide

Master the Art of Lip Plumper Gloss: A Step-by-Step Guide
Published Date - 22 July 2025
Shine & Plump Lip Gloss4 ml

Swiss Beauty

Shine & Plump Lip Gloss

22935 % OFF
149
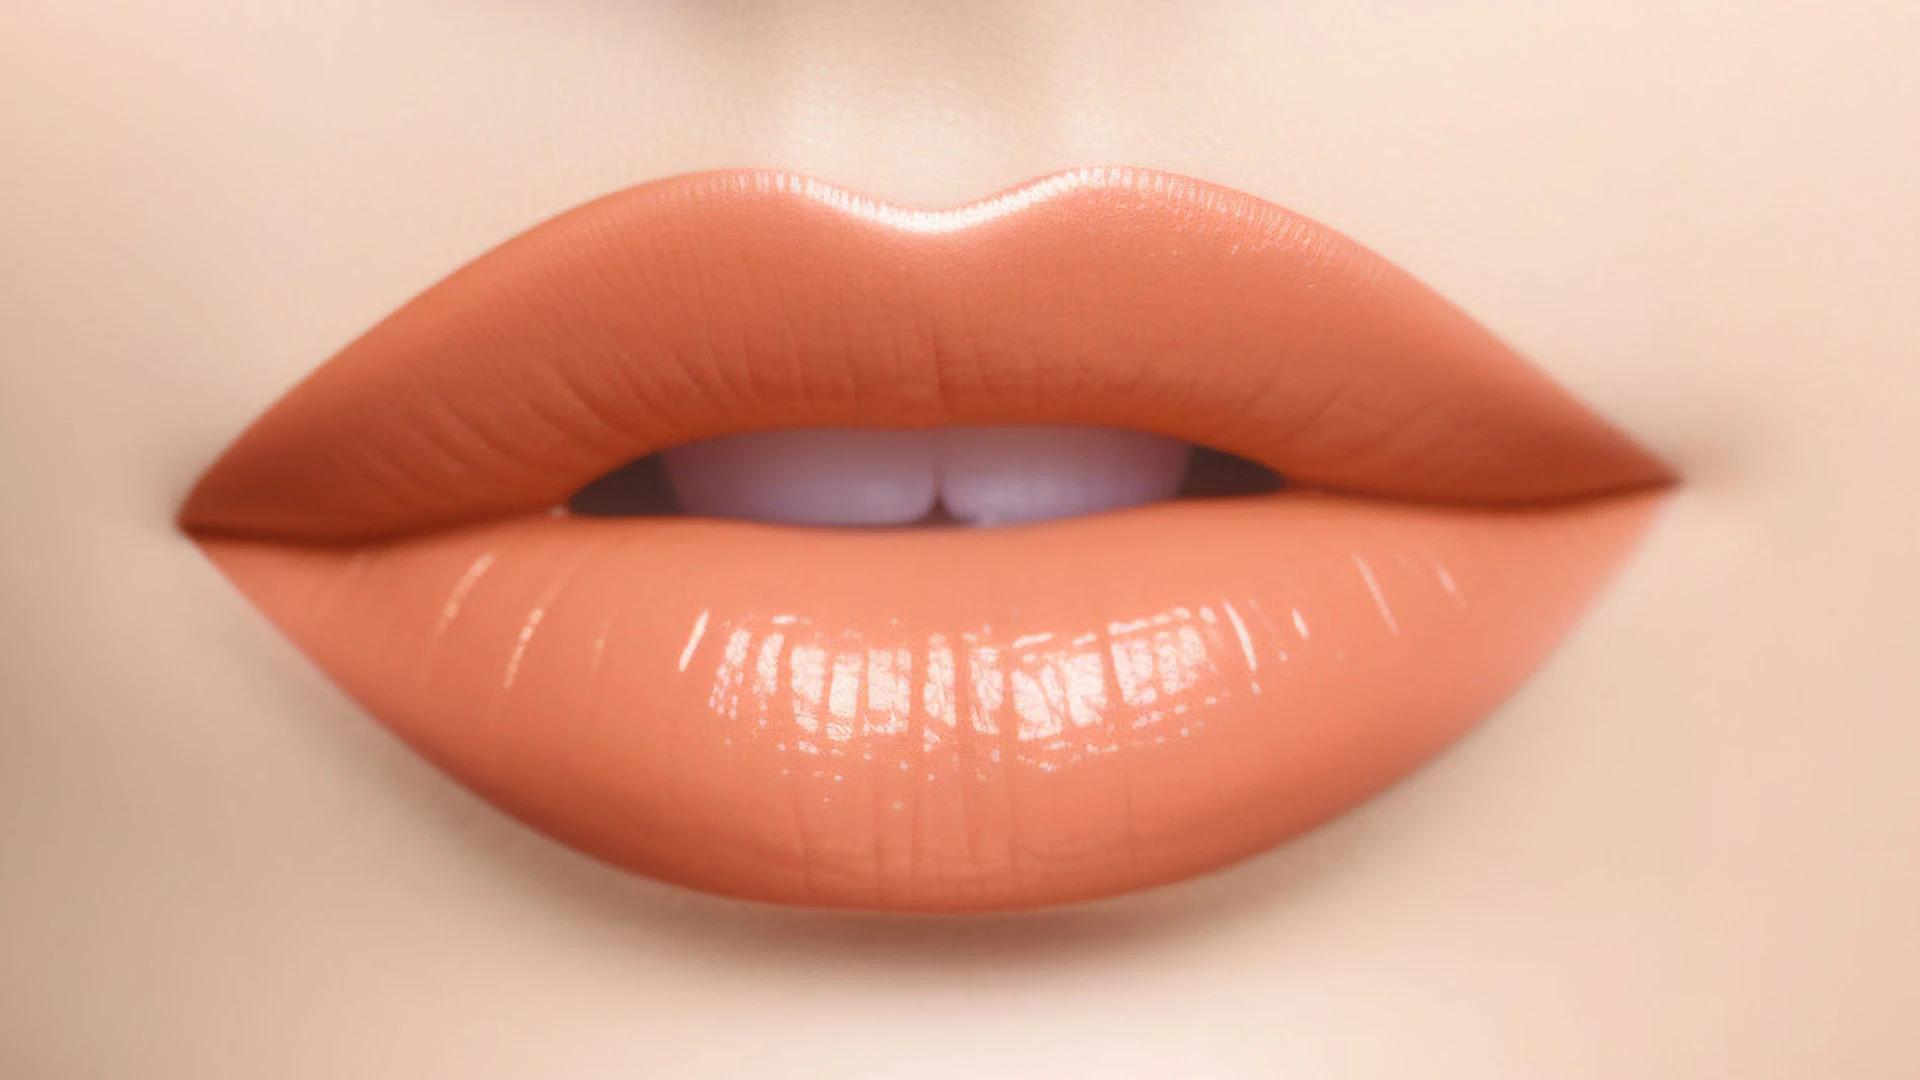
Ready to unlock that gorgeous, pouty look without the drama? Lip plumper gloss might just become your secret weapon for instantly fuller lips. From volumizing formulas that give you that glossy pout maximizer effect to gentle hydrating lip enhancers, there's a whole world of lip-boosting cosmetics waiting to be discovered. Whether you're after subtle instant lip volume or going full-on plump, mastering the art of lip plumper gloss is easier than you think. Let's dive into everything you need to know about this non-invasive lip enhancement game-changer.

Understanding Lip Plumper Gloss

Lip plumper gloss is your go-to for creating fuller-looking lips without any needles or procedures. These clever little tubes work by temporarily increasing blood flow to your lips, giving you that naturally plumped effect. Most formulas combine the shine of a regular gloss with special lip plumping ingredients that create a gentle tingling sensation. The magic happens when these products stimulate your lips' natural circulation. Some create a mild swelling effect that lasts for a few hours, whilst others focus on hydration to make your lips appear fuller and smoother. It's basically instant gratification for anyone wanting that perfect pout.

Key Ingredients in Lip Plumping Products

The real MVPs in lip plumper gloss are ingredients like **peppermint oil**, **cinnamon**, and **capsicum**. These create that signature tingling lip treatment sensation. Then you've got **hyaluronic acid** for serious hydration and **peptides** that help with collagen production. Collagen-infused lipgloss takes things up a notch by adding actual collagen particles. These help create immediate volume whilst potentially supporting your lips' natural plumpness over time. Pretty clever, right?

Types of Lip Plumper Glosses

Volumetric lip gloss focuses purely on creating maximum volume with ingredients that cause temporary swelling. These usually pack the strongest tingle and deliver the most dramatic results. Hydrating lip enhancer formulas are gentler and focus on moisture. They're perfect if you want subtle fullness without the intense tingling sensation. These work by plumping through hydration rather than irritation. Tingling lip treatment options sit somewhere in between. They give you that satisfying tingle without being overwhelming, making them ideal for daily wear.

Preparing Your Lips for Application

Prep work makes all the difference when you're going for that perfect plumped look. Clean, smooth lips are the canvas you need for any lip plumper gloss to work its magic properly. Skip the prep, and you might end up with patchy application or uneven results. Think of it like prepping your face before makeup – it's the foundation that makes everything else look better. Plus, properly prepped lips help your lip-boosting cosmetics last longer and look more natural.

Exfoliation Techniques

Gentle exfoliation is key here. Use a soft toothbrush or a lip scrub to buff away any dry skin. Do this 2-3 times a week, not daily – you don't want to irritate your lips before applying a plumping product. A simple DIY scrub with sugar and honey works wonders. Just remember to be gentle – your lips are delicate, and over-exfoliating can make them more sensitive to plumping ingredients.

Hydration is Key

Moisturised lips respond better to plumping products. Apply a thin layer of lip balm about 10 minutes before your lip plumper gloss. This creates a protective barrier and helps the product glide on smoothly. Look for balms with **hyaluronic acid** or **glycerin**. These ingredients help lock in moisture and create that perfect base for your fuller lips makeup look.
CRAZE Insta Shimmer Plumping Gloss3.5ml

Swiss Beauty

CRAZE Insta Shimmer Plumping Gloss

32925 % OFF
247

Step-by-Step Application Guide

Now for the fun part – actually applying your lip plumper gloss. Start with clean, prepped lips and work from the centre outwards. Apply a thin, even layer using the applicator wand, making sure to cover your entire lip surface. Don't go overboard on your first try. It's better to start with less and build up gradually. You can always add more, but you can't take it back once it's on. Most people feel the tingling effect within 30 seconds to 2 minutes.

Precision Application Techniques

For even coverage, start at the centre of your bottom lip and work outwards to the corners. Repeat on your top lip, paying special attention to your cupid's bow. This technique helps prevent uneven plumping. Avoid applying too close to the inner rim of your lips – this can cause excessive tingling and isn't necessary for the plumping effect. Stick to the visible part of your lips for best results.

Layering for Maximum Effect

Once your first layer has settled (about 3-5 minutes), you can add a second thin layer if you want more volume. Some people like to apply a clear gloss over their lip plumper for extra shine. For a more dramatic fuller lips makeup look, try applying a lip liner in a shade that matches your natural lip colour before your plumper. This creates definition and can make the plumping effect look even more pronounced.

Maximising the Plumping Effect

Want to get the most out of your glossy pout maximizer? Timing and technique make a huge difference. The best results come when you give the product time to work and help it along with some simple tricks. Temperature can also play a role. Slightly warm lips (from a hot drink or gentle massage) often respond better to plumping products. Just don't go overboard – you want warmth, not heat.

Massage Methods for Better Absorption

Gentle circular motions with your fingertip can help distribute the product evenly and stimulate blood flow. Do this for about 30 seconds after application, being careful not to rub the product off. The massage also helps ingredients penetrate better, which can mean longer-lasting results. Think of it as giving your lip plumper gloss a little boost to do its job properly.

The Power of Proper Timing

Apply your lip plumper gloss about 5-10 minutes before you plan to head out. This gives it time to work its magic and for any initial tingling to settle into a comfortable sensation. If you're layering with other lip products, wait at least 5 minutes between each application. Rushing the process can lead to patchy results or reduced effectiveness.

Maintaining Your Plumped Pout

Everyday Lip gloss3.5ml

RENEE

Everyday Lip gloss

249
Keeping your plumped look fresh throughout the day is totally doable with the right approach. Most lip plumper glosses last 2-4 hours, depending on the formula and your activities (eating, drinking, talking – you know, living your life). The key is knowing when and how to touch up without overdoing it. Your lips might become more sensitive with repeated applications, so listen to what they're telling you.

Touch-up Techniques

Before reapplying, gently blot your lips with a tissue to remove any remaining product. This prevents build-up and ensures even coverage. Then apply a fresh, thin layer just like you did initially. Keep a small mirror handy for precise touch-ups. Uneven application is more noticeable with plumping products, so taking a moment to check your work pays off.

Nighttime Lip Care Routine

Always remove your lip plumper gloss before bed. Use a gentle makeup remover or micellar water to clean your lips thoroughly. Plumping ingredients can be drying if left on overnight. Follow up with a nourishing lip treatment or thick balm. Your lips work hard during the day, especially when you're using plumping products, so they deserve some TLC at night.

Choosing the Right Lip Plumper Gloss

With so many options out there, finding your perfect match might feel overwhelming. The good news? There's likely a lip plumper gloss that's just right for your needs and comfort level. Consider your skin sensitivity, desired intensity, and how the product fits into your daily routine. Your lifestyle matters too. If you're constantly sipping coffee or eating throughout the day, you might want something that's easy to reapply and won't clash with your lip balm.

Identifying Your Lip Needs

Start by figuring out what you want from your non-invasive lip enhancement. Are you after dramatic volume or just a subtle boost? Do you prefer a strong tingle or something barely noticeable? Consider your lip type too. If you have naturally dry lips, a hydrating lip enhancer might work better than a high-intensity volumizing lip gloss. Sensitive lips do better with gentler formulas.

Reading Product Labels

Look for terms like **"instant volume"**, **"tingling formula"**, or **"plumping complex"** on packaging. These usually indicate the product's strength and what kind of results to expect. Check the ingredient list for known lip plumping ingredients like menthol, capsicum, or hyaluronic acid. The higher up they appear, the more concentrated they are in the formula.

Natural Alternatives to Commercial Lip Plumpers

Not everyone wants to invest in commercial products, and that's totally fair. There are some DIY options that can give you a subtle plumping effect using ingredients you might already have at home. These won't match the intensity of professional formulas, but they're worth trying. A simple lip scrub followed by a peppermint oil and petroleum jelly mix can create mild plumping. Just be careful with essential oils – they're potent and can cause irritation if used incorrectly. Always do a patch test first.
SuperglowVIT-C Gloss2.5 ml

Lakme

SuperglowVIT-C Gloss

35020 % OFF
280

Safety Considerations and Side Effects

Let's be real about potential side effects. Most people experience mild tingling, which is totally normal and expected. However, some might experience more intense burning, swelling, or irritation. If this happens, remove the product immediately and rinse with cool water. Always patch test new products on your wrist or behind your ear 24 hours before using them on your lips. Lip skin is more sensitive than most other areas, so what's fine for your hand might not work for your lips.

Frequently Asked Questions

Are lip plumpers safe for long-term use?

Most lip plumper glosses are safe for regular use when used as directed. However, it's good to give your lips a break occasionally, especially if you notice increased sensitivity or dryness.

Can lip plumper gloss be used with other lip products?

Yes, but timing matters. Apply your plumper first, let it settle for 5-10 minutes, then add other products like lipstick or additional gloss on top.

How long do the effects of lip plumper gloss typically last?

Most effects last 2-4 hours, depending on the formula strength and your activities. Eating, drinking, and talking will naturally reduce the longevity.

Are there any alternatives to lip plumper gloss for lip enhancement?

Yes, options include lip liner techniques, contouring with makeup, hydrating treatments, or professional procedures. Each offers different levels of enhancement and longevity.

Final Thoughts

Mastering lip plumper gloss is all about finding what works for your lips and lifestyle. Start gentle, prep properly, and don't be afraid to experiment with different techniques and products. Remember, the best lip plumper gloss is the one that makes you feel confident and comfortable. Whether you're going for subtle enhancement or full-on volume, the key is patience and practice. Your perfect pout is totally achievable – it might just take a bit of trial and discovery to get there.
Sangria Experience Logo
Document