How to Use a Makeup Blender for Flawless Foundation
Fashion Strips
Ever wondered why your foundation never looks as smooth as that flawless finish you see online? A makeup blender might just be the secret ingredient for your next beauty experiment. Whether you’re after a streak-free look with a liquid foundation or perfect precision when contouring, this simple makeup application tool can change the game. Think of it as your shortcut to that airbrushed masterpiece without any fuss. In this guide, we’ll chat about what makes a makeup blender essential, how to pick the right one for you, and some actionable tips to use and maintain your favourite blending buddy.
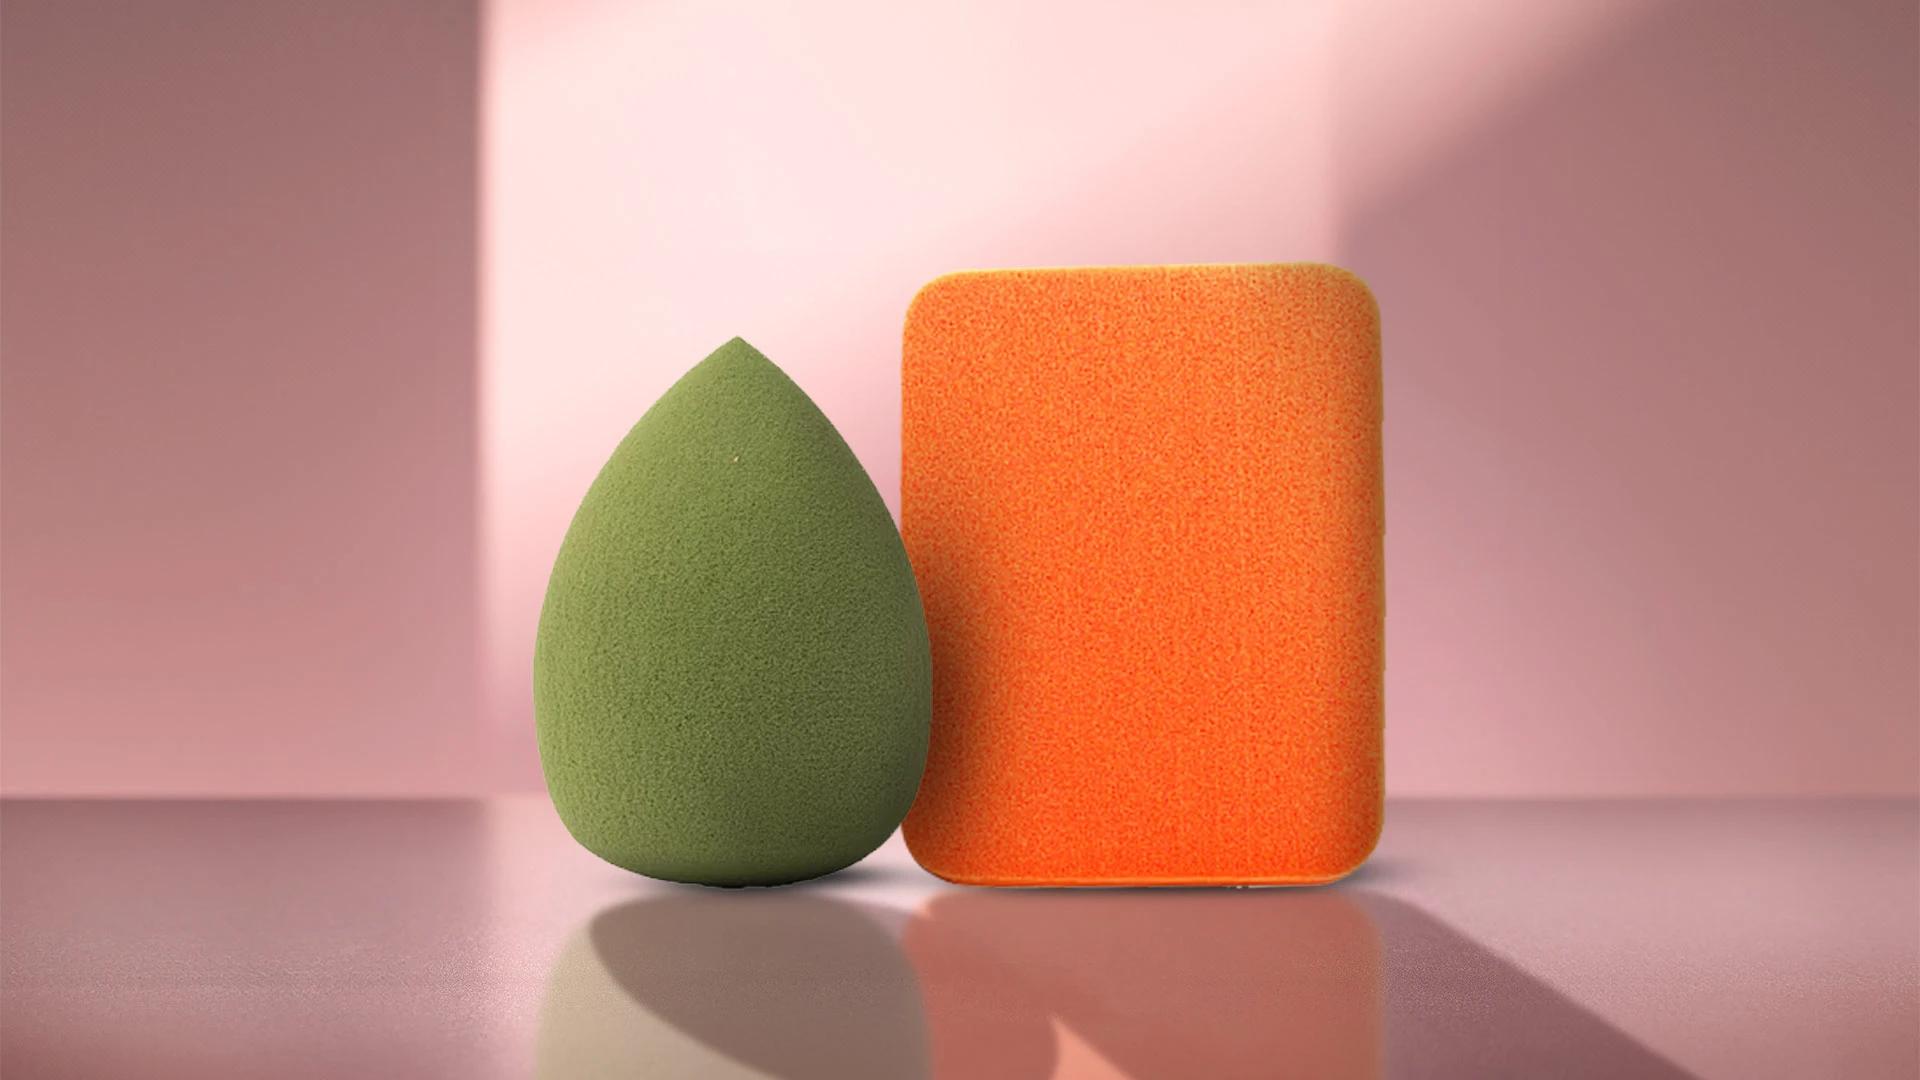
A makeup blender is a versatile tool designed to deliver a smooth, airbrushed finish. As a dedicated foundation applicator, it works wonders with different products, from liquid foundations to powders, and even creams. Its magic lies in its ability to blend products seamlessly, avoiding the dreaded streaks and uneven spots. This tool is not just about applying makeup—it’s about giving you the freedom to experiment. For instance, you can easily switch from a soft, diffused look with your liquid foundation to a contoured glow by using it as a contour sponge. Its adaptability makes it the perfect flawless makeup tool for many beauty routines.
Picking the right blending tool can feel like a small but significant step towards transforming your routine. With different textures and shapes available, finding one that suits your skin type and your makeup habits is key.
There are a few types of tools you might consider:
When it comes to choosing your new fav, consider these key points:

Day & Night Kit
Now let’s get into the magic of using your liquid foundation blender for a flawless look. Follow these easy steps to get your canvas ready for a bit of glow:
Begin by wetting your makeup sponge with water and giving it a gentle squeeze to remove any excess. This step is key as a damp sponge helps the product blend seamlessly, preventing it from soaking up too much of your foundation.
Next, dab your chosen foundation on your face or directly onto the blender. Using a bouncing motion—remember, no dragging—apply the product evenly starting at the centre of your face. Focus on areas like the T-zone, jawline, and around the hairline for a uniformly smooth finish. This technique not only covers imperfections but also leaves your skin looking naturally radiant.
Once your foundation is blended, switch to using this versatile tool as a powder applicator. Lightly dust setting powder across your face to lock everything in place. The pointed tip of your brush is perfect for navigating tricky areas like under the eyes or close to the creases, helping you maintain that long-lasting glow.
A great tool deserves proper care. Here are some friendly tips to keep your flawless makeup tool in tip-top shape:

Bake Me Up Blush & Highlighter
After every use, wash your sponge using a gentle soap or a makeup brush cleanser. Avoid harsh scrubbing to maintain its soft texture—think of it as a little spa treatment for your tool.
Let your blender air-dry in a well-ventilated spot. This step helps to prevent any unwanted bacteria buildup. It’s best to avoid storing it in closed containers while it’s still damp.
We’ve all been there—mistakes happen, but a few tweaks can make all the difference in your routine.
An un-dampened tool can mean uneven application and wasted product. Always remember to give your beauty sponge a little spritz before use.
Too much product can lead to that dreaded cakey look. It’s best to use a light hand and build up coverage gradually.

Glam Essentials
Keeping your tool clean is essential. A buildup of makeup can lead to breakouts and hygiene issues, so make regular cleaning part of your routine.
A makeup blender is used to apply and blend foundation, concealer, and other products for a smooth, streak-free finish.
A damp beauty sponge is often considered the best tool for blending liquid and cream products seamlessly.
There are many great options available, including versatile makeup sponge sets that cater to different preferences.
High-quality beauty sponges are crafted with durable, skin-safe materials that ensure a flawless application and long-lasting performance.
Mastering the art of using a makeup blender can truly elevate your daily routine. By choosing the right tool and following a few simple steps—from prepping to cleaning—you can achieve a look that feels both professional and effortlessly natural. Remember, every little tip shared here is about making your routine smoother and more fun. So pick up that beauty sponge, experiment with your favourite foundations, and discover a new way to express your style. Your next flawless finish might just be a squeeze away!
