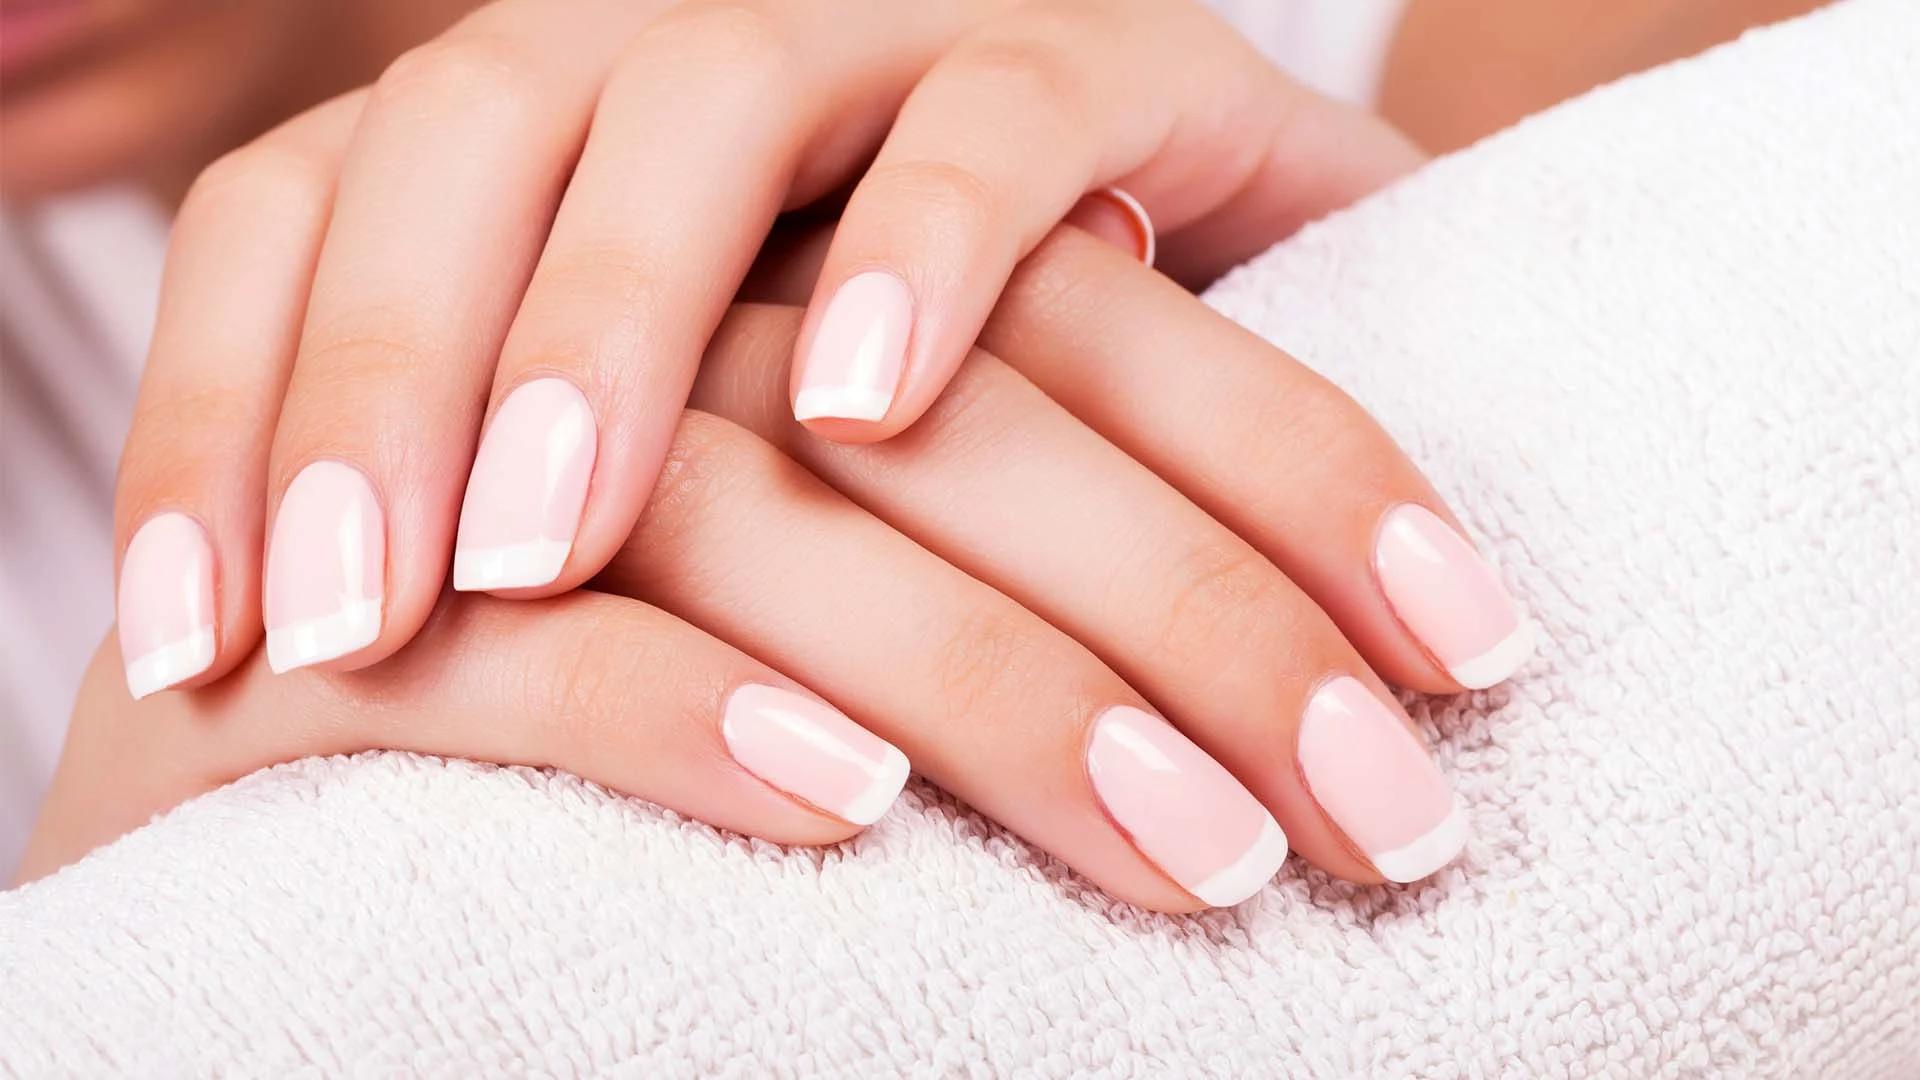
How to Apply Gel Polish for a Long-Lasting Manicure

Professional UV Gel Nail Polish
Getting a salon-perfect gel manicure at home might seem tricky, but it's totally doable once you know the right steps. Gel polish has become the go-to choice for anyone wanting nails that look fresh for weeks without chipping or fading. Unlike regular nail polish that air-dries and can chip within days, gel polish creates a durable, glossy finish that can last up to three weeks with proper application. The secret lies in understanding the curing process and mastering the technique. Whether you're new to gel manicures or looking to perfect your skills, this guide will walk you through everything you need to know for long-lasting, professional-looking results.
Gel polish is a game-changer in the nail world, and understanding what makes it special helps you get better results. Unlike traditional nail polish, gel polish contains photoinitiators that react to UV or LED light, creating a chemical bond that hardens the polish into a durable coating.
The magic of gel polish lies in its unique formulation. It's essentially a hybrid between regular nail polish and gel nail extensions, giving you the best of both worlds. The polish stays wet until exposed to UV or LED light, which triggers a curing process that transforms the liquid into a solid, chip-resistant layer. This process is what makes gel manicures so much more durable than regular polish. The curing process typically takes 30-60 seconds under an LED lamp or 2 minutes under a UV lamp. Each layer needs to be cured separately, which is why gel application takes a bit longer than regular polish but delivers results that last weeks.
Regular nail polish dries through evaporation, which is why it can take ages to fully set and often smudges easily. Gel polish, on the other hand, doesn't truly dry until it's cured under light. This means you can take your time with application without worrying about smudging, and once cured, it's immediately ready to go. The finish is also noticeably glossier and more durable than traditional polish.
Having the right tools makes all the difference when applying gel polish at home. You don't need to break the bank, but investing in quality basics will give you better results and make the process much smoother. Your essential kit should include: • A good quality UV or LED nail lamp (36 watts minimum) • Gel base coat, colour, and top coat • Nail files and buffers • Cuticle pusher and nippers • Lint-free wipes or cotton pads • Isopropyl alcohol (70% or higher) • Nail dehydrator or rubbing alcohol • Cuticle oil for aftercare When choosing your gel polish colours, look for reputable brands that offer good coverage and smooth application. Many nail salons swear by certain formulations, and reading reviews can help you find gel nail polish that works well for your skill level.

Addiction Gel Nail Enamel
Proper application is what separates a professional-looking gel manicure from a DIY disaster. Take your time with each step, and don't rush the process.
Start with clean, dry nails. Remove any old polish completely and wash your hands thoroughly. Push back your cuticles gently and trim any hangnails. File your nails to your desired shape, keeping in mind that shorter nails tend to last longer with gel polish. Buff the surface of your nails lightly to remove shine and create a slightly rough texture for better adhesion. Don't over-buff, as this can damage your nails. Wipe each nail with rubbing alcohol or nail dehydrator to remove oils and moisture.
Apply a thin layer of gel base coat to each nail, being careful not to flood the cuticles. The base coat should cover the entire nail surface but shouldn't touch the skin around your nails, as this can cause lifting later. Cure under your lamp according to the manufacturer's instructions. Most LED lamps require 30-60 seconds, while UV lamps typically need 2 minutes.
Apply your first coat of gel polish in thin, even strokes. Start with a stripe down the centre of the nail, then fill in the sides. Two thin coats always look better than one thick coat and are less likely to cause bubbles or uneven coverage. Cure the first coat completely before applying the second. For most gel nail polish formulations, two coats provide optimal coverage and colour intensity. If you're going for gel nail art or specific gel nail designs, this is when you'd add any decorative elements.
Finish with a thin layer of gel top coat, which seals everything and provides that signature gel shine. Make sure to cap the free edge of your nail by running the brush along the tip. This helps prevent chipping and extends the life of your manicure. After the final cure, use a lint-free wipe soaked in rubbing alcohol to remove the sticky residue (called the inhibition layer) that remains on cured gel polish. This step is crucial for achieving that perfect glossy finish.

Gel Nail Lacquer Gem Stone Collection Nail Polish
Proper care can extend your gel manicure well beyond two weeks. The key is protecting your nails from damage and knowing when it's time for removal. To make your gel manicure last longer: • Wear gloves when cleaning or doing dishes • Apply cuticle oil daily to keep the nail area moisturised • Avoid using your nails as tools • Touch up any small chips immediately if possible
When it's time to remove your gel polish, resist the urge to peel it off, as this can damage your natural nails. Instead, file off the top coat, soak cotton pads in acetone, place them on each nail, and wrap with foil. After 10-15 minutes, the gel should push off easily with a cuticle pusher. For those with soak off gel nails, this process is even gentler and won't require as much filing beforehand.
Even experienced nail enthusiasts make mistakes with gel application. Here are the most common issues and how to avoid them. Bubbles in your gel polish usually happen when you shake the bottle or apply too thick a coat. Roll the bottle between your hands to mix instead of shaking, and always apply thin layers. Lifting around the cuticles is often caused by getting gel on the skin during application or not properly preparing the nail surface. Take your time with prep work and use a small brush to clean up any gel that touches the skin before curing. For those interested in more advanced techniques like gel nail extensions or intricate gel nail tips, master the basics first. These advanced applications require additional skills and tools but follow the same fundamental principles.
Choosing the right gel polish brands can make a huge difference in your results. With so many options available, finding products that work well for your needs and budget is key to nail success. Smytten is India's largest product discovery and trial platform, connecting consumers with top lifestyle, beauty, wellness, and grooming brands. For nail enthusiasts wanting to explore different gel polish formulations without committing to full-size bottles, trial-sized products offer the perfect solution. You can test various brands and shades to find your favourites before investing in full-size versions.
A properly applied gel manicure can last 2-3 weeks without chipping or significant wear. Factors like nail growth rate, daily activities, and application technique all affect longevity.

Gel Nail Lacquer Nail Polish
Yes, when applied and removed correctly, gel polish is safe for natural nails. The key is proper preparation, not over-filing, and gentle removal. Taking breaks between applications can help maintain nail health.
Shellac is actually a specific brand of gel polish developed by CND. While often used interchangeably, shellac refers to this particular formulation, whereas gel polish is the broader category of UV-cured nail products.
Absolutely! Once you've mastered basic application, gel nail art becomes much easier. The extended working time before curing allows for more detailed designs than regular polish.
Quick chipping usually indicates improper nail preparation, applying coats too thickly, or getting product on the skin during application. Ensuring clean, properly prepped nails and thin, precise application helps prevent this.
Mastering gel polish application takes practice, but the results are absolutely worth the effort. The key is patience with the process and attention to detail, especially during nail preparation. Remember that even nail salon professionals took time to perfect their technique, so don't get discouraged if your first attempts aren't perfect. Start with neutral colours as you learn, since they're more forgiving and easier to apply evenly. As your confidence grows, you can experiment with bolder shades, gel nail designs, and even acrylic gel nails for added length. The beauty of learning gel application at home is the freedom to experiment and perfect your technique on your own schedule. With the right tools, quality products, and proper technique, you can achieve salon-worthy results that last for weeks. Whether you're going for a classic French manicure or bold gel nail art, the fundamentals remain the same: proper prep, thin layers, complete curing, and gentle removal when it's time for a change.
