How to Apply False Lashes Like a Pro: A Step-by-Step Guide

Self Adhesive Lashes SA30 – Outer Edge Lift Reusable No Glue False Eyelashes
Let's be real—false lashes can completely transform your look, but getting them to sit perfectly? That's where things get tricky. Whether you're aiming for a natural flutter or full-on drama, mastering how to apply false lashes is a game-changer for your makeup routine. The good news is that with the right technique and a bit of practice, you can achieve that salon-perfect look at home. From choosing the right false lash styles to nailing the application process, we're breaking down everything you need to know to become a lash pro.
Before diving into the actual lash application, let's sort out the basics. Getting your prep right makes all the difference between lashes that look seamless and ones that scream "fake from a mile away." Think of this as your foundation work—boring but absolutely essential.
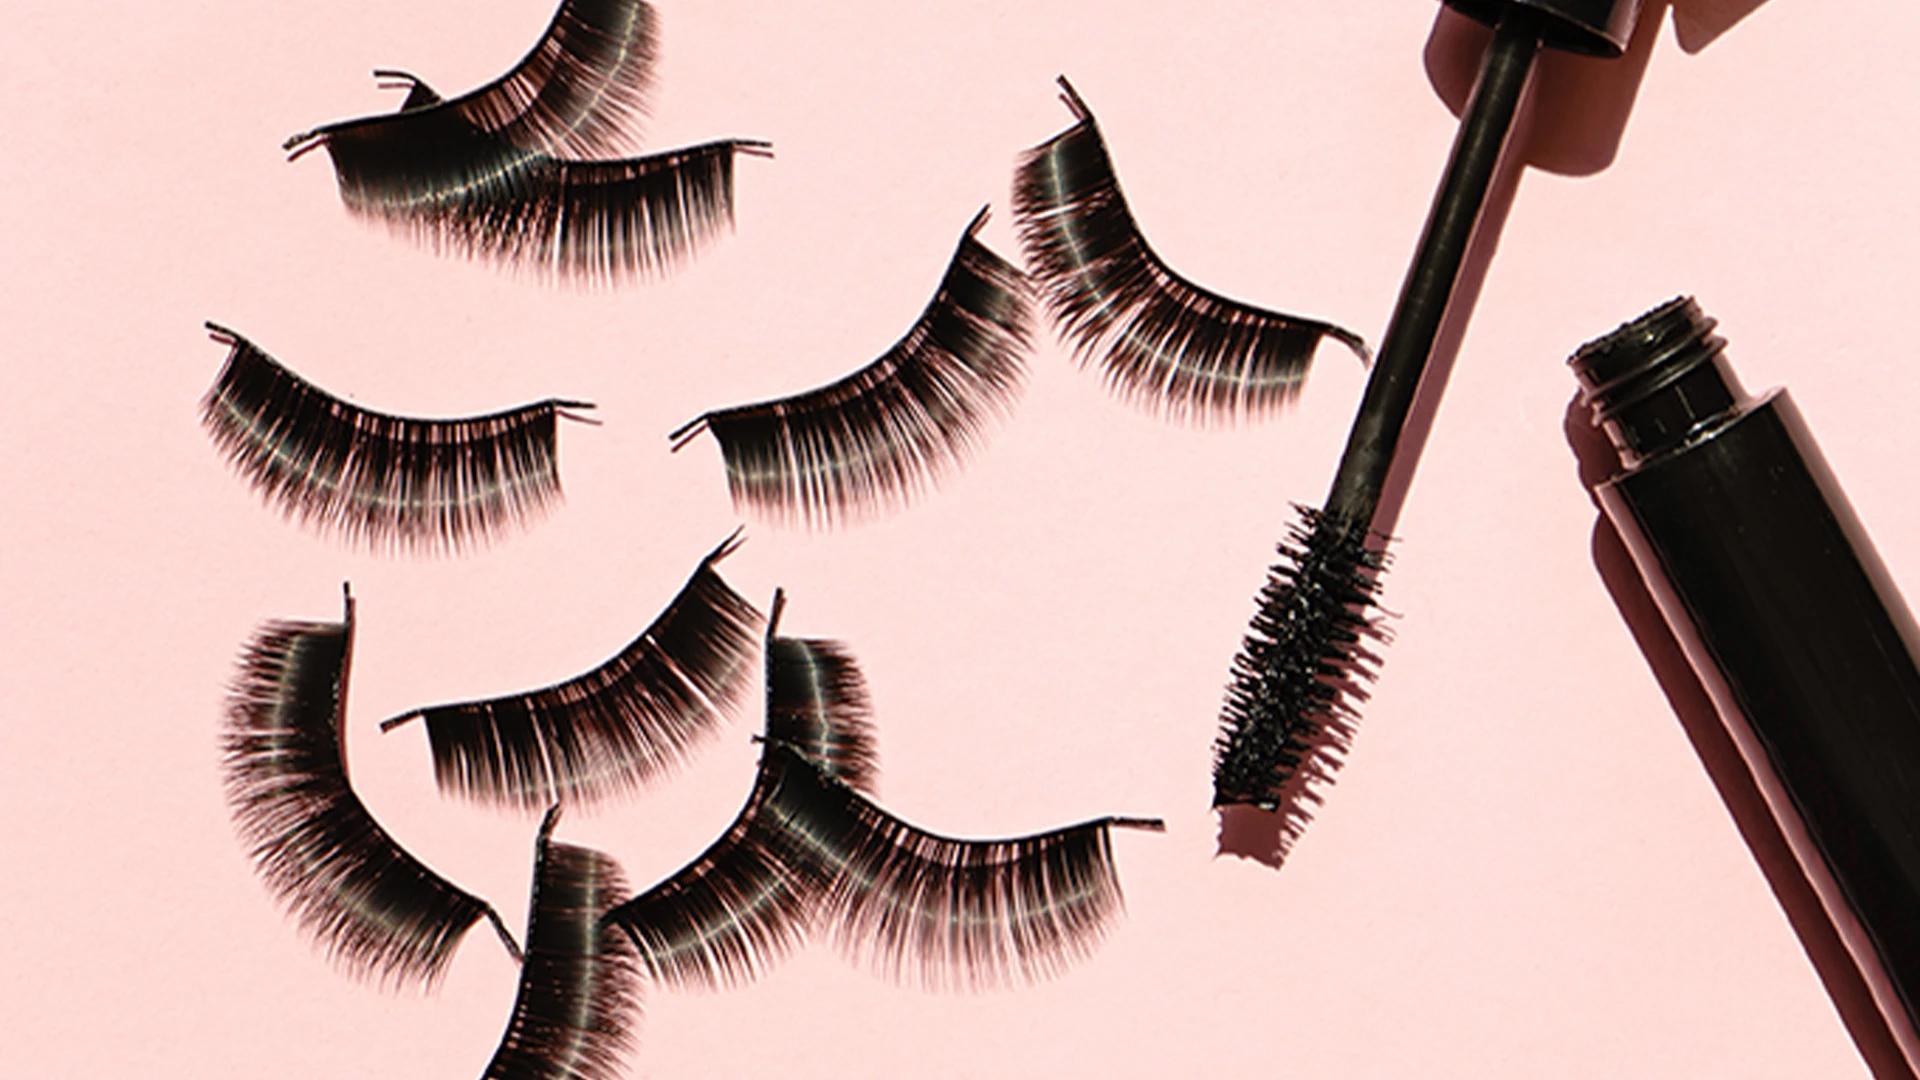
Your lash game is only as strong as your toolkit. Here's what you'll need for flawless false eyelashes:
Strip lashes or individual lashes: Strip lashes are perfect for beginners, while individual ones give you more control over placement
Quality eyelash glue: Clear glue is forgiving for newbies, whilst dark glue blends better with dramatic looks
Tweezers or lash applicator: These give you precision that fingers simply can't match
Small scissors: For trimming lashes to fit your eye shape perfectly
Good lighting and mirror: Position your mirror slightly below eye level for the best application angle
Not all false lash styles work for everyone, and that's perfectly fine. Your eye shape should guide your choice:
Hooded eyes: Go for shorter, more natural styles that won't get lost in your crease
Round eyes: Longer lashes on the outer corners help create an elongated effect
Almond eyes: Lucky you—most styles work, so experiment with different lengths and volumes
Small eyes: Wispy, natural-looking lashes open up your eyes without overwhelming them
Proper prep work is what separates amateur hour from professional results. This step might seem tedious, but trust us—it's worth every second when your lashes stay put all day.
Start with clean, dry lashes for the best adhesion. Give your natural lashes a gentle curl—this helps them blend seamlessly with your false ones later.
Use an eyelash curler before applying any makeup for lashes
Apply a light coat of mascara to your natural lashes (optional but helpful for blending)
Make sure your lash line is completely clean and oil-free
Fresh-out-the-box lashes rarely fit perfectly, so a bit of customisation is usually needed. Measure the strip lashes against your eye and trim from the outer edge if they're too long.
Hold the lash strip against your eye to check the fit
Trim excess length from the outer corner, never the inner
Gently bend the lash strip into a U-shape to make it more flexible
This pre-bending helps the lashes follow your eye's natural curve

Self Adhesive Lashes SA47 – Outer Edge Lift Reusable No Glue False Eyelashes
Right, here's where the magic happens. This false lash tutorial will walk you through each step of the process, from glue application to final placement. Take your time—rushing this bit usually leads to wonky results.
The glue application can make or break your entire look. Apply a thin, even layer along the lash band, paying extra attention to the corners where lifting usually happens first.
Squeeze a small amount of glue onto the back of your hand
Use tweezers or the lash applicator to apply glue to the lash band
Add extra glue to both corners—these areas need the strongest hold
Wait 30-60 seconds for the glue to become tacky (this is crucial!)
Placement is everything when it comes to natural-looking results. Look down into your mirror and start by placing the centre of the lash strip first, then work your way to the corners.
Position your mirror below eye level and look down
Place the centre of the lash strip first, right above your natural lash line
Press down the inner corner, then the outer corner
Use the flat end of tweezers to press along the entire lash line
Once your lashes are in place, it's time to make them look like they naturally belong there. Gentle pressure and strategic blending are your best friends here.
Press gently along the lash line to ensure full adhesion
Use a clean mascara wand to blend your natural lashes with the false ones
Apply a light coat of mascara to both natural and false lashes if needed
Check for any lifting spots and press down with tweezers
Not everyone's hands work the same way, and that's completely fine. Some people swear by finger application, whilst others can't function without their trusty lash applicator tools. Let's explore what works best for different skill levels and preferences.
Both methods have their merits, and honestly, it comes down to what feels more natural for you.
Finger application: More intuitive for some, better control over pressure, but less precision
Applicator tools: Greater precision, easier to reach corners, but requires practice to master
For beginners: Start with fingers, then graduate to tools as you get more comfortable

Self Adhesive Lashes SA18 – Outer Edge Lift Reusable No Glue False Eyelashes
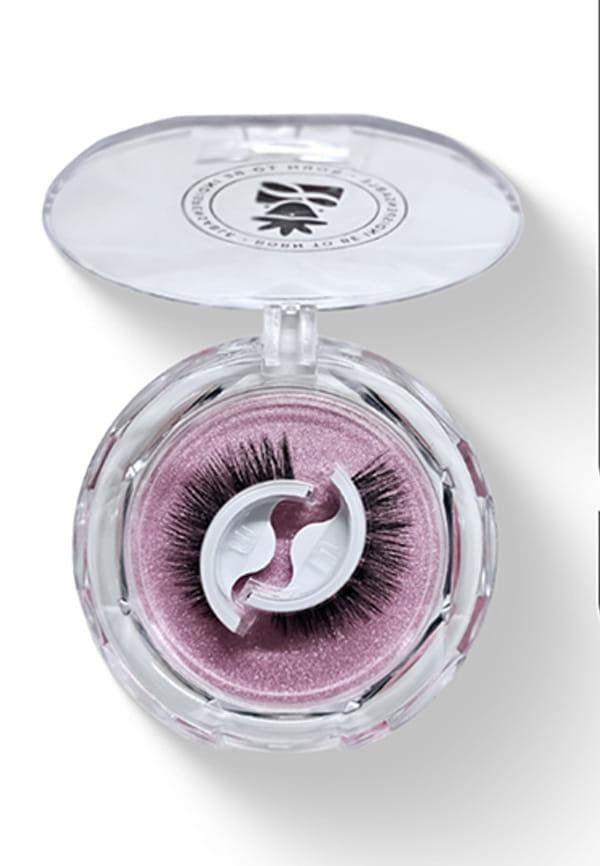
If traditional strip lashes feel too intimidating, magnetic lashes might be your gateway into the false lash world. They're more forgiving and don't require any messy glue.
Magnetic lashes use tiny magnets to sandwich your natural lashes
No glue means easier removal and less chance of damaging your natural lashes
Perfect for those with sensitive eyes or glue allergies
Generally more expensive but reusable for longer periods
Even with perfect technique, things can go sideways. Here are some professional makeup artist secrets and solutions for when your lash application doesn't go according to plan.
These false lash tips come straight from the pros who do this for a living. Small tweaks that make a massive difference in your final result.
The lifting trick: As the glue dries, gently lift the outer corners upwards for a more youthful effect
Clear glue benefits: Less visible if you make mistakes, perfect for natural looks
Double-check the corners: Most lash failures happen at the inner and outer corners
Layer different lengths: Mix shorter and longer individual lashes for a more natural gradient
Mistakes happen to everyone, even seasoned lash pros. The key is knowing how to fix them without starting completely over.
Lifting corners: Add a tiny dot of fresh glue and press down firmly for 30 seconds
Crooked placement: Gently lift the lash while the glue is still workable and reposition
Visible glue line: Use a dark eyeliner to camouflage any obvious glue marks
Emergency removal: Use oil-free makeup remover on a cotton swab to dissolve the glue
Quality false eyelashes aren't exactly cheap, so getting multiple uses out of them makes perfect sense. Proper care can extend their lifespan significantly, making your investment worthwhile. Plus, clean lashes are healthier for your eyes.
How you remove your lashes determines whether you can reuse them or if they're headed straight for the bin. Always be gentle—yanking them off damages both the false lashes and your natural ones.
Use oil-free makeup remover to soften the glue first
Gently peel from the outer corner towards the inner corner
Clean off any remaining glue with tweezers once removed
Store them back in their original case to maintain their shape
Even with perfect care, false lashes don't last forever. Knowing when to retire a pair keeps your eyes healthy and your look fresh.
Self Adhesive Lashes SA03 – Outer Edge Lift Reusable No Glue False Eyelashes
Replace when the lash band becomes too stiff or starts to fray
If you notice any irritation or infection, bin them immediately
Most quality strip lashes can be reused 5-10 times with proper care
Individual lashes typically last 2-3 uses before losing their shape
Speaking of trying new products, platforms like Smytten make it easier to experiment with different false lash styles and makeup for lashes without committing to full-size purchases. With trial packs from trusted beauty brands, you can discover what works best for your eye shape and skill level before investing in the full-size versions.
Start with strip lashes rather than individuals, use clear glue for forgiveness, and practice the placement without glue first. Take your time with each step and don't rush the process.
Wait 30-60 seconds after applying the glue. The glue should feel slightly sticky but not wet when you touch it lightly with your finger.
Yes, quality strip lashes can be reused 5-10 times with proper care. Remove them gently, clean off the glue, and store them properly in their original case.
Strip lashes come as one piece that covers your entire lash line, whilst individual lashes are single clusters you apply one by one. Strips are easier for beginners, individuals offer more customisation.
Use oil-free makeup remover to soften the glue, then gently peel from the outer corner inward. Never yank or pull forcefully as this can damage your natural lashes.
It's not recommended. Sleeping in false lashes can cause irritation, damage to your natural lashes, and increase the risk of eye infections. Always remove them before bed.
Choose shorter, more natural styles that won't brush against your lenses. Focus on volume rather than length, and make sure the lashes don't extend beyond your natural lash line.
Mastering how to apply false lashes takes practice, but the results are absolutely worth the effort. From choosing the right false lash styles for your eye shape to perfecting your lash application technique, each step builds towards that flawless finish you're after. Remember, even professional makeup artists had to start somewhere—your first attempt might not be perfect, and that's completely normal.
The key is to start with quality products and take your time with each step. Whether you're going for natural enhancement or full glamour, the fundamentals remain the same: proper prep, patient application, and gentle removal. With Smytten's trial packs, you can experiment with different lash styles and eyelash glue options from trusted brands without the commitment of full-size purchases. This way, you can find your perfect match before investing in your go-to products. After all, why settle for maybe when you can Try It All and discover what truly works for your unique style?
