How to Apply Eye Makeup: A Beginner's Guide

Play n Blend Gel Eyeliner
Let's be real—eye makeup can feel like rocket science when you're starting out. One minute you're watching a tutorial thinking "this looks easy," and the next you're staring at your reflection wondering if you accidentally applied eyeshadow with a paintbrush. But here's the thing: everyone starts somewhere, and with the right techniques, you'll be creating stunning eye looks faster than you think. Whether you're after a natural everyday vibe or want to try your hand at a smokey eye, this guide breaks down everything you need to know about how to apply eye makeup like a pro.
Before diving into any eye makeup tutorial, it helps to understand what you're working with. Think of your eyes as a canvas—each area serves a different purpose in creating your final look.
Your eyelid has several key areas that makeup artists target. The mobile lid is the part that moves when you blink—this is where most of your eyeshadow colour goes. The crease is the natural fold above your lid, perfect for adding depth with darker shades. The outer corner creates drama, whilst the inner corner brightens your entire look. Don't forget the lower lash line, which can add definition or soften harsh lines depending on how you use it.
You don't need a massive collection to create gorgeous eye makeup for beginners. Start with an eyeshadow primer to keep everything in place, a few neutral matte shades for blending, and one or two accent colours that complement your eye colour. For eyeliner, pencil is most forgiving for beginners, though gel and liquid offer more precision once you're comfortable. A good mascara is non-negotiable—it instantly makes your lashes look fuller and your eyes more awake.
The right tools make all the difference in eyeshadow application. A flat shader brush packs colour onto your lid, whilst a fluffy blending brush seamlessly merges different shades. A small detail brush helps with precise placement in the outer corner or along the lash line. If you're just starting out, your fingers work brilliantly for applying shimmer shades, and cotton buds are perfect for cleaning up any mistakes.
Ready to put theory into practice? This easy eye makeup routine works for any occasion and can be adapted based on how dramatic you want to go.
Start with clean, dry eyelids and apply a thin layer of eyeshadow primer from your lash line to your brow bone. If you don't have primer, a dab of concealer works too—just set it with a light dusting of translucent powder. This step prevents your eyeshadow from creasing and helps colours appear more vibrant throughout the day.
Choose a matte shade that's slightly darker than your skin tone—think soft browns, taupes, or peachy tones. Using a fluffy brush, apply this colour in your crease using gentle windscreen wiper motions. This creates a natural shadow that adds dimension to your eyes. The key is building up colour gradually rather than going heavy-handed from the start.

Basic Kit Eyes | Eyeshadow Palette| Long wearing and Easily Blendable Eye makeup Palette
For more definition, take a deeper shade and focus on the outer corner of your eye, creating a soft "V" shape. Blend this colour into your transition shade using circular motions, making sure there are no harsh lines. This technique works whether you're going for natural eye makeup or building up to a smokey eye look.
Apply your main lid colour using a flat brush or your finger—shimmer shades look particularly stunning when applied with fingertips. Finish by adding a light, shimmery shade to your inner corners and just under your brow bone. This instantly makes your eyes look bigger and more awake, which is why it's a staple in every makeup artist's toolkit.
Once you've mastered the basics, you can adapt your technique to create different eye makeup looks for any situation.
For everyday wear, stick to neutral tones that enhance rather than transform. Use a light brown or taupe in your crease, a shade close to your skin tone on the lid, and just a touch of highlighter in the inner corners. Keep eyeliner thin and close to the lash line, and finish with one coat of mascara. This look takes five minutes but makes a world of difference to your overall appearance.
Contrary to popular belief, smokey eye makeup doesn't have to be black and dramatic. Start with your usual neutral base, then gradually build up darker shades in the outer corner and crease. The secret is blending, blending, and more blending. Use a slightly smudged eyeliner along both upper and lower lash lines, and don't forget extra mascara to balance the intensity.
When you want to add some glamour, try incorporating a pop of colour that complements your outfit or eye colour. Golds and bronzes work beautifully on brown eyes, whilst purples and plums make green eyes pop. Add a thin line of liquid eyeliner for precision, and consider false lashes if you're feeling adventurous.
Eyeliner can completely transform your eye shape and is often the trickiest part of eye makeup application for beginners. The good news? There are techniques for every skill level.
Start with a soft pencil eyeliner in brown or black. Begin at the centre of your upper lash line and work outwards, then go back and fill in towards the inner corner. For a softer look, gently smudge the line with a small brush or cotton bud. Tightlining—applying liner between your lashes rather than on top—creates definition without obvious liner, perfect for natural looks.

Play N Blend Eyeshadow Palette
Once you're comfortable with pencil, gel and liquid liners offer more precision and staying power. For winged eyeliner, start by drawing a small dot where you want your wing to end, then connect it to your lash line. Keep your eyes open whilst drawing to ensure the wing looks good when your eyes are in their natural position.
Lower lash line definition can make your eyes look bigger, but it's easy to overdo. Use a softer pencil or smudge a bit of eyeshadow along the lower lash line for subtle definition. Avoid harsh black lines on the waterline unless you're going for a dramatic look, as this can make eyes appear smaller.
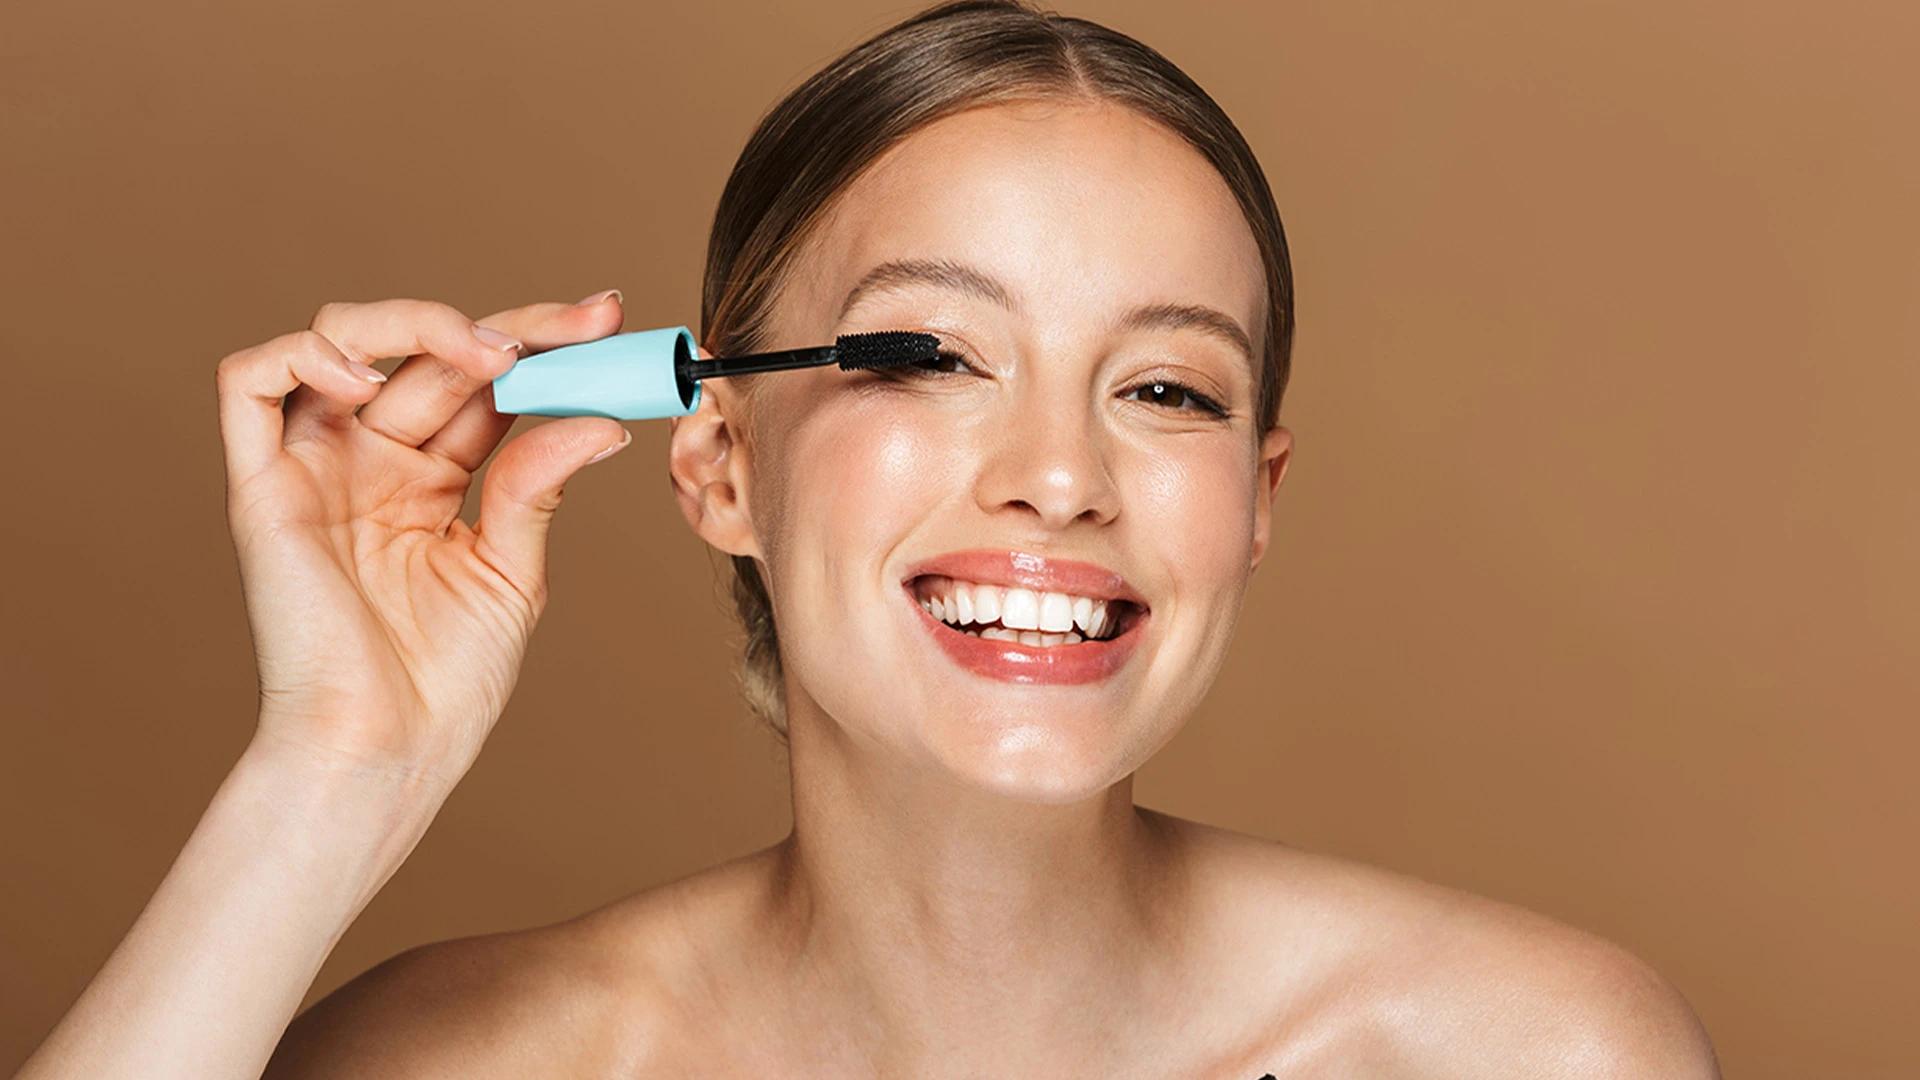
Great lashes can make or break your eye look, and proper mascara application is something every beginner should master.
Lengthening mascaras have smaller brushes with separated bristles, perfect if your lashes are already thick but short. Volumising formulas have fuller brushes that deposit more product, ideal for fine or sparse lashes. Waterproof formulas last longer but are harder to remove, so save them for special occasions or when you know you'll be emotional.
Start at the base of your lashes and wiggle the wand slightly as you pull upwards—this separates lashes and prevents clumps. Apply 2-3 thin coats rather than one thick coat for the most natural-looking volume. Let each coat dry slightly before applying the next, and use a clean spoolie brush to separate any clumps.
If you want to try false lashes, start with individual clusters rather than full strips—they're much more forgiving. Apply them to the outer corners of your eyes for subtle enhancement, or use them to fill in sparse areas. Always trim strip lashes to fit your eye shape, and apply adhesive to the lash, not your eyelid.
Even with the best intentions, there are some pitfalls that catch most beginners. Here's how to sidestep the most common issues.
Muddy eyeshadow usually happens when you blend too much or don't clean your brushes between colours. Use a clean, fluffy brush for blending, and build up colour gradually. If you do over-blend, add back some of your original colours to restore definition. Always tap off excess powder before applying to prevent fallout.

Perfection Eyeshadow Palette
Uneven eyeliner is incredibly common—even professionals sometimes need multiple attempts. Use tape as a guide for winged liner, or try drawing small dots along your lash line first, then connecting them. For clumpy mascara, wipe excess product off the wand before applying, and never pump the wand in and out of the tube as this introduces air and dries out the formula.
Not all techniques work for every eye shape. If you have hooded eyes, focus colour placement above the natural crease when your eyes are open. For close-set eyes, concentrate darker shades on the outer corners. When it comes to colour, complementary shades make your eye colour pop—try purples for green eyes, oranges for blue eyes, and golds for brown eyes.
The beauty of learning how to apply eye makeup is that there's no single "right" way to do it. What matters is finding techniques that work for your eye shape, lifestyle, and personal style. With platforms like Smytten, you can try mini versions of different eyeshadows, eyeliners, and mascaras from trusted brands without committing to full-size products. This makes it so much easier to experiment with different formulas and find your perfect eye makeup routine without the fear of wasting money on products that don't work for you.
Start with eyeshadow primer, then apply a neutral transition shade in your crease. Add your main lid colour, blend a darker shade in the outer corner, and highlight the inner corner. Finish with eyeliner close to the lash line and 2-3 coats of mascara. Practice this basic routine until you're comfortable, then experiment with different colours and techniques.
Choose hypoallergenic, fragrance-free formulas and avoid waterproof products which can be harsh to remove. Test new products on your hand first, and always remove makeup gently with a dedicated eye makeup remover. If you wear contact lenses, apply makeup after inserting them and remove it before taking them out.
Always use an eyeshadow primer or set concealer with powder before applying eyeshadow. Choose long-wearing formulas, especially for eyeliner and mascara. Avoid touching your eyes throughout the day, and consider setting your look with a light dusting of translucent powder over closed eyelids.
Start with cream eyeshadows or eyeshadow sticks as they're easier to blend than powders. Pencil eyeliners are more forgiving than liquid formulas, and tubing mascaras are virtually foolproof. Look for neutral eyeshadow palettes with good reviews, as these give you multiple shades to practice with.
Use a dedicated eye makeup remover—micellar water or oil-based removers work well. Soak a cotton pad and gently press it against closed eyes for 10-15 seconds before wiping away. Never rub or tug at your eye area, and always remove makeup before cleansing your face to avoid spreading product around.
Learning how to apply eye makeup is a journey, not a destination. Every time you practice, you're building muscle memory and discovering what works best for your unique features. Don't get discouraged if your first attempts don't look like the tutorials you've watched—even professional makeup artists had to start somewhere. The key is to start simple, practice regularly, and gradually build up to more complex looks as your confidence grows. Remember, makeup should be fun, not stressful. With Smytten's trial packs, you can explore different eye makeup products from over 1,500 trusted brands without the commitment of full-size purchases. Whether you're testing a new eyeshadow palette or trying a different mascara formula, you can discover what works for you affordably and confidently. After all, why settle for 'maybe' when you can Try It All!
