Flawless Makeup Steps: A Beginner's Tutorial Guide

Flawless Makeup Steps: A Beginner's Tutorial Guide
Published Date - 29 July 2025
Day & Night KitCombo

RENEE

Day & Night Kit

1198
Let's be real—mastering makeup steps can feel like decoding a secret language when you're just starting out. But here's the thing: creating a flawless look isn't about being perfect; it's about finding what works for your unique features and building confidence one step at a time. Whether you're prepping for your first day at work or just want to try something new for the weekend, getting these basics right will become your foundation for everything else. Think of this guide as your makeup bestie—we're breaking down each step so you can discover your own beauty routine that feels authentic to you.

Essential Makeup Steps for Beginners

Every good makeup routine follows a logical flow that builds upon itself. Understanding these core makeup steps helps you create a polished look without feeling overwhelmed by cosmetic application. The beauty of these steps lies in their flexibility—you can choose to follow all of them for a full glam moment or pick just a few for your everyday vibe. Here's your roadmap: • **Skincare prep** - Your canvas needs to be ready • **Foundation application** - Creates an even base • **Concealer** - Targets specific areas that need extra coverage • **Setting powder** - Locks everything in place • **Bronzer and blush** - Adds dimension and colour • **Eye makeup** - Where the magic really happens • **Lipstick application** - The final touch that pulls it all together

Preparing Your Canvas: Skincare Prep

Before you even think about reaching for your makeup brushes, your skin needs some love. Proper skincare prep is the secret to makeup that looks smooth, stays put, and doesn't cake up halfway through the day. Skipping this step is like trying to paint on a rough wall—it just won't look right. Your beauty routine should always start with clean, moisturised skin that's ready to work with your products, not against them.

Cleansing and Moisturising

Start with a gentle cleanser to remove any overnight skincare products or residue. Clean skin helps your makeup apply more smoothly and last longer throughout the day. Choose a moisturiser that suits your skin type—lightweight for oily skin, richer formulas for dry skin. Give it a few minutes to sink in before moving on to makeup.

Sunscreen Application

SPF isn't optional, even when you're staying indoors. UV protection should be part of every beauty routine, and many modern sunscreens work beautifully under makeup. Apply sunscreen evenly across your face and neck, then wait about five minutes before applying foundation. This prevents your base from sliding around.

Foundation: The Base of Your Look

Foundation is where your makeup game really begins. Getting this step right means everything else will fall into place more easily. The key foundation tips revolve around choosing the right product and applying it with the proper technique. Think of foundation as the filter for your real life—it should look like your skin, just better. The goal isn't to create a mask but to even out your complexion whilst letting your natural beauty shine through.

Choosing the Right Foundation

Test foundation on your jawline, not your wrist or hand. The perfect shade should disappear into your skin without any obvious lines or colour differences. Consider your skin type when selecting formulas: matte foundations work well for oily skin, whilst dewy finishes complement dry skin beautifully.

Application Techniques

Beauty sponges give the most natural finish, brushes offer more coverage, and fingers work great for light, everyday application. Experiment to find what feels right for you. Blending techniques are crucial—work in thin layers and build coverage gradually. Pat and press rather than rubbing or dragging the product across your skin.

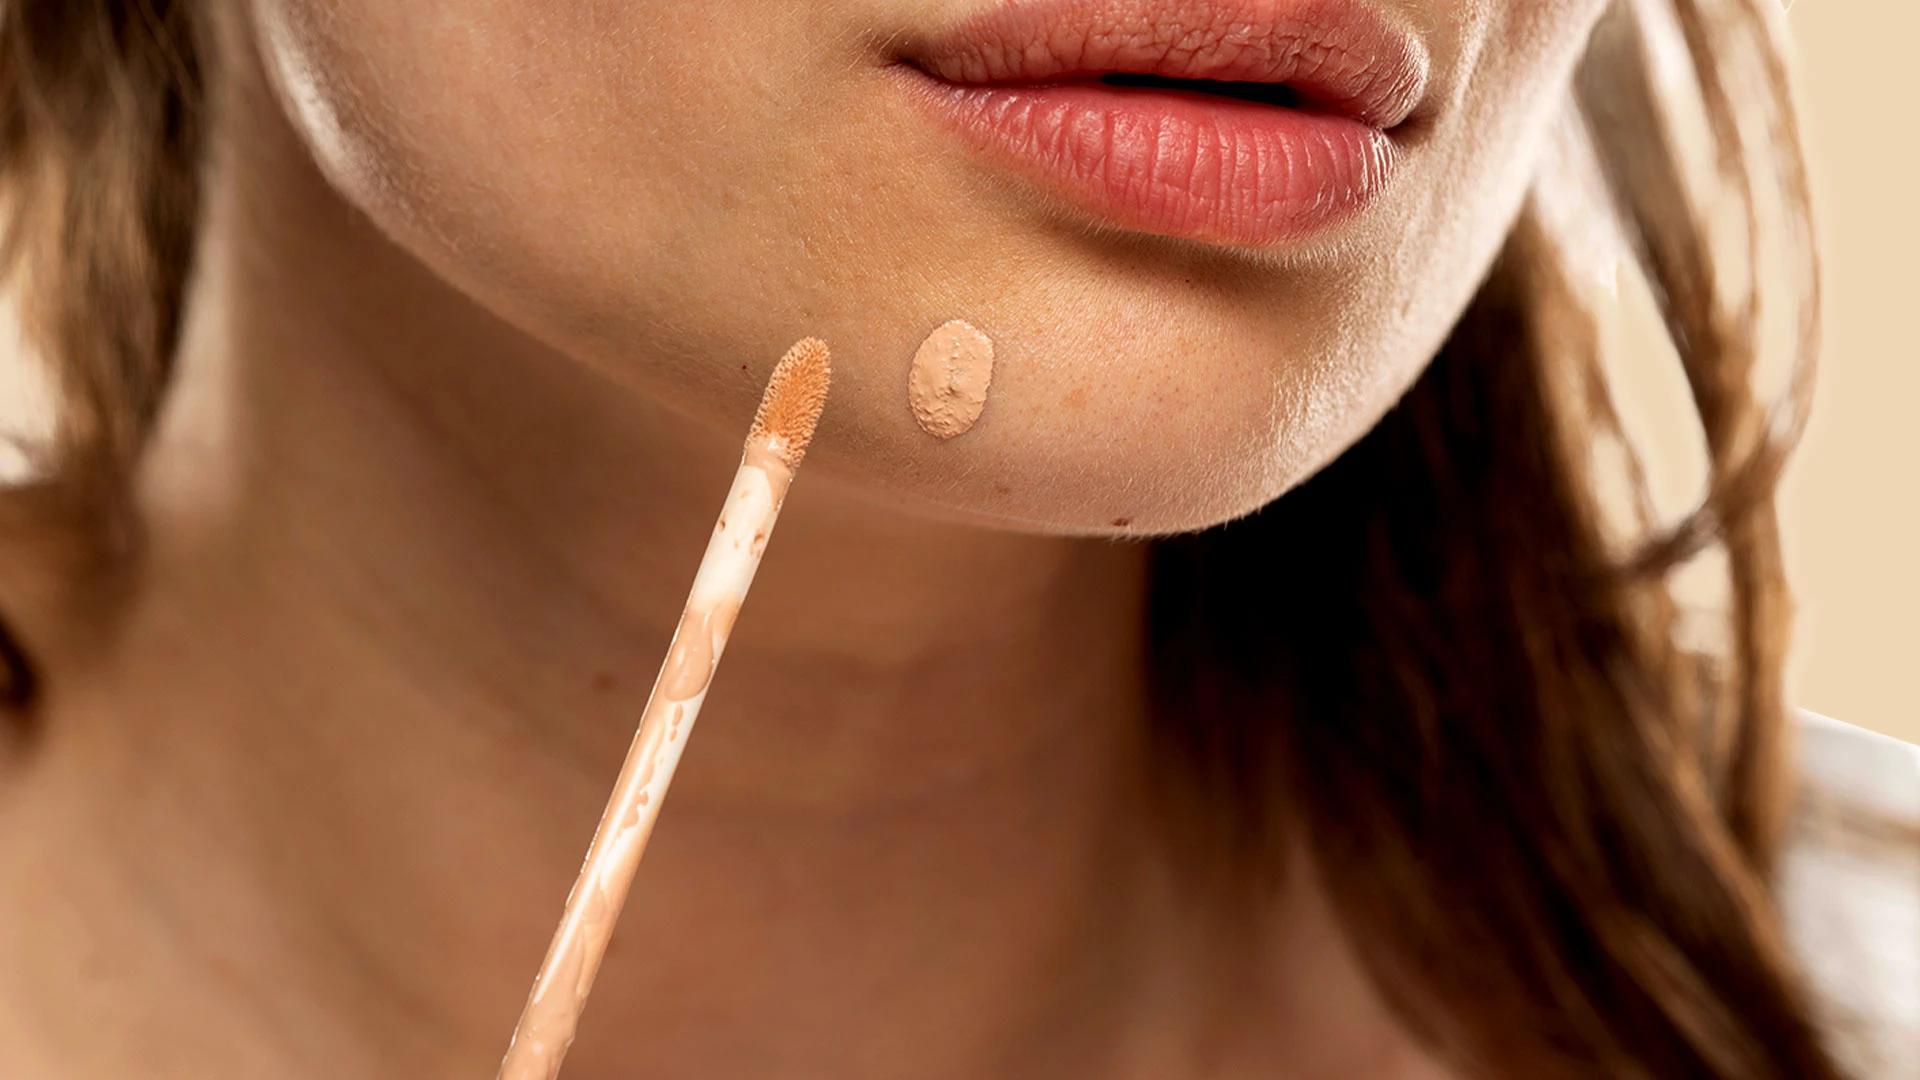
Concealer Magic: Covering Imperfections

Concealer is your targeted problem-solver. Unlike foundation, which covers your entire face, concealer focuses on specific areas that need extra attention. Mastering this step transforms your entire look. The trick is knowing when and where to use concealer. Some days you might need just a dot under each eye, other times you'll want to cover blemishes or even out discolouration around your nose.

Concealer Types and Uses

Under-eye concealer should be one shade lighter than your foundation to brighten and lift your eyes. This creates that fresh, awake look even on zero-sleep days. For blemishes, choose a concealer that matches your foundation exactly. Going too light will just draw attention to spots you're trying to hide.
Mini Makeup Essentials Kit for WomenCombo

IBA

Mini Makeup Essentials Kit for Women

946

Application Tips

Less is always more with concealer. Start with tiny amounts and build up coverage as needed—it's easier to add more than to remove excess product. Blending techniques matter here too. Use gentle tapping motions with your ring finger or a small brush to seamlessly blend edges without disturbing your foundation underneath.

Setting Your Base: Powder Techniques

Setting powder is your makeup's insurance policy. It keeps everything locked in place and prevents that dreaded midday meltdown when your carefully applied base starts sliding around. Not everyone needs powder, but if you have oily skin or want your makeup to last longer, this step becomes essential. The key is applying just enough to set without looking cakey or flat.

Choosing the Right Powder

Translucent powders work for most skin tones and won't change your foundation colour. They're perfect for setting without adding extra coverage. Loose powders give a more natural finish, whilst pressed powders are convenient for touch-ups throughout the day. Keep both in your kit if possible.

Application Methods

Use a fluffy brush for light, even application across your entire face. Focus extra attention on your T-zone where oil tends to appear first. The baking technique involves applying extra powder to areas prone to creasing, letting it sit for a few minutes, then brushing away the excess. It's worth trying if you struggle with under-eye creasing.

Sculpting Your Face: Contouring and Highlighting

Face contouring might sound intimidating, but it's simply about using light and shadow to define your features. You don't need to completely reshape your face—subtle contouring can add dimension and structure. The goal is to work with your natural bone structure, not against it. Start with light application and build up gradually until you find what looks natural on your unique features.

Contouring Basics

Contour goes in the hollows of your cheeks, along your jawline, and on the sides of your nose. These are naturally shadowed areas that you're just defining a bit more. Choose a contour shade that's only one or two shades deeper than your natural skin tone. Anything too dark will look muddy rather than naturally sculpted.

Highlighting Tricks

Highlighting tricks focus on the high points of your face where light naturally hits: cheekbones, nose bridge, centre of your forehead, and chin. Cream highlighters give a natural, dewy glow, whilst powder highlighters offer more intensity and staying power. Start with cream for a subtle effect.

Adding Colour: Blush Application

Blush brings life back to your face after foundation evens everything out. It's the step that makes you look healthy and glowing rather than flat or washed out. The right blush placement and colour choice can instantly make you look more youthful and awake. It's one of those small changes that makes a surprisingly big difference to your overall look.

Choosing the Right Blush Colour

Peach and coral tones work beautifully on warm skin tones, whilst pink and berry shades complement cooler undertones. When in doubt, pinch your cheeks and match that natural flush. Powder blushes last longer and are easier to control, whilst cream blushes blend seamlessly and give a natural, skin-like finish.

Blush Placement

Skincare Essentials Kit for Makeup LoversCombo

IBA

Skincare Essentials Kit for Makeup Lovers

224140 % OFF
1345
Smile and apply blush to the apples of your cheeks, then blend back towards your ears. This creates a natural, youthful flush. The draping technique involves applying blush higher on your cheekbones for a more editorial, sculpted effect. It's worth experimenting with different placements to find your perfect look.

Eye Makeup Mastery

Eye makeup is where you can really express your personality and creativity. From subtle eyeshadow techniques to bold liner looks, your eyes are the perfect canvas for experimentation. Start simple and build your skills gradually. Even basic eye makeup can completely transform your look and make your eyes appear brighter and more defined.

Eyeshadow Techniques

Begin with neutral shades that complement your eye colour. Browns, taupes, and soft golds work on almost everyone and are forgiving whilst you're learning. Apply lighter shades on your lid and darker shades in your crease. This basic technique adds dimension and makes your eyes look more open and defined.

Eyeliner Application

Start with pencil eyeliner—it's more forgiving than liquid and easier to smudge out if you make mistakes. Apply close to your lash line for definition. For steady application, rest your elbow on a table and use your other hand to gently pull your skin taut. Take your time—rushed eyeliner rarely looks good.

Mascara Tips

Wiggle the mascara wand at your roots, then pull through to the tips. This technique coats every lash and creates more volume at the base. Let each coat dry slightly before applying the next. Two thin coats always look better than one thick, clumpy application.

Perfect Pout: Lipstick Application

Lipstick application is the final step that pulls your entire look together. Whether you prefer subtle nudes or bold statement colours, proper application makes all the difference. Your lips frame your face and can completely change the mood of your makeup. Getting this step right ensures your look feels complete and polished.

Lip Prep

Exfoliate dry skin with a gentle lip scrub or soft toothbrush. Smooth lips help lipstick apply evenly and last longer throughout the day. Apply a thin layer of lip balm and let it absorb whilst you finish the rest of your makeup. Blot any excess before applying colour.

Lipstick Application Techniques

Applying with a brush gives you more precision and control, especially with bold colours. Start at the centre of your lips and work outwards. For longer wear, apply one layer, blot with tissue, then apply a second layer. This technique helps the colour adhere better to your lips.

Essential Makeup Brushes and Tools

Having the right makeup brushes makes application easier and results look more professional. You don't need dozens of brushes—just a few quality basics that serve multiple purposes. Invest in brushes gradually and take care of them with regular cleaning. Good brushes last years when properly maintained and make every step of your routine more enjoyable.

Face Brushes

A foundation brush or beauty sponge helps achieve smooth, even coverage. Sponges work best when slightly damp for a natural finish. Fluffy powder brushes distribute product evenly without leaving streaks. A smaller, denser brush works perfectly for applying blush and bronzer with precision.
Makeup Kit Festive Makeup Kit56 gm

Teen Teen

Makeup Kit Festive Makeup Kit

54924 % OFF
417

Eye Brushes

A flat eyeshadow brush packs colour onto your lids, whilst a fluffy blending brush softens harsh edges and creates smooth transitions between shades. A small, angled brush works for both eyebrow filling and precise eyeliner application. This versatility makes it worth having in your collection.

Other Essential Tools

Beauty sponges should be replaced regularly—they're not meant to last forever. Damp sponges blend foundation better than dry ones. An eyelash curler opens up your eyes and makes lashes appear longer. Use it before mascara application for the best results.

Blending Techniques for a Seamless Finish

Mastering blending techniques separates amateur makeup from professional-looking results. Proper blending ensures all your products work together harmoniously rather than sitting on top of your skin. The key to good blending is patience and the right tools. Rushing this step often leads to patchy, uneven results that require starting over.

Face Makeup Blending

Work in small sections when blending foundation, ensuring each area seamlessly connects to the next. Pay special attention to your jawline and hairline where foundation can look obvious. Contour and blush should fade gradually into your foundation without harsh lines. Use clean brushes to soften edges and create natural-looking dimension.

Eye Makeup Blending

Eyeshadow blending requires a light hand and circular motions. Work in thin layers, building colour gradually rather than applying too much at once. Soften eyeliner by gently smudging with a small brush or cotton swab. This technique creates a more wearable, lived-in effect that's perfect for everyday looks.

Frequently Asked Questions

How long does it take to apply a full face of makeup?

For beginners, expect 30-45 minutes for a complete look whilst you're learning. With practice, most people can do a full face in 15-20 minutes. The key is having an organised setup and practicing your technique regularly.

What's the best way to make makeup last all day?

Start with proper skincare prep, use a setting spray after powder, and choose long-wearing formulas for products like foundation and lipstick. Blotting papers help manage oil without disturbing your makeup during the day.

How can I adapt these steps for oily skin?

Use oil-free products, apply primer before foundation, and set with powder focusing on your T-zone. Blotting papers and setting spray become essential tools for maintaining your look throughout the day.

Are there any shortcuts for a quick everyday makeup look?

Focus on evening out your skin tone with foundation or tinted moisturiser, add mascara and lip colour. These three steps create a polished look in under 10 minutes whilst still following proper makeup steps.

Final Thoughts

Mastering these makeup steps takes practice, but that's part of the fun. Each time you try, you'll discover something new about what works for your unique features and lifestyle. Remember, makeup should make you feel confident and express your personality—there's no single "right" way to do it. Start with the basics covered in this guide, then experiment and adapt as you build your skills. Your beauty routine should evolve with you, and the most important thing is that it makes you feel like the best version of yourself.
Sangria Experience Logo
Document