Beauty Blender Essentials: Your Ultimate Checklist

Beauty Blender Essentials: Your Ultimate Checklist
Published Date - 22 July 2025
Makeup Superblender 1pc, Angled Edge Sponge For Effortless Application1 Pcs

RENEE

Makeup Superblender 1pc, Angled Edge Sponge For Effortless Application

299
That little egg-shaped wonder sitting in your makeup bag? Yeah, that's your secret weapon for absolutely gorgeous makeup application. Your beauty blender isn't just another cosmetic sponge—it's the difference between looking put-together and looking like you walked straight out of a makeup tutorial. Whether you're a total beginner or someone who's been doing their makeup for years, this checklist will sort you right out. From choosing your perfect match to mastering those pro-level techniques, we've got everything you need to make your beauty blender work harder for you.

Understanding Beauty Blenders

Let's get real about what makes a beauty blender so special. It's not just marketing hype—this blending tool actually does something different from your regular makeup sponge. The unique material and shape create a finish that brushes and fingers just can't match.

What is a Beauty Blender?

A beauty blender is essentially a **teardrop-shaped makeup sponge** designed to apply and blend liquid and cream products seamlessly. Unlike traditional makeup sponges that can absorb too much product or leave streaky marks, a proper beauty blender expands when damp and bounces product onto your skin rather than soaking it up. This creates that **flawless finish** everyone's after—no harsh lines, no cakey patches, just smooth, even coverage.

Types of Beauty Blenders

The classic **beauty egg** shape isn't your only option these days. You've got the original teardrop design that's perfect for all-over application, flat-edged versions that work brilliantly for contouring and precise work, and mini versions that are absolute game-changers for under-eye concealer. Each shape serves a purpose, so think about what you actually need before adding to your collection.

Your Perfect Beauty Blender Checklist

Choosing the right foundation applicator can feel overwhelming with so many options out there. But here's the thing—the best beauty blender for you depends on what you're actually using it for. Let's break it down so you can make the right choice without second-guessing yourself.

Factors to Consider

• **Your go-to products**: Liquid foundations need different handling than cream concealers • **Skin type**: Oily skin might need a different approach than dry skin • **Application areas**: Full face coverage versus targeted spot concealing • **Your skill level**: Some techniques are more forgiving than others Match your makeup blender to what you're actually doing with it. No point getting a massive one if you're only using concealer, right?

Material Matters

Beauty Blender Makeup Sponge Set With Storage Case1 Unit

Getmecraft

Beauty Blender Makeup Sponge Set With Storage Case

59917 % OFF
497
Not all cosmetic sponges are created equal. Look for latex-free options if you have sensitive skin—trust me on this one. The material should feel soft but not flimsy, and it should expand noticeably when wet. If it stays the same size when damp, it's probably not going to give you that **seamless coverage** you're after.

Essential Beauty Sponge Techniques

Here's where the magic happens. Knowing how to use your blending tool properly makes all the difference between looking amazing and looking like you've applied your makeup with a paint roller. These techniques might seem basic, but getting them right changes everything.

The Bounce Technique

This is your bread and butter move. Dampen your beauty blender until it's expanded but not dripping. Apply your foundation in dots across your face, then **bounce** the sponge over each area. Don't drag or swipe—literally bounce it up and down. This technique presses product into your skin while blending the edges, creating that natural, seamless finish that makes people ask what foundation you're wearing.

Stippling Method

When you need more coverage or you're working with thicker products, stippling is your friend. Press the sponge straight down onto your skin and lift straight up—no rolling or sliding. This works brilliantly for concealer, especially around blemishes where you need precision. The key is patience; build up coverage gradually rather than trying to get full coverage in one go.

Rolling Technique

For blending harsh lines or working product into areas like your hairline and jawline, gentle rolling motions work wonders. Use the rounded side of your beauty blender and roll it along the edges where your makeup meets your skin. This technique is particularly good for blending contour and bronzer—just make sure your sponge is only slightly damp for powder products.

Maintenance and Care Checklist

Your beauty blender is only as good as how well you look after it. A dirty sponge doesn't just perform poorly—it can actually cause breakouts and skin irritation. Here's how to keep yours in top condition so it keeps giving you that **flawless finish**.

Daily Cleaning Steps

Master Blender1 Pieces

RENEE

Master Blender

499
• Rinse immediately after use with lukewarm water • Squeeze gently until the water runs clear • Use a gentle cleanser if you've used heavy or waterproof products • Never twist or pull the sponge while cleaning A quick daily clean takes literally 30 seconds but extends the life of your sponge dramatically. Don't skip this step—it's worth the extra minute.

Deep Cleaning Process

Once a week, give your beauty blender a proper deep clean. Soak it in warm, soapy water for a few minutes, then gently squeeze and rinse until all the soap is gone. You can use baby shampoo, gentle face wash, or specialist sponge cleaners. The key is being gentle—aggressive scrubbing will tear the material and ruin the texture.

Drying and Storage

Always let your beauty blender air dry completely before storing it. Putting a damp sponge away is asking for bacterial growth. Store it somewhere with good air circulation—not in a closed makeup bag or drawer. Some people use the little stands that come with certain sponges, but even just leaving it on a clean surface works fine.

Advanced Beauty Blender Hacks

Once you've mastered the basics, these pro tips will take your makeup application to the next level. These aren't just fancy techniques—they're genuinely useful tricks that can solve specific makeup challenges you might be facing.

Multi-Product Application

Use different sides of your beauty blender for different products to avoid muddying colours. The pointed tip is perfect for precise concealer work, while the rounded side handles foundation beautifully. Some people even designate specific sponges for specific product types—one for base makeup, another for cream blush and contour.

Precision Application

That pointed end isn't just for show. It's brilliant for getting concealer right up to your lash line, blending highlighter on the bridge of your nose, or sorting out any patchy bits around your nostrils. The key is using just the very tip with gentle pressure—you want precision, not heavy coverage.

Custom Shapes

Vega Fabric Facial Band for Women, 20g (Assorted), (FB-01)1 unit

VEGA

Vega Fabric Facial Band for Women, 20g (Assorted), (FB-01)

120
If you're feeling adventurous, you can cut your beauty blender to create custom shapes for specific uses. Some people cut a flat edge for contouring or trim the tip to make it more pointed. Just remember that once you cut it, there's no going back, so maybe try this with an older sponge first.

Frequently Asked Questions

Let's sort out the most common questions about beauty blenders. These come up all the time, and getting clear answers helps you make better decisions about your makeup application routine.

Can I use a beauty blender for powder products?

Yes, but keep it only slightly damp—not as wet as you would for liquid products. A damp beauty blender can actually help set your makeup and blend powder seamlessly. Just make sure you're not soaking wet, or you'll end up with patchy application.

How often should I replace my beauty blender?

Most beauty blenders should be replaced every 3-4 months with regular use. Signs it's time for a new one include persistent staining that won't wash out, tears or rough patches, or if it's not expanding properly when wet. If it starts smelling funky even after cleaning, definitely bin it.

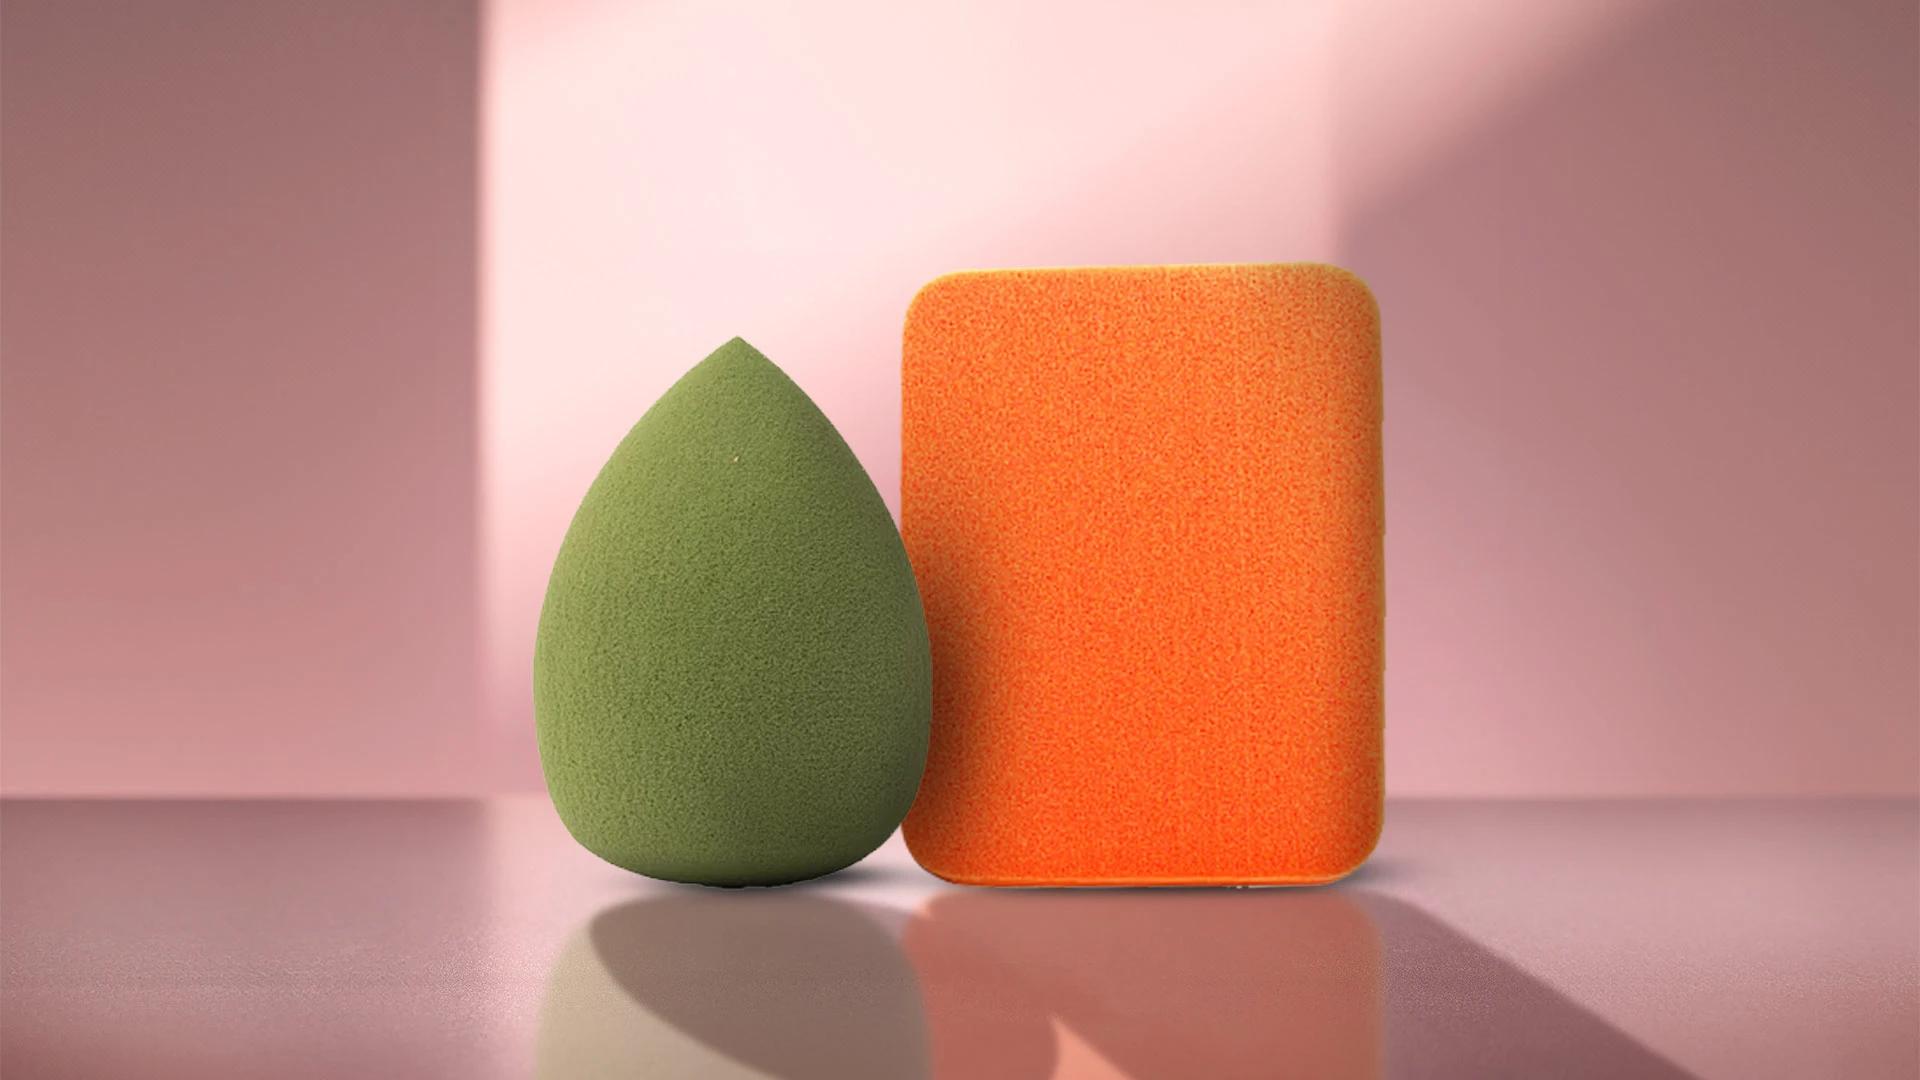
Are there alternatives to expensive beauty blenders?

Absolutely. Many cosmetic sponges perform similarly to high-end versions at a fraction of the price. The key is finding ones that expand when wet, have a soft texture, and don't absorb all your product. Sometimes it's worth trying a few different ones to find your perfect match.

Can I use a beauty blender for skincare application?

While it's possible, it's not really necessary for most skincare products. Your hands are usually more effective for serums and moisturisers. However, some people do use clean, damp beauty blenders to apply face masks evenly or to blend cream skincare products.

Final Thoughts

Your beauty blender really can be a game-changer for your makeup application—when you know how to use it properly. From choosing the right type to mastering different techniques, each step in this checklist builds towards that **seamless coverage** everyone's after. Remember, practice makes progress, not perfection. Don't expect to nail every technique immediately. The most important thing is keeping your sponge clean and replacing it regularly. With the right care and technique, your beauty blender will become that reliable tool you reach for every single day. Whether you're going for natural everyday coverage or full glam, these techniques will serve you well.
Sangria Experience Logo
Document