7 Pro Tips for Easy Blush Application Magic

Squishy Blush
Let's be real—blush can make or break your entire makeup look. One minute you're going for that perfect rosy glow, and the next you look like you've been slapped by a colour palette. But here's the thing: easy blush application isn't some mythical skill reserved for makeup artists. With the right techniques and a bit of practice, you can master that effortless flush that makes people ask if you've just returned from a lovely holiday. Whether you're a complete beginner or someone who's been struggling with patchy application, these seven pro tips will transform your blush game forever.
Think of blush as the secret weapon that brings life back to your face. When you nail the easy blush application, it's like having an instant filter that makes you look healthier, younger, and more awake. The right blush techniques can lift your cheekbones, warm up your complexion, and tie your entire look together.
But here's where most people go wrong—they either skip blush entirely or apply it so heavily that it dominates their face. Poor blush placement can actually age you, making your features look harsh or unnatural. When you master proper application, you're not just adding colour; you're enhancing your bone structure and creating that coveted natural glow that looks like it comes from within.
Before diving into techniques, let's talk about the different types of blush and how each one affects your application process. Choosing the right formula can make applying blush so much easier.
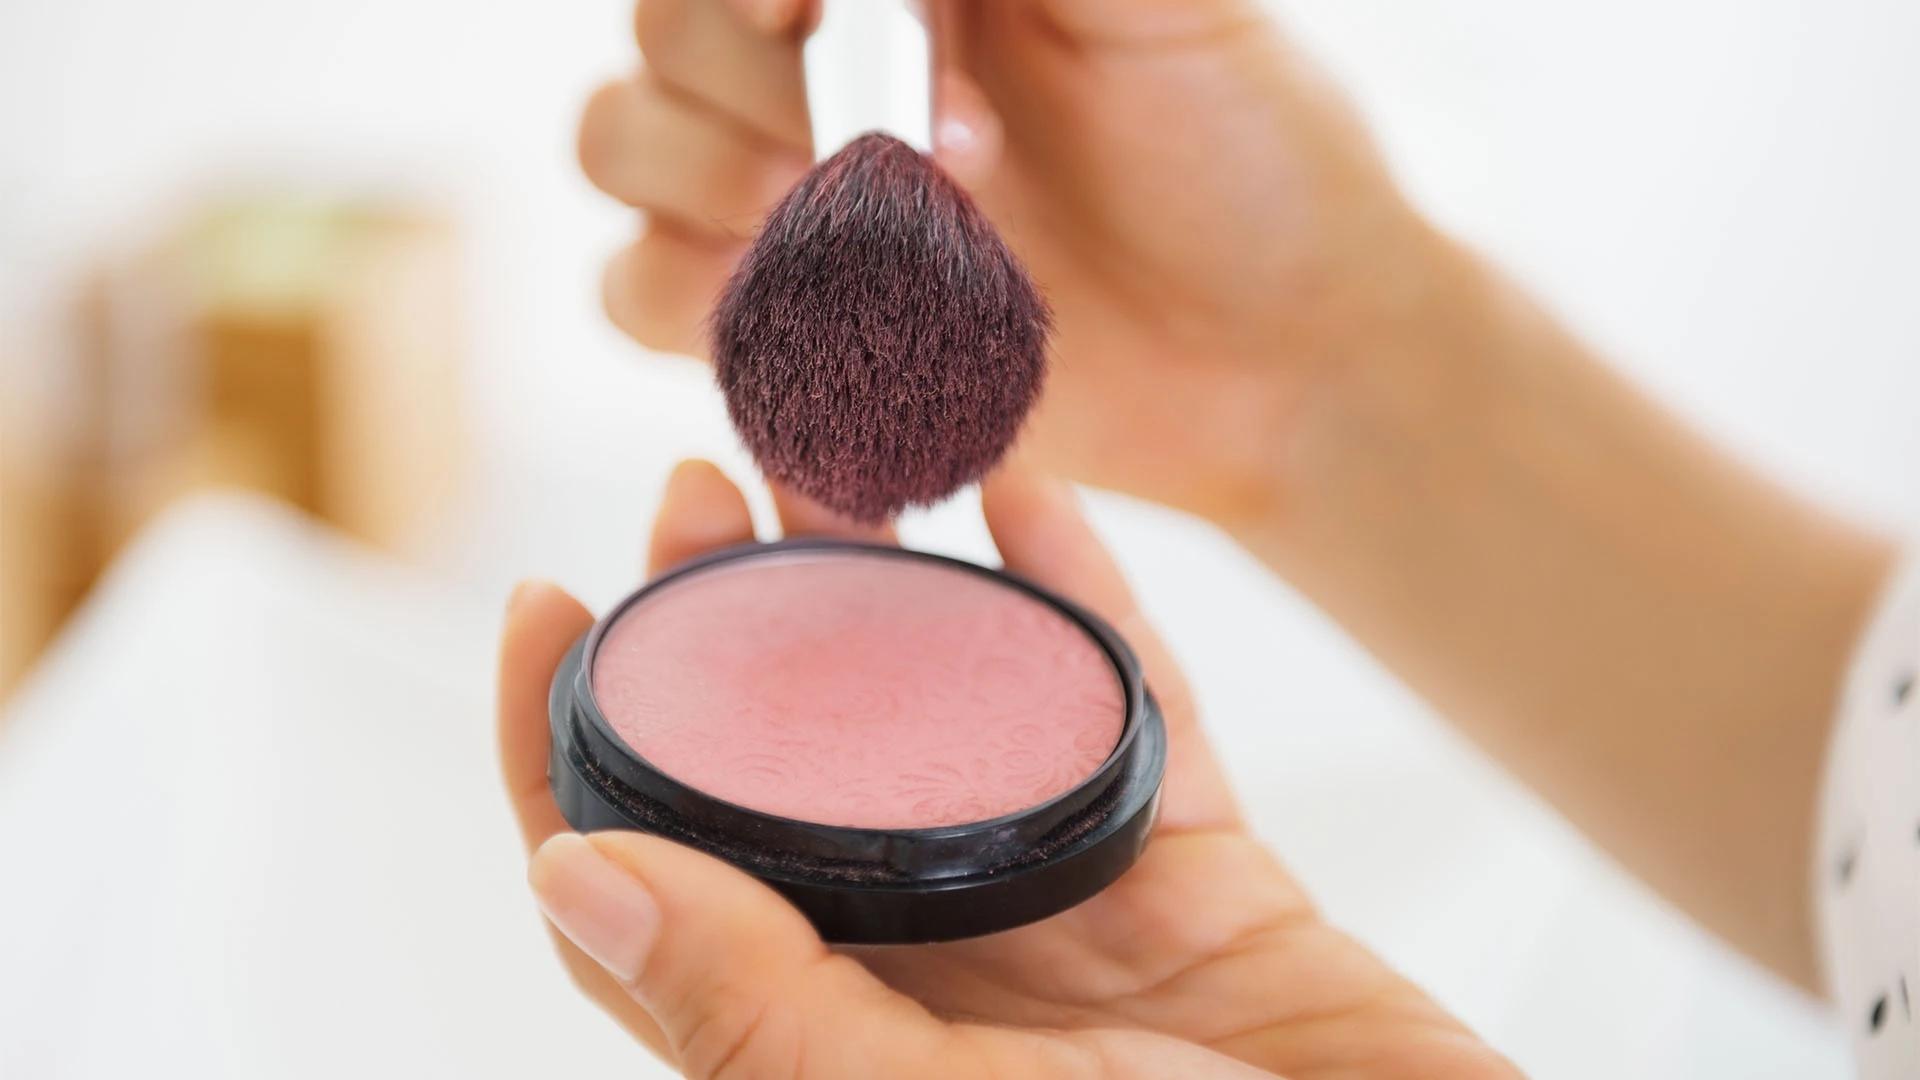
This is your best friend if you're just starting out. Powder blush is forgiving, buildable, and works brilliantly with most skin types. It's particularly fantastic for oily skin since it helps absorb excess shine whilst adding colour.
Want that natural, skin-like finish? Cream blush melts into your skin beautifully and gives you the most realistic flush. It's perfect for dry skin and creates that dewy, healthy glow that looks completely effortless.
These babies are having a major moment right now. Liquid formulas offer incredible longevity and can create everything from a subtle tint to a bold pop of colour. They require a slightly different application technique but the payoff is worth it.
Think of gel blush as the middle ground between liquid and cream. It's buildable, long-wearing, and gives you that perfect balance of pigmentation and blendability.
Your brush choice can completely change your blush makeup game. The best blush brush for you depends on the look you're going for and your skill level.
These are brilliant for precise blush placement and can help you contour whilst you colour. The angled shape naturally follows your cheekbone, making it nearly impossible to mess up.
Perfect for that soft, diffused look. These brushes pick up just the right amount of product and blend seamlessly for a natural finish.

You Are Blushing Liquid Blush
Dense brushes give you more control and intensity, whilst loosely packed ones create a softer, more natural application. Choose based on your desired intensity and the pigmentation of your blush.
Don't underestimate your fingers, especially for cream and liquid formulas. Your body heat helps blend the product naturally. Beauty sponges can also create a gorgeous, airbrushed finish.
Here's where understanding blush for face shape becomes crucial. The same placement technique doesn't work for everyone, and that's perfectly fine.
Place two fingers horizontally from your nose towards your ear. This gives you the perfect starting point for most face shapes and prevents you from placing blush too close to your nose.
Sweep your blush upward towards your temples to create length and lift. Avoid the apples of your cheeks and focus on the higher planes of your face.
You've won the face shape lottery! Classic apple placement works beautifully on oval faces. Smile and apply to the rounded part of your cheeks, blending upward.
Soften those gorgeous angular features by applying blush in a circular motion on the apples of your cheeks. This creates curves and balances your strong jawline.
Apply blush slightly lower on your cheeks and blend downward to balance your narrower chin with your wider forehead.
Now for the main event—these blush tips will transform how you approach applying blush and help you achieve that perfect natural blush look every single time.
Smile naturally and apply blush to the rounded part of your cheeks. This technique works for most face shapes and creates that youthful, healthy glow. Start light and build up gradually—you can always add more, but removing excess is trickier.

Cheek-A-Boo Matte Blush
Apply blush slightly higher than the apples, sweeping upward toward your temples. This creates an instant lifting effect and makes your cheekbones appear more prominent. It's particularly flattering if you want to combat any signs of sagging.
This advanced technique involves applying blush from your temples down to your cheeks in a C-shape. It's dramatic but incredibly flattering when done correctly. Use a light hand and blend thoroughly for the best results.
Start with a lighter shade on the apples and gradually build up to a deeper tone toward your hairline. This creates dimension and makes your blush look more sophisticated and professional.
Choose a blush that complements your lip colour for a cohesive, pulled-together appearance. This technique is foolproof and always looks polished.
Use a slightly deeper blush shade in the hollows of your cheeks, then apply a brighter shade on the apples. This creates natural-looking dimension without obvious contouring lines.
Pinch your cheeks gently and note where you naturally flush. Apply your blush to these exact areas for the most realistic, natural-looking result.
Ready to put these blush techniques into practice? Here's your foolproof guide to easy blush application that works every time.
Start with clean, moisturised skin and your base makeup already applied. Choose a blush shade that complements your undertones—warm tones for warm undertones, cool tones for cool undertones. When in doubt, peachy-pink shades work on almost everyone.
Load your brush with product, then tap off the excess. This prevents you from applying too much at once. Apply the blush using your chosen technique, starting with light pressure and building up gradually. Blend the edges seamlessly using circular motions or gentle sweeping strokes.
Step back and assess your work in natural light if possible. Artificial lighting can be deceiving, and you want to ensure your blush looks natural in all settings. If you've applied too much, use a clean, fluffy brush or beauty sponge to blend and diffuse the colour.
Once you've mastered basic blush placement, it's time to think about how blush works with the rest of your makeup. The key is creating harmony rather than competition between your products.
Apply your blush first, then add highlighter to the high points of your cheeks—just above where your blush sits. This creates beautiful dimension and makes your skin look naturally radiant. Choose highlighter and blush shades that complement each other; warm blushes pair beautifully with golden highlighters, whilst cool-toned blushes work well with silver or pink-toned highlighters.

Swiss Beauty Dew It Up Liquid Blush
For those with rosacea or sensitive skin, opt for gentle, buildable formulas and avoid over-blending, which can irritate the skin. Cream blushes are often more comfortable than powder formulas for sensitive skin types.
Even with the best blush tips, things can go wrong. Here's how to fix the most common issues.
If you've applied too much blush, don't panic. Use a clean, fluffy brush to blend and diffuse the colour. You can also apply a light dusting of translucent powder to tone down the intensity. For patchy application, use a damp beauty sponge to blend and even out the colour.
When your blush looks muddy or dirty, it's usually because you've mixed incompatible undertones or applied over unset foundation. Always let your base makeup set before applying blush, and stick to one undertone family.
If your blush fades quickly, try using a cream blush under powder blush for longer wear, or set your cream blush with a matching powder shade. Smytten offers trial-sized versions of various blush formulas from trusted brands, so you can experiment with different types and find what works best for your skin without committing to full-size products.
Start with the two-finger rule for placement, use a fluffy brush, and build colour gradually. Smile naturally and apply to the apples of your cheeks, blending upward toward your temples.
Powder blush is generally the most beginner-friendly because it's buildable and forgiving. Cream blush is also excellent for creating a natural finish.
Place two fingers horizontally from the side of your nose toward your ear. This marks the closest point where you should apply blush to avoid placing it too close to your nose.
Use gentle, buildable formulas and avoid over-blending. Cream blushes are often more comfortable than powders. Apply lightly and focus on areas where you don't have natural redness.
For powder blush, apply after setting powder. For cream blush, apply before powder to ensure it blends seamlessly with your base makeup.
Mastering easy blush application is one of those skills that completely transforms your makeup routine. Once you understand your face shape, choose the right tools, and practice these techniques, you'll wonder why blush ever seemed intimidating.
Remember, the best blush look is one that enhances your natural beauty rather than masking it. Don't be afraid to experiment with different shades and techniques until you find your signature look. With Smytten's trial-sized options from brands like Renee and other trusted names, you can explore various blush formulas and shades without the commitment of full-size purchases. After all, why settle for maybe when you can try different options and find your perfect match? The platform's trial packs make it easy to discover what works best for your skin tone and preferences, ensuring you make confident choices about your makeup collection.
