7 Must-Try Highlighter Techniques for Glowing Skin
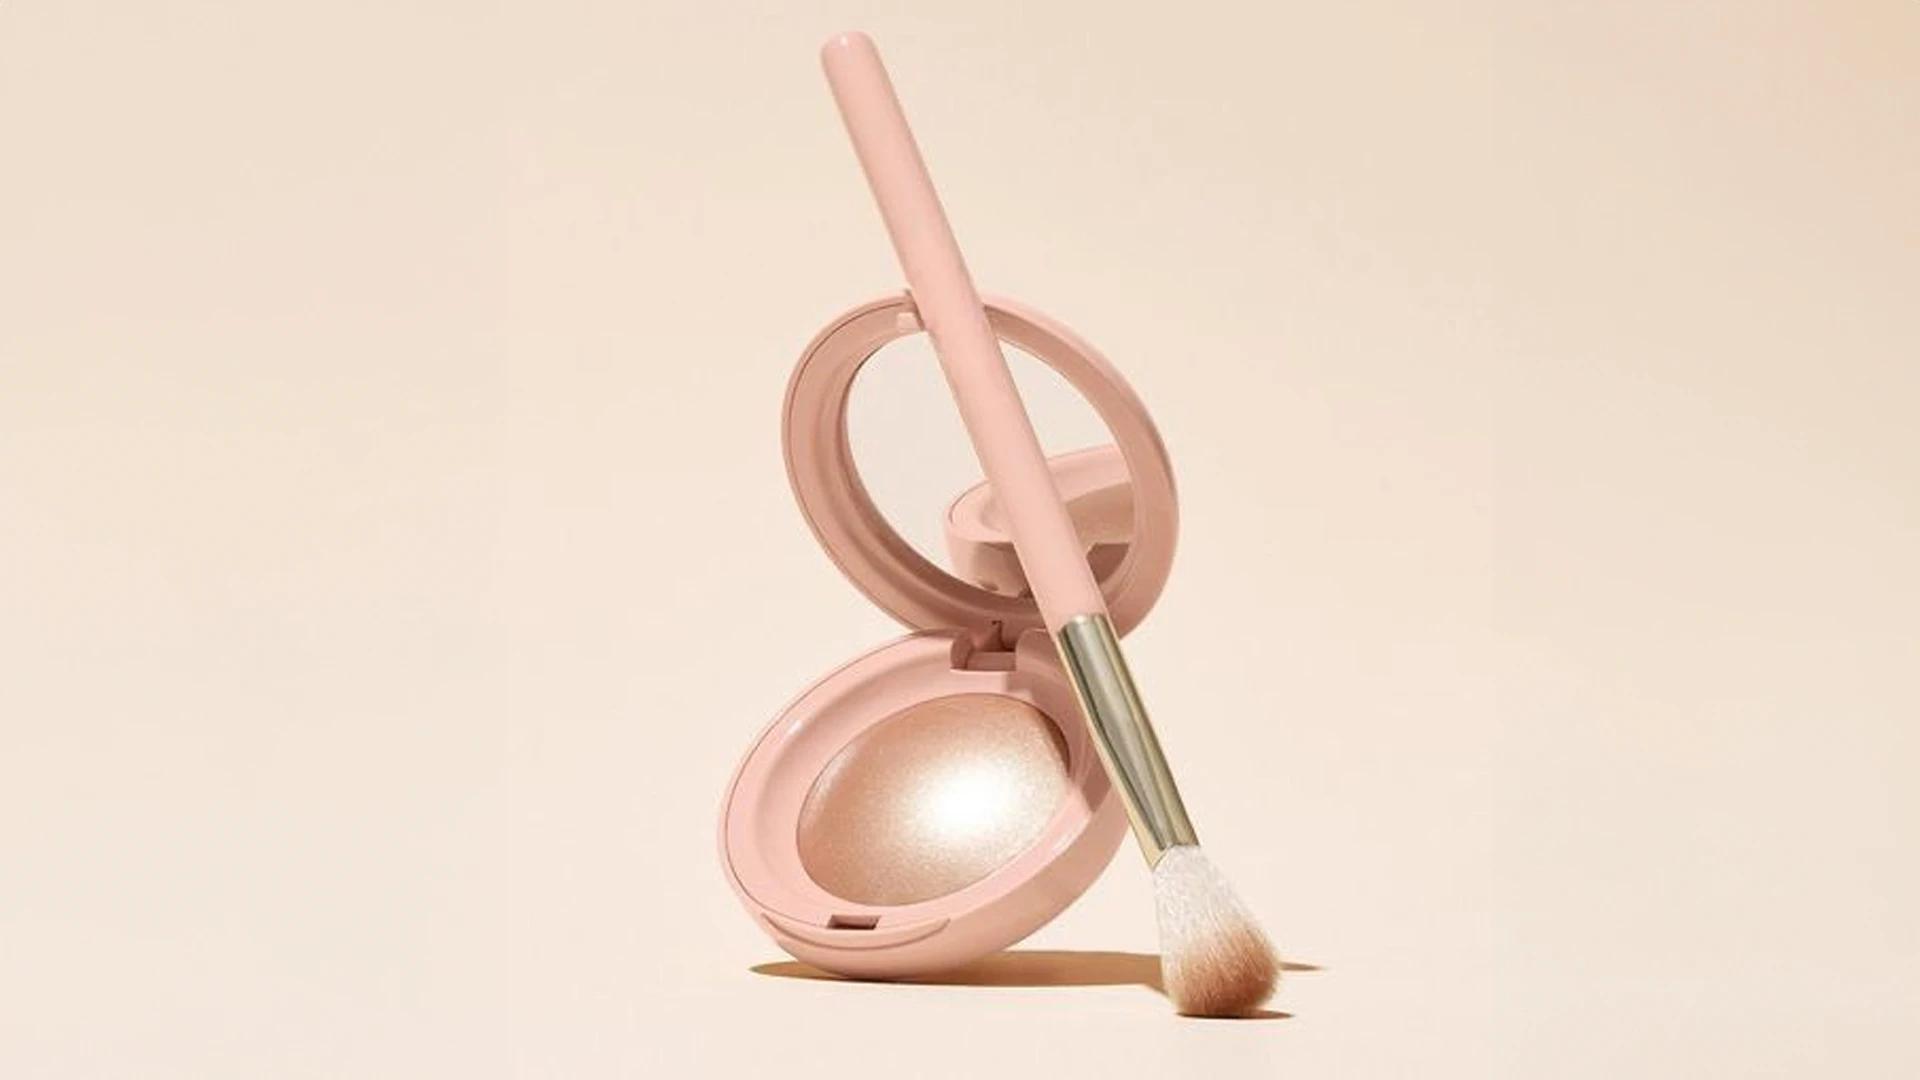

Drop & Glow Liquid Highlighter
That perfect glow everyone's obsessing over? It's not just good genes or expensive skincare (though those help). The secret lies in mastering the art of highlighter application. Whether you're team natural radiance or full-on strobing, knowing where and how to place your makeup highlighter can transform your entire look. Real talk—it's the difference between looking like you've got your life together and actually glowing from within. Ready to discover seven game-changing techniques that'll have people asking about your skincare routine when it's really just strategic light placement?
Let's start with the basics because not all highlighters are created equal. A face highlighter is essentially your secret weapon for mimicking natural light on your skin. It works by reflecting light off the high points of your face—those areas where sunlight would naturally hit first.
When light hits reflective particles in your highlighter, it bounces back to create that coveted luminous effect. This optical illusion makes certain features appear more prominent whilst adding dimension to your face. Think of it as strategic contouring, but instead of creating shadows, you're amplifying light.
Choosing the right formula can make or break your glow game. Here's what works best for different needs:
Powder highlighter: Your go-to for oily skin types and long-lasting wear. Easy to build up and blend seamlessly.
Cream highlighter: Perfect for dry skin, giving that natural, skin-like finish that doesn't emphasise texture.
Liquid highlighter: The most versatile option—mix it with foundation, use it as a base, or apply on top for buildable coverage.
Highlighter stick: Ideal for quick touch-ups and travel. Great for precise application on smaller areas.
Your highlighter brush choice can completely change your final look. The right tool ensures even distribution and helps you achieve the exact intensity you're after.
Fan brushes give you that subtle, diffused glow that's perfect for everyday wear. Dense, fluffy brushes pack on more product for those Instagram-worthy moments. Don't overlook your fingers either—the warmth helps cream formulas blend beautifully, and sometimes that's all you need for a natural finish.
When working with bronzer and highlighter together, application order matters. Bronzer first to warm up your complexion, then highlighter to add that final luminous touch. This creates depth and dimension that looks naturally sun-kissed rather than obviously made up.

Highlighter Duo lightweight & Long Lasting Highly-Pigmented Powder
Now for the good stuff—the techniques that'll transform your makeup game. Each method serves a different purpose, so feel free to mix and match based on your mood and the look you're going for.
This is your starter technique—foolproof and universally flattering. Apply your best highlighter along the highest point of your cheekbones, starting from the apple and sweeping towards your temples. The key is following your natural bone structure rather than trying to create something that isn't there.
Map out a C-shape starting from your forehead, curving around your eye socket, and ending at the high point of your cheek. This technique uses shimmer highlighter to create a lifted, youthful effect that's particularly gorgeous in photos. Blend well to avoid harsh lines.
A thin line down the bridge of your nose and a small dot on the tip can make your nose appear straighter and more refined. Keep it subtle—you want to enhance, not create a disco ball effect. This works beautifully with liquid highlighter for precise application.
A tiny amount of highlighter in your inner corners instantly makes your eyes look bigger and brighter. It's like getting eight hours of sleep in a single swipe. This technique works with any formula, but liquid tends to stay put longer in this area.
A small amount of highlighter on your cupid's bow makes your lips appear fuller and more defined. It's particularly effective when you want to make a statement with your lip colour. Just remember—less is more here.
Highlighting your temples and the centre of your forehead creates the illusion of a lifted face. This technique is brilliant for adding warmth and dimension, especially when you're going for that healthy, outdoorsy glow.

Glaze Nectar Ultra Radiance Liquid Highlighter
This advanced technique involves highlighting multiple points across your face for an all-over glow. Think cheekbones, nose bridge, inner corners, cupid's bow, and chin. It's bold, it's beautiful, and it's perfect for special occasions when you want to look absolutely radiant.
Your skin type and tone play a huge role in which highlighter formulas and shades will work best for you. Understanding these factors helps you make choices that enhance rather than fight against your natural features.
Oily skin benefits from powder formulas that won't slide around throughout the day. If you've got dry skin, cream highlighters will give you that coveted dewy finish without emphasising flaky patches. Combination skin? You might want to use different formulas on different areas of your face.
Cool undertones look gorgeous with silvery, icy shades, whilst warm undertones are flattered by golden, peachy hues. Neutral undertones can play with both families. The goal is to enhance your natural radiance, not create an obvious contrast.
Even the best intentions can go wrong without proper technique. Here's how to sidestep the most common highlighter mistakes that can leave you looking more glittery than glowing.
If you can see your highlighter from space, you've gone too far. Build up gradually—you can always add more, but taking away excess product is much trickier. When in doubt, blend it out.
Highlighting areas where you naturally get oily will only emphasise shine in unflattering ways. Stick to the high points where light would naturally hit, and avoid areas like your T-zone if you're prone to oiliness.

Glam Highlighter Palette
Discovering the perfect highlighter technique often comes down to experimentation, and that's where Smytten's trial packs become your best friend. With access to over 1,500 trusted brands including makeup favourites like Renee and Bella Vita, you can try different highlighter formulas without committing to full-size purchases. Getting up to 8 minis for just ₹249 means you can test powder, cream, and liquid highlighters to find your perfect match.
Powder highlighters are most forgiving for beginners because they're easier to blend and build up gradually. Start with a subtle, champagne-toned shade and a fluffy brush for foolproof application.
Absolutely! A touch of highlighter on clean, moisturised skin can give you that fresh, natural glow perfect for no-makeup days. Cream or liquid formulas work best for this minimal approach.
If your highlighter is visible from more than arm's length away, or if it looks chalky or glittery rather than luminous, you've probably overdone it. The goal is a natural-looking glow that enhances your features.
Not exactly—highlighter should complement your undertones whilst being slightly lighter than your natural skin tone. This creates the light-reflecting effect that makes the technique work.
Definitely! Daytime highlighter should be more subtle than evening application. Opt for satin finishes over intense shimmer, and focus on just one or two key areas like cheekbones and inner corners.
Mastering these seven highlighter techniques isn't about following rules—it's about understanding how light works with your unique features. Start with one technique that appeals to you, practice until it feels natural, then gradually add others to your repertoire. Remember, the best highlighter look is one that makes you feel confident and radiant.
The beauty of makeup lies in experimentation, and with Smytten's extensive collection of trial-sized products, you can explore different brands and formulas risk-free. With 100% cashback on trial purchases and over 25 million users discovering their perfect products, you're in good company. Whether you're drawn to subtle everyday glow or full-on strobing, there's a technique and formula combination that's perfect for you. After all, why settle for maybe when you can try it all and find exactly what makes you shine?
