How to Create Caramel Balayage at Home: Easy DIY Tutorial
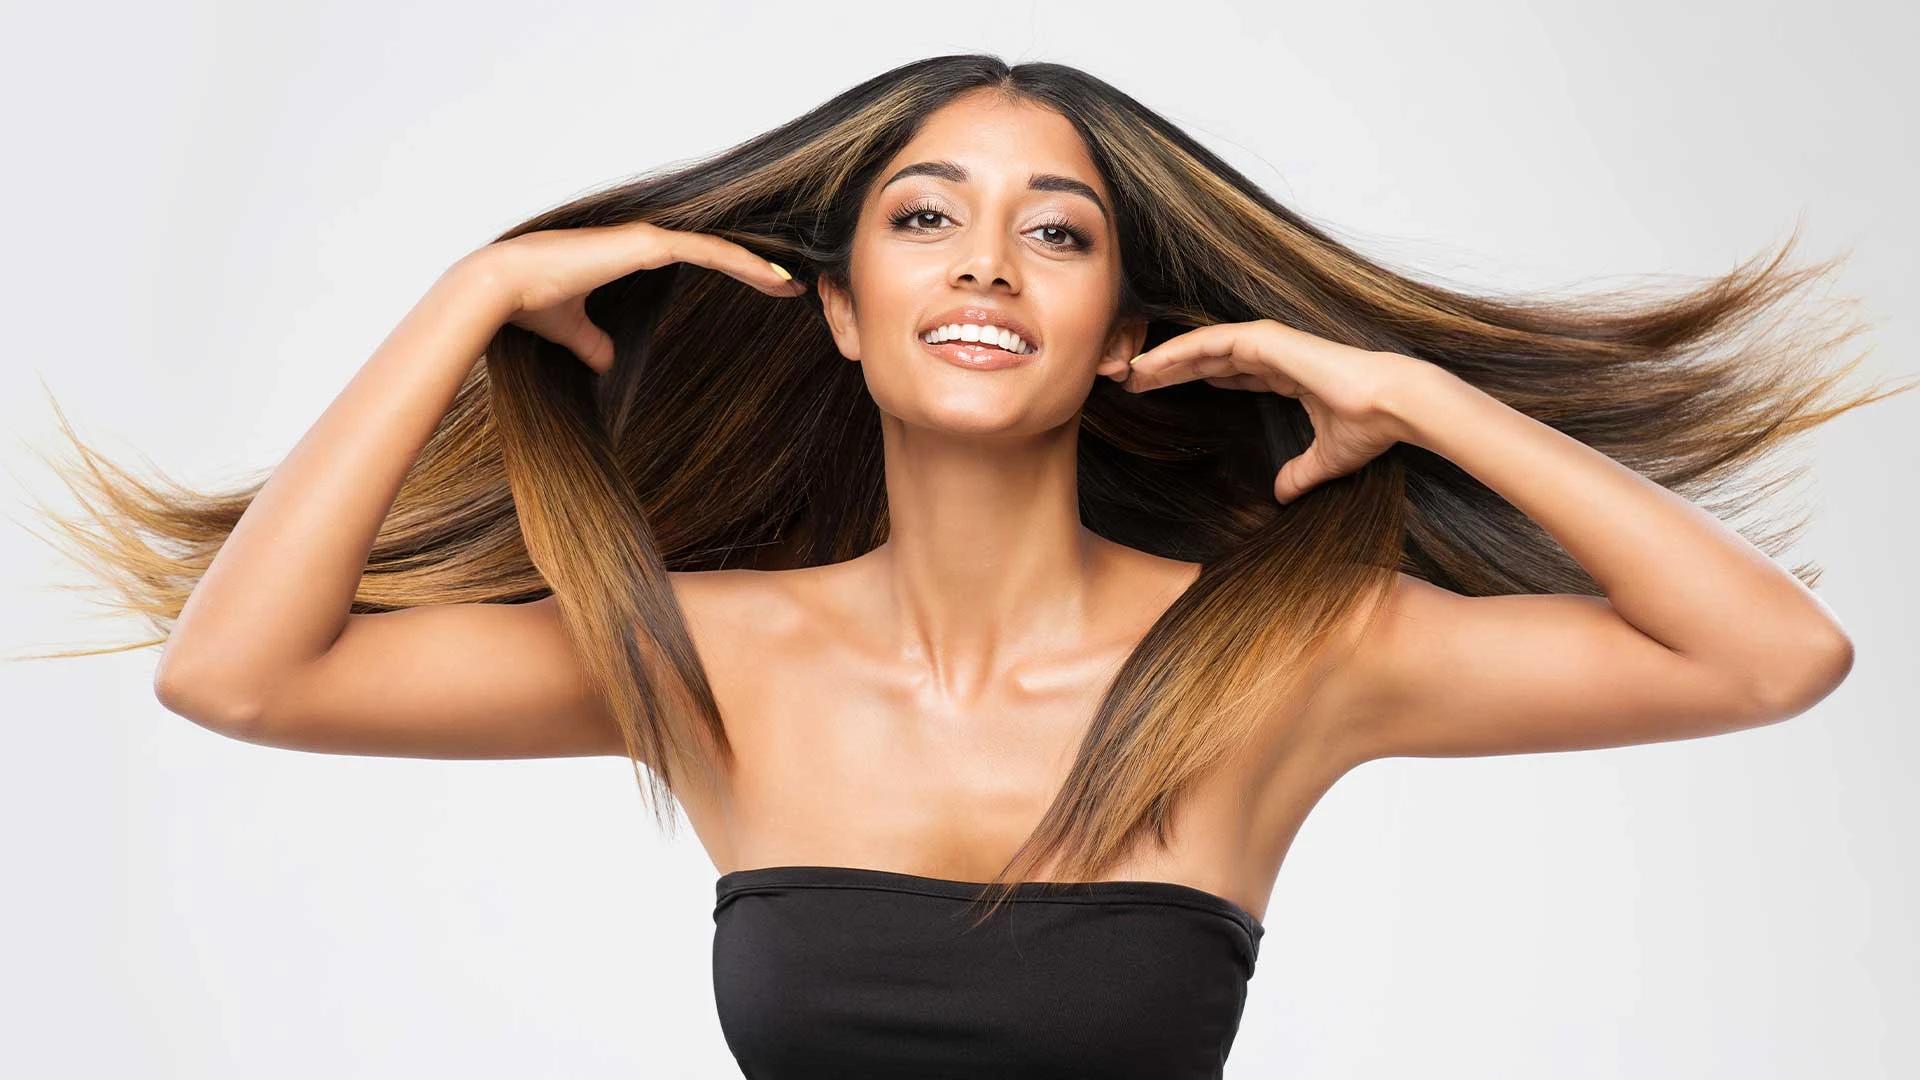

You know that moment when you're scrolling through Instagram and see someone with the most gorgeous caramel-kissed hair that looks like they spent hours in an expensive salon? That sun-kissed, effortlessly chic look that makes you want to book an appointment immediately—except your bank account has other plans. Here's the thing: creating stunning caramel balayage at home isn't just possible, it's actually way more doable than you think. With the right technique, quality products, and a bit of patience, you can achieve those dreamy caramel highlights without the hefty salon price tag. Let's dive into everything you need to know about mastering this hair painting technique in your own space.
Real talk—balayage isn't just another hair trend that'll disappear next season. This French hair painting technique has been around for decades because it works. Unlike traditional highlights that use foils and create uniform streaks, balayage involves hand-painting colour directly onto sections of hair. The result? Natural-looking, sun-kissed dimension that grows out beautifully without harsh regrowth lines.
Caramel balayage specifically focuses on warm, honey-toned highlights that complement almost every skin tone and hair colour. Whether you're starting with dark brown, light brown, or even black hair, caramel tones add warmth and depth without looking artificial. The beauty of this technique lies in its customisation—you can go subtle with just a few face-framing pieces or bold with more dramatic contrast throughout your hair.
The biggest advantage of DIY balayage? You're in complete control. No miscommunication with stylists, no surprise colour results, and definitely no sticker shock at the end. Plus, you can take your time, work at your own pace, and create exactly the look you're after. Many people find that once they master the basic technique, they prefer doing their own touch-ups rather than booking salon appointments every few months.
Before you start mixing anything, let's get your toolkit sorted. Having the right supplies makes the difference between professional-looking results and a potential hair disaster. Think of this as your investment in gorgeous hair—quality products will give you better results and keep your hair healthier throughout the process.
Your product choice depends on your starting hair colour and desired intensity. For most caramel balayage looks, you'll need a lightener to lift your natural colour and a toner to achieve that perfect caramel shade. Powder bleach tends to be stronger and faster-acting, whilst cream bleach is gentler and easier to control for beginners.
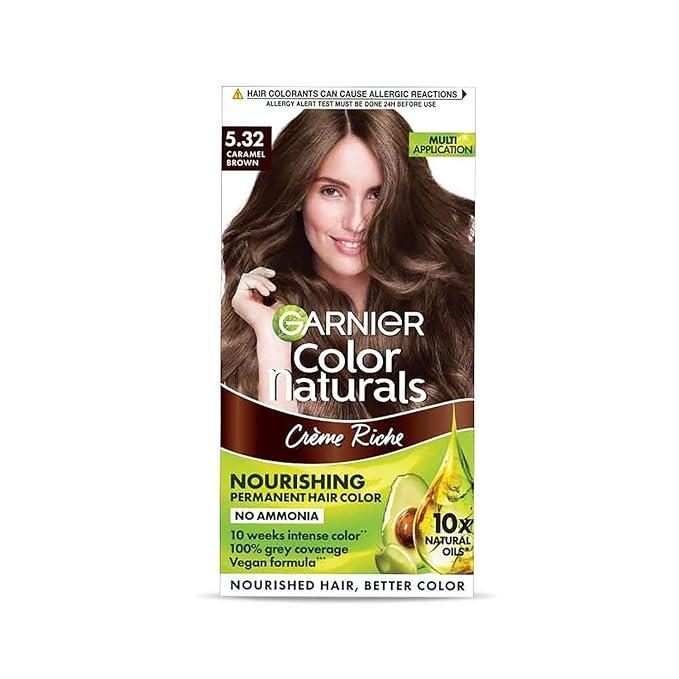
When it comes to achieving that perfect caramel tone, the Garnier Hair Colouring Creme Shade 5.32 Caramel Brown offers an excellent option for those looking to add warm, rich caramel notes to their hair. This particular shade works beautifully as a toner after lightening, providing consistent colour payoff and helping you achieve that coveted caramel depth without the guesswork of mixing multiple products.
Don't skimp on brushes—a proper balayage brush with angled bristles will give you much better control than a regular hair dye brush. You'll also want a wide-tooth comb for sectioning, hair clips to keep sections separate, and a mixing bowl with measurements for accurate ratios.
Safety first, always. Nitrile gloves are better than the thin plastic ones that come in most kits—they're more durable and give you better dexterity. A proper salon cape or old towels will protect your clothes and skin from stains. Make sure you have a timer (your phone works perfectly), good lighting, and a handheld mirror to check the back sections.
Stock up on deep conditioning treatments now—your hair will thank you later. Look for protein-free moisturising masks that you can use both before and after the colouring process to keep your hair healthy and manageable.
This step is crucial and honestly, it's where most DIY attempts go wrong. Taking time to properly assess your hair and prepare for the process will save you from potential disasters and help you achieve the results you're actually after.
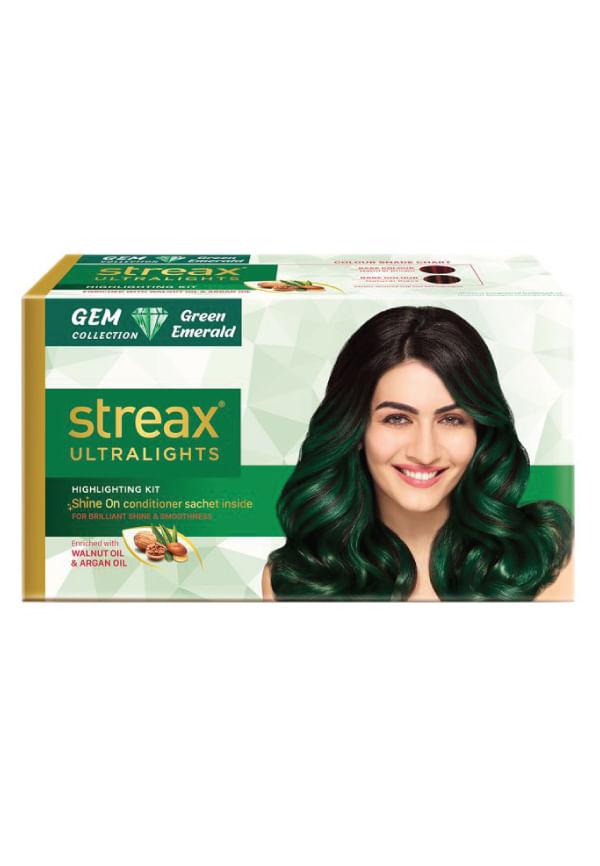
Ultralights Gem Collection
Look at your hair in natural light and honestly assess its current condition. Is it chemically treated? When was your last colour service? How porous does it feel? Hair that's been recently coloured, permed, or chemically straightened will react differently to lightener than virgin hair.
Do a strand test 48 hours before your planned balayage session. Choose a small section from underneath your hair where mistakes won't be visible. This test will show you exactly how your hair responds to the products, how long processing takes, and what your final colour will look like. It's tempting to skip this step, but it's honestly the difference between success and regret.
Two days before your balayage session, give your hair a deep conditioning treatment. This strengthens the hair shaft and helps it handle the lightening process better. Don't wash your hair for 24-48 hours before applying colour—your natural oils provide protection for your scalp and help the colour process more evenly.
Set up your workspace near a window for natural light, but have good artificial lighting as backup. Lay out all your supplies, read through the instructions completely, and make sure you have enough time to complete the entire process without rushing.
Now for the fun part—actually creating your caramel balayage. Take your time with this process. Rushing leads to uneven application and patchy results. Remember, you can always add more colour, but removing it is much harder.
Start by dividing your hair into four main sections: two at the front and two at the back. Clip the top sections up and begin working with the bottom layers. This ensures even coverage and prevents you from missing any areas.
The key to natural-looking balayage is the feathering technique. Instead of painting solid blocks of colour, use quick, upward strokes that fade out as you move up the hair shaft. Focus most of the colour on the mid-lengths and ends, with just subtle touches near the roots for a natural grow-out.
Work in small sections, about the width of your brush. Hold each section taut and paint the lightener onto the surface, then use the brush to gently feather the edges. The goal is to create soft transitions rather than harsh lines.
Processing time varies dramatically based on your starting colour and desired lift. Dark hair might need 30-45 minutes, whilst lighter hair could be ready in 15-20 minutes. Check your progress every 10 minutes by gently wiping away a small amount of product to see the colour underneath.
You're looking for a pale yellow or light orange base before applying your caramel toner. Don't try to lift too much in one session—it's better to do multiple gentle sessions than to damage your hair with over-processing.
Toning is where the magic happens. This step transforms brassy, yellow tones into that gorgeous caramel shade you're after. Many people skip or rush this step, but it's honestly the most important part of achieving professional-looking results.
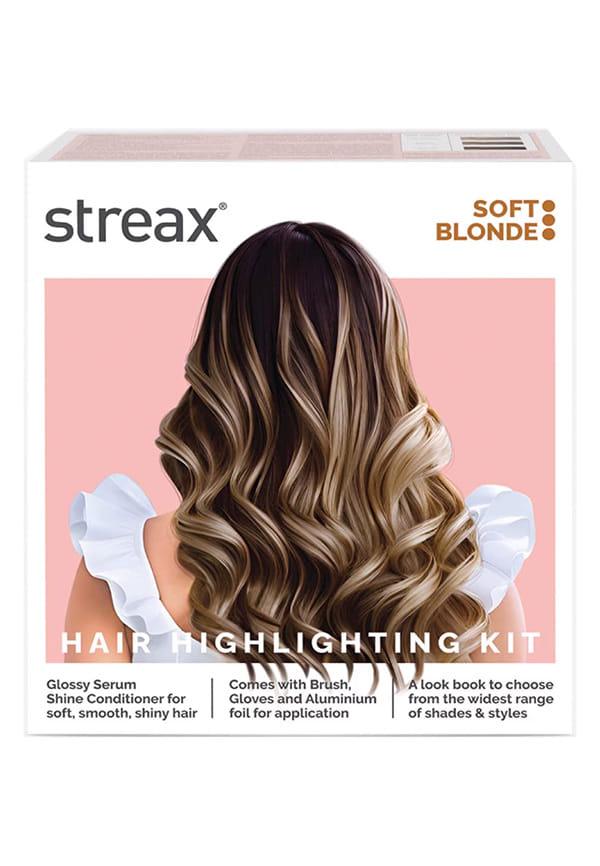
Ultralights Hair Colour Highlight Kit
Caramel isn't just one colour—it's a beautiful blend of golden, honey, and sometimes slightly ashy tones. The exact formula depends on your skin tone and personal preference. Warmer skin tones typically look amazing with golden caramels, whilst cooler skin tones might prefer caramels with subtle ash undertones.
Most caramel toners work best when your hair is lightened to a level 6 or 7 (medium to dark blonde). If your hair isn't light enough, the caramel toner won't show up properly, and you'll end up with muddy or dark results.
Apply toner to damp, towel-dried hair for even distribution. Work quickly but thoroughly, making sure every lightened section gets covered. Toners typically process much faster than lighteners—usually 10-20 minutes depending on the formula.
Watch your hair carefully during toning. The colour will develop gradually, and you'll see it shift from brassy yellow to beautiful caramel. Rinse when you've achieved your desired shade, but remember that the colour will fade slightly over the next few days.
Your balayage journey doesn't end when you rinse out the toner. Proper aftercare is essential for maintaining your colour and keeping your hair healthy. The first few days are especially crucial for colour longevity.
Don't wash your hair for at least 48 hours after colouring. This gives the colour molecules time to fully settle into the hair shaft. When you do wash, use lukewarm water and a colour-safe shampoo. Hot water opens the hair cuticle and causes colour to fade faster.
Invest in a good colour-protecting shampoo and conditioner system. Look for products specifically designed for colour-treated hair, and consider using a purple shampoo once a week to combat any brassiness that might develop over time.
One of the best things about balayage is how beautifully it grows out. You won't need touch-ups as frequently as with traditional highlights. Most people find they can go 3-4 months between sessions, depending on how fast their hair grows and how dramatic their initial colour was.
For maintenance, you'll typically only need to refresh the colour rather than re-lightening everything. This makes upkeep much gentler on your hair and easier on your wallet.
Even with careful planning, sometimes things don't go exactly as expected. Don't panic—most balayage issues can be fixed with the right approach and a bit of patience.
If your colour turned out too brassy, a toner in a slightly ashier shade can help neutralise unwanted warmth. If sections are too light, you can add lowlights in a shade close to your natural colour to create more balance.
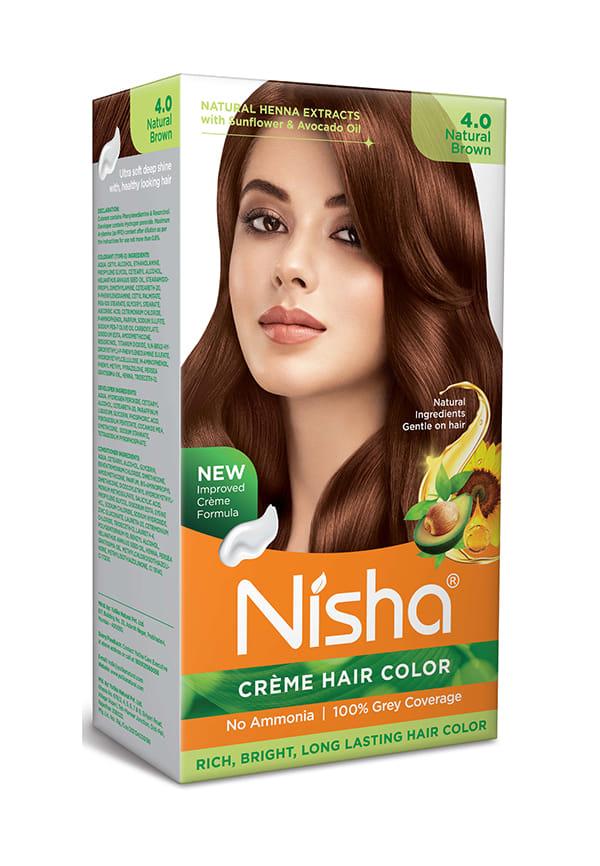
Nisha Creme Hair Color, Permanent for Women & Men, Ammonia Free | Flame Red | 150gm Box | Pack of 1
Uneven colour distribution is usually fixable with strategic additional highlighting or lowlighting. Take photos in different lighting to assess what needs adjustment, and remember that minor imperfections often aren't as noticeable to others as they are to you.
If your hair feels dry or brittle after colouring, focus on moisture and protein balance. Alternate between protein treatments and deep moisturising masks based on what your hair needs. Over-processed hair typically needs more moisture, whilst healthy hair might benefit from occasional protein treatments.
Be gentle with styling for the first week after colouring. Use heat protectant products, avoid excessive brushing when wet, and consider air-drying instead of blow-drying when possible.
Professional caramel formulas typically combine golden and honey tones with subtle ash undertones to prevent brassiness. For DIY applications, look for caramel or honey blonde shades in the level 6-8 range, depending on your desired intensity. The exact ratio depends on your starting colour and skin tone.
Yes, with proper preparation, quality products, and realistic expectations. Always do strand tests, work in good lighting, and don't rush the process. Start conservatively—you can always add more colour in future sessions, but removing colour is much more challenging.
Caramel highlights on very dark hair require more processing time and may need multiple sessions to achieve the desired lift. Consider starting with subtle caramel pieces around your face for your first attempt, then adding more coverage in subsequent sessions as you gain confidence.
Caramel balayage works beautifully on brown, dark blonde, and even black hair. The technique uses your natural base colour as a foundation, adding caramel highlights for dimension and warmth. Medium brown hair typically shows caramel tones most dramatically with the least processing time.
With proper care and quality products, caramel balayage can last 3-4 months before needing a touch-up. The gradual fade and natural grow-out make it much more low-maintenance than traditional highlights, making it a cost-effective alternative to frequent salon visits.
Creating caramel balayage at home is totally achievable with the right approach, quality products, and realistic expectations. The key is taking your time, doing proper preparation, and not trying to achieve dramatic results in a single session. Remember, even professional colourists sometimes need multiple appointments to achieve complex colour goals.
The beauty of mastering this technique is the freedom it gives you to maintain your colour on your own schedule and budget. Plus, there's something incredibly satisfying about achieving salon-quality results in your own space. Start conservatively, learn from each session, and gradually build your confidence and skills.
Not sure which caramel shade will work best with your skin tone? Smytten also offers trial-size versions of many hair colour products—a smart way to test different formulas before committing to a full application. Their curated selection includes trusted brands with proven results, plus you get cashback that you can use towards full-size products once you find your perfect caramel match.