DIY Hair Oil Blend: Step-by-Step Guide for Hair Loss

DIY Hair Oil Blend: Step-by-Step Guide for Hair Loss
Published Date - 8 August 2025
Olive Oil for Hair100 ml

Sage Apothecary

Olive Oil for Hair

499
Let's be real—watching your hair slowly vanish from your scalp feels like watching your favourite Netflix series get cancelled mid-season. Hair loss affects millions of people worldwide, and whilst there are countless commercial hair strengthening products promising miraculous results, natural hair growth remedies have been working their magic for centuries. The beauty of creating your own hair oil for hair loss lies in knowing exactly what's nourishing your scalp and controlling the quality of ingredients. Plus, DIY solutions are often gentler on both your hair and wallet. Ready to whip up a scalp treatment for thinning hair that might just become your haircare game-changer? Let's dive into this step-by-step guide that combines traditional wisdom with modern understanding of what makes hair thrive.

Understanding Hair Loss and Its Causes

Hair loss isn't just about genetics—though that definitely plays a part. Stress, hormonal changes, nutritional deficiencies, overstyling, and environmental factors all contribute to those unwelcome bald patches. Your hair follicles are basically tiny factories that need proper nourishment to keep producing strong, healthy strands. When they don't get what they need, production slows down or stops entirely. Here's where hair oil for hair loss becomes your secret weapon. These natural blends work by improving blood circulation to your scalp, delivering essential nutrients directly to hair follicles, and creating a protective barrier that prevents further damage. Unlike harsh chemical treatments, oils work gently with your scalp's natural processes rather than against them. The key is choosing the right combination of ingredients that target your specific hair concerns—whether that's thinning, breakage, or slow growth.

Essential Ingredients for Your DIY Hair Oil Blend

Creating the perfect hair oil blend is like mixing the ultimate smoothie—each ingredient brings something special to the party. The foundation of any effective blend starts with carrier oils that provide the base, followed by essential oils for hair thickness and herbal extracts that target specific scalp issues. Think of it as building layers of nourishment that work together to create the ideal environment for hair growth. The magic happens when these ingredients combine. Carrier oils penetrate deep into the hair shaft, essential oils stimulate circulation, and herbal extracts provide concentrated nutrients. This trinity of ingredients forms the backbone of most effective natural anti-hair fall solutions.

Carrier Oils for Hair Growth

**Coconut oil** is basically the golden retriever of haircare—friendly, reliable, and loved by almost everyone. It penetrates the hair shaft better than most oils, providing deep conditioning whilst protecting against protein loss. Plus, it's naturally antimicrobial, keeping your scalp healthy and clean. **Castor oil** might be thick and slightly stubborn, but it's worth the effort. Rich in ricinoleic acid, this oil is known for its ability to improve circulation and promote hair growth. Many people swear by castor oil for thickening eyebrows and lashes, so imagine what it can do for your scalp. **Argan oil** brings the luxury factor without the hefty price tag when you make it yourself. Packed with vitamin E and fatty acids, it's particularly good for damaged or brittle hair. This oil absorbs quickly without leaving a greasy residue, making it perfect for those who want results without the heavy feeling.

Essential Oils for Hair Thickness

**Rosemary oil** is the overachiever of essential oils. Studies suggest it might be as effective as some commercial treatments for promoting hair growth. It improves circulation and has antimicrobial properties that keep your scalp in tip-top condition. **Peppermint oil** provides that tingly sensation that lets you know it's working. This cooling oil increases blood flow to hair follicles and can help wake up dormant follicles. Just remember—a little goes a long way with this potent oil. **Lavender oil** is the calming influence in your blend. Beyond its lovely scent, lavender oil has been shown to promote hair growth whilst reducing stress—which is often a contributing factor to hair loss. It's gentle enough for sensitive scalps too.

Herbal Extracts for Scalp Health

**Amla** (Indian Gooseberry) is basically vitamin C in plant form. This powerhouse ingredient strengthens hair follicles and prevents premature greying. It's been used in traditional herbal hair care for baldness for centuries, and modern research backs up its effectiveness. **Bhringraj** might sound exotic, but it's actually quite accessible and incredibly effective. Known as the "king of herbs" for hair, bhringraj oil helps prevent hair fall and promotes new growth. It's particularly good for those dealing with stress-related hair loss. **Fenugreek** seeds are rich in proteins and nicotinic acid, both essential for healthy hair growth. These little seeds help strengthen hair roots and add shine to dull, lifeless hair. They're also great for treating dandruff and scalp irritation.

Step-by-Step Guide to Creating Your Hair Oil Blend

Now comes the fun part—actually making your personalised scalp treatment for thinning hair. This isn't complicated chemistry; it's more like following a recipe for the world's most nourishing hair cocktail. The process is straightforward, but attention to detail makes all the difference between a good blend and an amazing one. Timing is everything here. You want to create your blend when you have about 30-45 minutes of uninterrupted time. This ensures you can focus on measurements and avoid any mishaps that might waste your precious ingredients.
Hair Growth Tonic100 ml

The Man Company

Hair Growth Tonic

49945 % OFF
274

Gathering Your Materials

Before you start, make sure you have everything within arm's reach. You'll need a clean glass bowl for mixing, a wooden spoon (metal can react with some oils), small glass bottles for storage, and a funnel for easy pouring. For ingredients, gather your chosen carrier oils (about 100ml total), essential oils (no more than 10 drops combined), and any herbal extracts you're including. Don't forget labels for your finished bottles—trust me, you'll want to remember what magical combination you created.

Mixing the Oils

Start with your carrier oils in the glass bowl. A good ratio is 50% coconut oil, 30% castor oil, and 20% argan oil, but feel free to adjust based on your hair's needs. Mix these thoroughly with your wooden spoon. Next, add your essential oils one drop at a time. Remember, these are concentrated, so 3-4 drops of rosemary, 2-3 drops of peppermint, and 2-3 drops of lavender is plenty for 100ml of carrier oil. Mix gently but thoroughly—you want everything evenly distributed.

Storage and Shelf Life

Pour your finished blend into dark glass bottles using a funnel. Light can degrade oils over time, so dark bottles are your best friend. Label each bottle with the ingredients and date of creation. Your DIY blend will stay fresh for about 6 months if stored in a cool, dark place. If you notice any changes in smell or texture, it's time to make a fresh batch. Always do a patch test before each use, especially if you haven't used your blend in a while.

Application Techniques for Maximum Benefits

Having the perfect oil blend is only half the battle—how you apply it determines whether you'll see real results or just end up with greasy hair. The application process is actually quite therapeutic when done right, and mastering stimulating scalp massage techniques can significantly boost your results. Consistency trumps perfection every time. It's better to do a simple application regularly than a complex routine sporadically. Your hair follicles need consistent nourishment to show improvement, so find a routine that fits your lifestyle.

Scalp Massage Methods

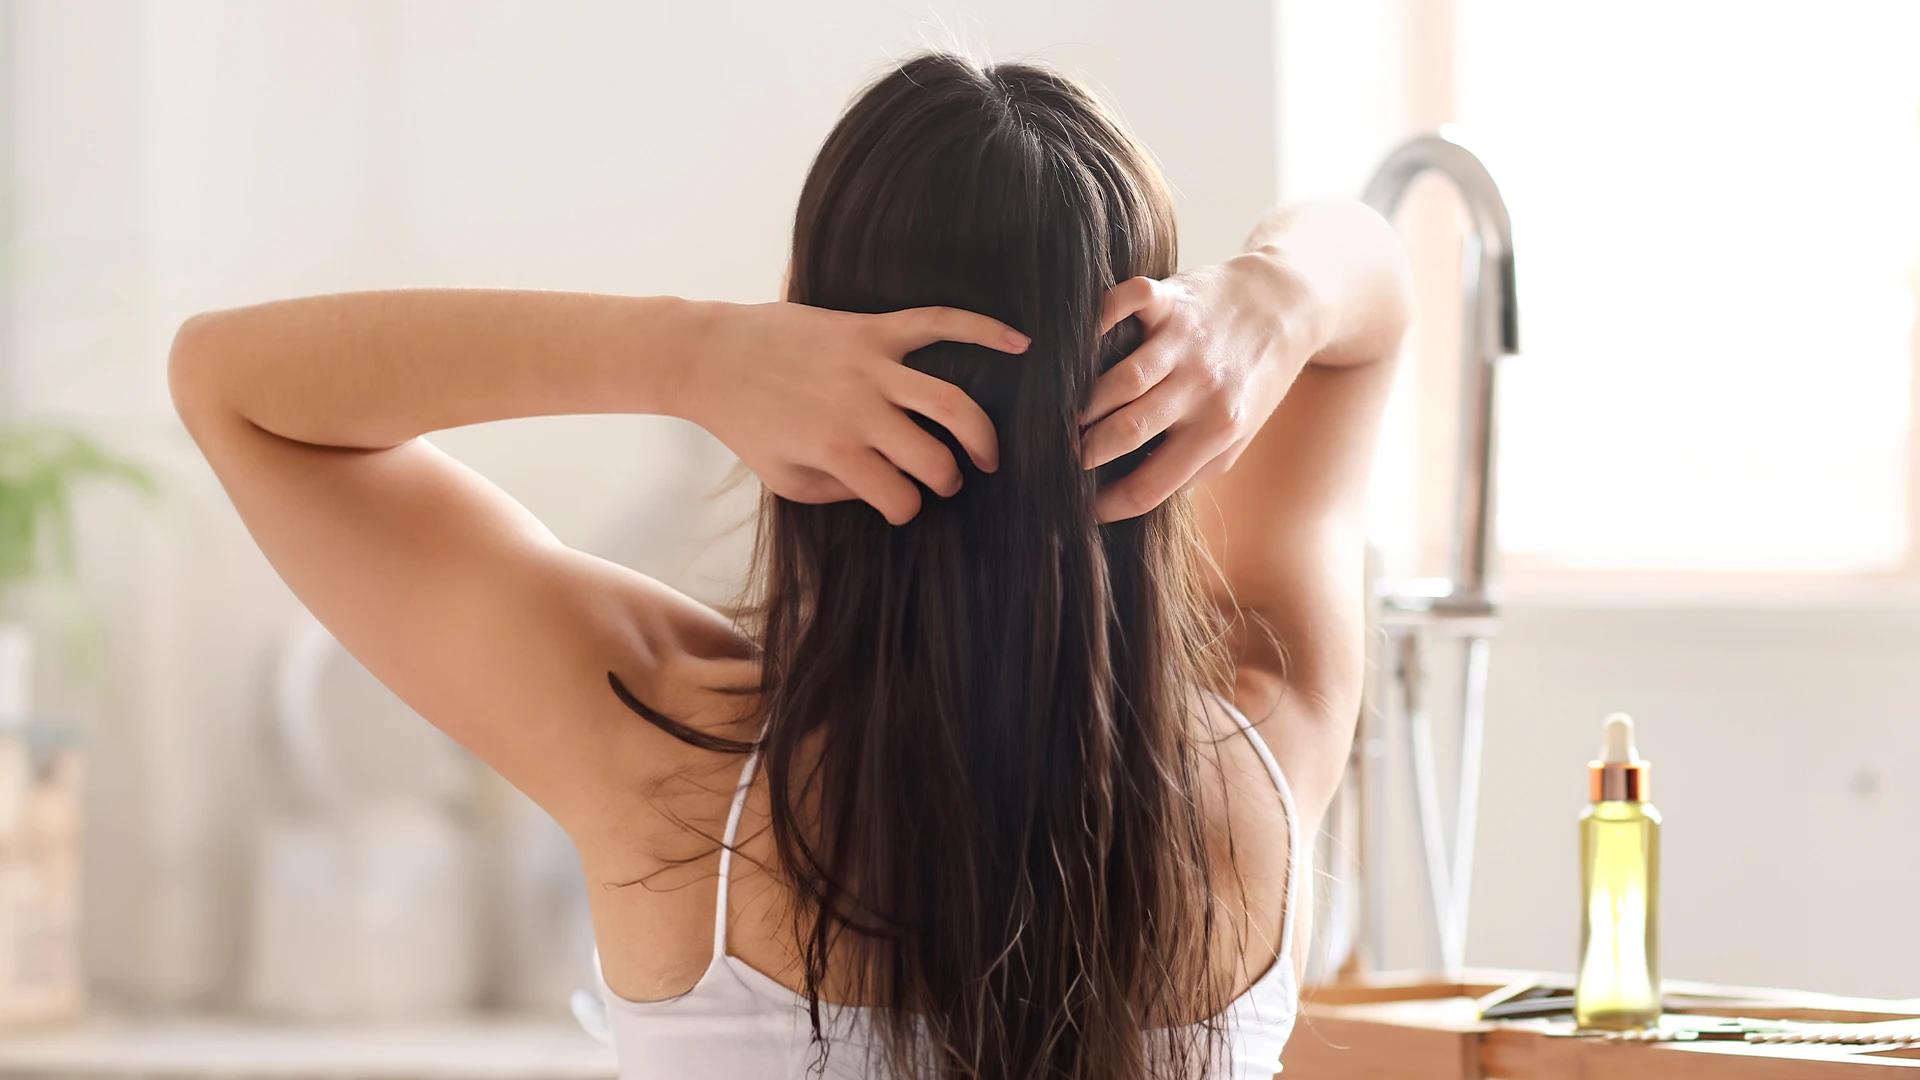
Start with clean hands and warm oil (not hot—you don't want to burn your scalp). Use your fingertips, not your nails, to apply the oil directly to your scalp in sections. Work in small circular motions, applying gentle pressure as you massage the oil in. The massage itself is just as important as the oil. Spend at least 5-10 minutes massaging your entire scalp. This improves blood circulation and helps the nutrients penetrate deeper. Focus extra attention on areas where thinning is most noticeable.

Frequency of Application

For most people, 2-3 times per week works well. This gives your scalp time to absorb the nutrients without overloading it with oils. If you have very oily hair, start with once a week and gradually increase if your scalp tolerates it well. Consider your washing schedule too. Since you'll need to shampoo after oil treatments, plan your applications for days when washing your hair fits naturally into your routine. Weekend treatments work well for many people.

Duration of Treatment

Bio Organic Growout Hair Oil100 ml

Indus valley

Bio Organic Growout Hair Oil

29912 % OFF
263
Leave the oil on for at least 30 minutes to allow proper absorption. Many people prefer overnight treatments for maximum benefits—just protect your pillow with an old towel or pillowcase you don't mind getting oily. When washing out the oil, you might need to shampoo twice to remove all residue. Use a gentle, sulfate-free shampoo to avoid stripping your hair after all that nourishing treatment. Follow up with your regular conditioner if needed.

Complementary Natural Hair Growth Remedies

Whilst your DIY oil blend works its magic externally, supporting your hair from within amplifies the results dramatically. Think of it as creating the perfect environment for hair growth both inside and outside your body. The best oils for hair regrowth work even better when combined with proper nutrition and lifestyle choices. Your hair is essentially a reflection of your overall health. When you're stressed, malnourished, or not getting enough sleep, your hair is often the first to suffer. These complementary approaches address the root causes of hair loss, not just the symptoms.

Dietary Changes for Hair Health

Your hair needs building blocks to grow, and those come from what you eat. Protein is crucial—think eggs, fish, lentils, and nuts. Iron deficiency is a common cause of hair loss, especially in women, so include spinach, red meat, and beans in your diet. Biotin and vitamin D are hair growth superstars. Biotin comes from eggs and almonds, whilst vitamin D requires sunlight exposure or supplements. Don't forget omega-3 fatty acids from fish or flaxseeds—they keep your scalp healthy and hair shiny.

Lifestyle Modifications

Stress is basically kryptonite for hair growth. When you're constantly stressed, your body diverts resources away from non-essential functions like hair growth. Try meditation, yoga, or whatever helps you unwind. Even 10 minutes daily can make a difference. Regular exercise improves circulation throughout your body, including your scalp. You don't need intense workouts—a brisk 20-minute walk does wonders. Just remember to wash your hair after sweaty sessions to prevent clogged pores on your scalp.

Tracking Your Progress

Patience isn't just a virtue in haircare—it's absolutely essential. Hair growth happens in cycles, and it takes time to see visible results from any treatment, natural or otherwise. However, tracking your progress properly can help you stay motivated and adjust your routine if needed. Hair grows about half an inch per month on average, but new growth from dormant follicles can take several months to become noticeable. Setting realistic expectations prevents disappointment and helps you stick with your routine long enough to see real results.

What to Expect

In the first month, you might notice your existing hair feels stronger and less prone to breakage. This is actually a great sign—healthy hair is the foundation for growth. Around 6-8 weeks, you might start seeing tiny new hairs sprouting, especially around your hairline. Significant visible improvement typically occurs after 3-6 months of consistent use. Remember, everyone's hair responds differently, so don't get discouraged if your timeline doesn't match someone else's. Some people see results sooner, others need more time.

Monitoring Methods

Take monthly photos from the same angles in consistent lighting. This helps you notice gradual changes that you might miss in daily mirror checks. Focus on problem areas and document any new growth or thickness improvements. Keep a simple hair journal noting when you apply treatments, any changes you notice, and how your scalp feels. This helps identify what's working and what might need adjustment. Note any reactions or sensitivities too.
Head Cooling Oil200 ml

Seer Secrets

Head Cooling Oil

450

Potential Side Effects and Precautions

Whilst natural doesn't automatically mean risk-free, most people tolerate DIY hair oils well when used properly. Essential oils are concentrated plant extracts that can cause reactions in sensitive individuals. Always patch test new ingredients before applying them to your entire scalp. Common signs of sensitivity include redness, itching, or burning sensations. If you experience any of these, remove the oil immediately and avoid that particular ingredient in future blends. Some essential oils can also make your skin more sensitive to sunlight. Pregnant or breastfeeding women should consult healthcare providers before using essential oils. Certain oils like rosemary aren't recommended during pregnancy. When in doubt, stick to gentle carrier oils until you can get professional advice.

Frequently Asked Questions

Which oil is best for hair growth and thickness?

There's no single "best" oil since everyone's hair responds differently. However, castor oil and rosemary oil consistently show up in research for promoting growth. Coconut oil excels at preventing protein loss and strengthening existing hair. The most effective approach combines multiple oils that work synergistically together.

Can I use this DIY blend for alopecia treatment at home?

Whilst natural oils can support scalp health and potentially help with mild hair thinning, alopecia is a medical condition that requires professional diagnosis and treatment. DIY blends can complement medical treatments but shouldn't replace professional care. Always consult a dermatologist or trichologist for persistent hair loss.

How does this natural remedy compare to commercial hair strengthening products?

DIY blends offer the advantage of knowing exactly what ingredients you're using and avoiding harsh chemicals. However, commercial products often contain clinically tested ingredients at specific concentrations. Natural remedies work more gently and may take longer to show results, but they're generally safer for long-term use.

Are there any specific essential oils for hair thickness?

Rosemary, peppermint, and cedarwood essential oils are particularly noted for promoting hair thickness. Rosemary improves circulation and may help reactivate hair follicles. Peppermint creates a cooling sensation that increases blood flow. Cedarwood helps balance oil production and has antimicrobial properties.

Can this DIY oil blend help with anti-hair fall solutions?

Yes, when used consistently, these nutrient-rich hair serums can help reduce hair fall by strengthening existing hair and nourishing the scalp. The massage techniques also improve circulation, which supports healthier hair follicles. However, results depend on the underlying cause of hair loss and individual response to treatment.

Final Thoughts

Creating your own hair oil for hair loss isn't just about mixing ingredients—it's about taking control of your haircare journey with ingredients you trust. This DIY approach combines centuries of traditional wisdom with modern understanding of what makes hair thrive. The beauty lies not just in the potential results, but in the ritual of self-care you create. Remember, consistency beats perfection every time. A simple routine followed regularly will outperform the most elaborate treatment used sporadically. Your hair didn't thin overnight, and it won't transform overnight either. But with patience, the right ingredients, and proper technique, you might just discover your scalp's potential for renewal. Whether you're dealing with genetic thinning or stress-related hair loss, natural remedies offer a gentle yet effective path forward. Give your scalp the nourishment it deserves, and it just might surprise you with what it can achieve.
Sangria Experience Logo
Document