DIY Ayurvedic Shampoo: Natural Hair Care Tutorial

DIY Ayurvedic Shampoo: Natural Hair Care Tutorial
Published Date - 29 July 2025
Ayurvedic Hair Oil100 ml

Love Earth

Ayurvedic Hair Oil

249
Ever wondered how your gran managed to have such gorgeous hair without fancy bottles from the shop? Traditional Indian hair care has been sorting out hair troubles for centuries, and the secret lies in ayurvedic shampoo made right at home. This chemical-free hair wash isn't just trendy—it's a proper game-changer that works with your scalp's natural rhythm instead of against it. Ready to ditch the harsh chemicals and try something that's been trusted for ages? Let's dive into making your own herbal hair products that might just become your new obsession.

Understanding Ayurvedic Hair Care Principles

Ayurveda treats your hair like it's connected to everything else going on with your body. Rather than just cleaning the surface, this holistic hair treatment approach looks at your scalp health as the foundation for everything else. It's about balance—understanding that oily roots might need different herbs than a dry, flaky scalp. The beauty of traditional Indian hair care lies in its personalised approach. Your hair type, the season, and even your stress levels all play a part in what your strands need. This isn't a one-size-fits-all situation, which is why making your own ayurvedic shampoo at home makes perfect sense.

Benefits of DIY Ayurvedic Shampoo

Making your own organic shampoo is like having a custom haircare routine without the custom price tag. You know exactly what's going into your bottle—no mystery chemicals or ingredients you can't pronounce. Plus, you can tweak the recipe based on what your hair is telling you it needs. The cost factor is pretty brilliant too. A batch of homemade nourishing hair cleansers costs a fraction of what you'd spend on shop-bought bottles. And here's the thing—you can make small batches to test what works, so there's no commitment drama if something doesn't suit your hair type. The real win? Your scalp gets to breathe. Without harsh sulphates and synthetic fragrances, your hair's natural oil production can find its balance again. Many people find their hair actually gets less greasy over time because it's not constantly fighting against aggressive cleansers.

Essential Ingredients for Ayurvedic Shampoo

The magic happens when you combine the right herbs for your specific hair needs. Think of it as creating a personalised cocktail for your scalp—each ingredient brings something special to the mix.

Cleansing Herbs

Reetha (soapnut) is your gentle cleanser that creates a lovely lather without stripping your hair. It's naturally antibacterial and perfect for sensitive scalps. Shikakai
Ambika Hair Cleanser200 ml

Avimee Herbal

Ambika Hair Cleanser

650
works as nature's detangler whilst cleaning—it literally means 'fruit for hair' in Sanskrit. Amla brings vitamin C to the party, helping with shine and acting as a natural preservative.

Nourishing Herbs

Brahmi is brilliant for promoting hair growth and reducing stress-related hair loss. Bhringraj is known as the 'king of herbs' for hair—it's your go-to for thickness and premature greying. Hibiscus adds natural conditioning properties and gives your hair that glossy finish.

Conditioning Agents

Fenugreek seeds create a natural slippery texture that makes detangling easier. Aloe vera soothes irritated scalps and adds moisture without weighing hair down. Coconut milk
Ayurvedic Soya Protein Anti-Dandruff Shampoo200ml

Just Herbs

Ayurvedic Soya Protein Anti-Dandruff Shampoo

69550 % OFF
348
brings proteins and healthy fats that strengthen hair strands.

Step-by-Step Guide to Making Ayurvedic Shampoo

Time to get your hands dirty—but in the best possible way. This process is quite therapeutic, and you'll love how your kitchen smells like a spa.

Prepare the Herb Mixture

Start by soaking 2 tablespoons each of reetha, shikakai, and amla powder in 2 cups of water overnight. This creates the base of your hair growth remedies. In the morning, bring this mixture to a gentle boil and simmer for 15 minutes. The liquid should turn a rich brown colour—that's when you know it's ready.
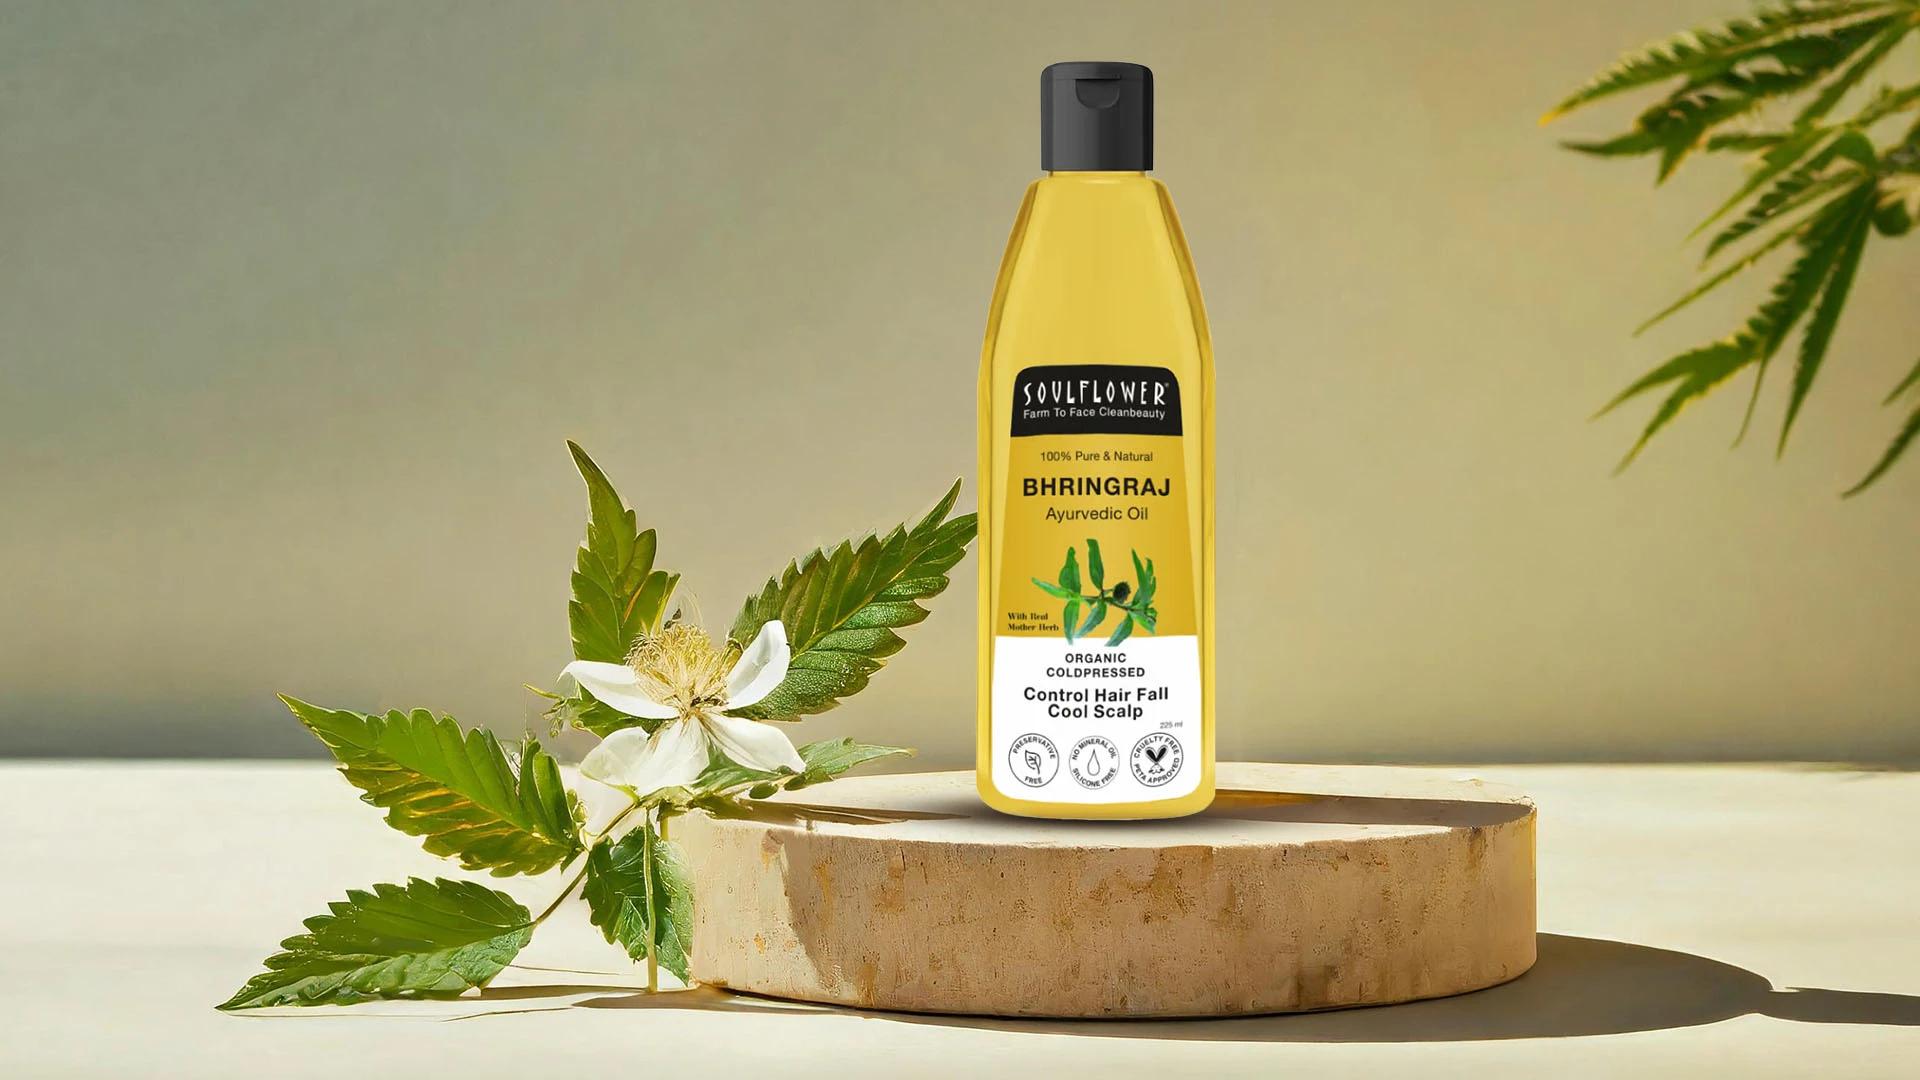
Add Nourishing Oils

Once your herbal base cools to room temperature, it's time to add 1-2 teaspoons of oil. Coconut oil works for most hair types, whilst sesame oil is brilliant for dry hair. Castor oil is your pick if you're focusing on growth. Mix gently—you want the oil to blend without making the mixture too heavy.

Include Natural Preservatives

Add 5-10 drops of essential oils like tea tree, rosemary, or lavender. These aren't just for scent—they act as natural preservatives and bring their own hair benefits. Tea tree oil works as an anti-dandruff solution, whilst rosemary stimulates circulation.

How to Use Your DIY Ayurvedic Shampoo

Using your homemade creation is slightly different from regular shampoo, but once you get the hang of it, you'll wonder why you waited so long to try this natural hair care approach. Start with damp hair—not soaking wet. Apply the mixture from roots to tips, massaging gently into your scalp. The texture will feel different from commercial shampoos, more like a thin paste. Work it through for 2-3 minutes, letting the herbs do their thing. Rinse thoroughly with cool water—hot water can make herbal residue stick to your hair.

Customise Your Ayurvedic Shampoo

The brilliant thing about making your own products is that you can tweak them based on what your hair actually needs, not what marketing tells you it should need.

For Dry and Damaged Hair

Shakuntala Hair Cleanser200 ml

Avimee Herbal

Shakuntala Hair Cleanser

650
Add extra coconut milk or a tablespoon of honey to your base mixture. These ingredients bring moisture without making your hair look greasy. Use this gentler version 2-3 times a week, and consider doing an oil treatment before washing.

For Oily Hair and Scalp

Increase the shikakai ratio and add a bit of lemon juice to your mixture. This helps balance oil production naturally. You might be able to use this version more frequently—even every other day if your scalp tends to get greasy quickly.

For Hair Growth and Thickness

Bhringraj and brahmi are your best mates here. Double the amount of these herbs in your mixture. Massage the shampoo into your scalp for longer—about 5 minutes—to stimulate blood flow. This version works best when used consistently over time.

Troubleshoot Common Issues

Even the best DIY projects come with their little quirks. Here's how to sort out the most common hiccups you might face with your homemade ayurvedic shampoo. If your mixture is too thick, add more water gradually until you get a consistency that's easy to apply. Too thin? Let it simmer for a few more minutes to concentrate the herbs. Hard water can make rinsing tricky—add a tablespoon of apple cider vinegar to your final rinse to help remove any herbal residue.

Frequently Asked Questions

How often should I use ayurvedic shampoo?

Start with twice a week and see how your hair responds. Some people find they can use it more frequently, whilst others prefer alternating with a gentler co-wash.

Can I use this shampoo on colour-treated hair?

Most herbs are gentle on coloured hair, but amla might gradually lighten artificial colour. If you've recently coloured your hair, wait 2-3 weeks before trying homemade shampoos.

How long does homemade ayurvedic shampoo last?

Fresh batches last 3-5 days in the fridge. The essential oils help preserve it, but it's best to make small quantities and use them quickly.

Is DIY ayurvedic shampoo suitable for all hair types?

The base recipe works for most people, but you'll want to customise the ingredients based on your specific needs. Start with the basic version and adjust from there.

Final Thoughts

Making your own ayurvedic shampoo isn't just about saving money or avoiding chemicals—it's about understanding what your hair actually needs and giving it exactly that. This traditional approach to natural hair care puts you in control of your routine, letting you experiment and find what works best for your unique hair type. The best part? You can start small, try different combinations, and gradually build your perfect formula. Your hair might take a few weeks to adjust from commercial shampoos, but many people find their hair becomes healthier, shinier, and more manageable once they make the switch to this gentler, more personalised approach.
Sangria Experience Logo
Document