9 Ways to Achieve Smooth Hair with At Home Keratin Kits
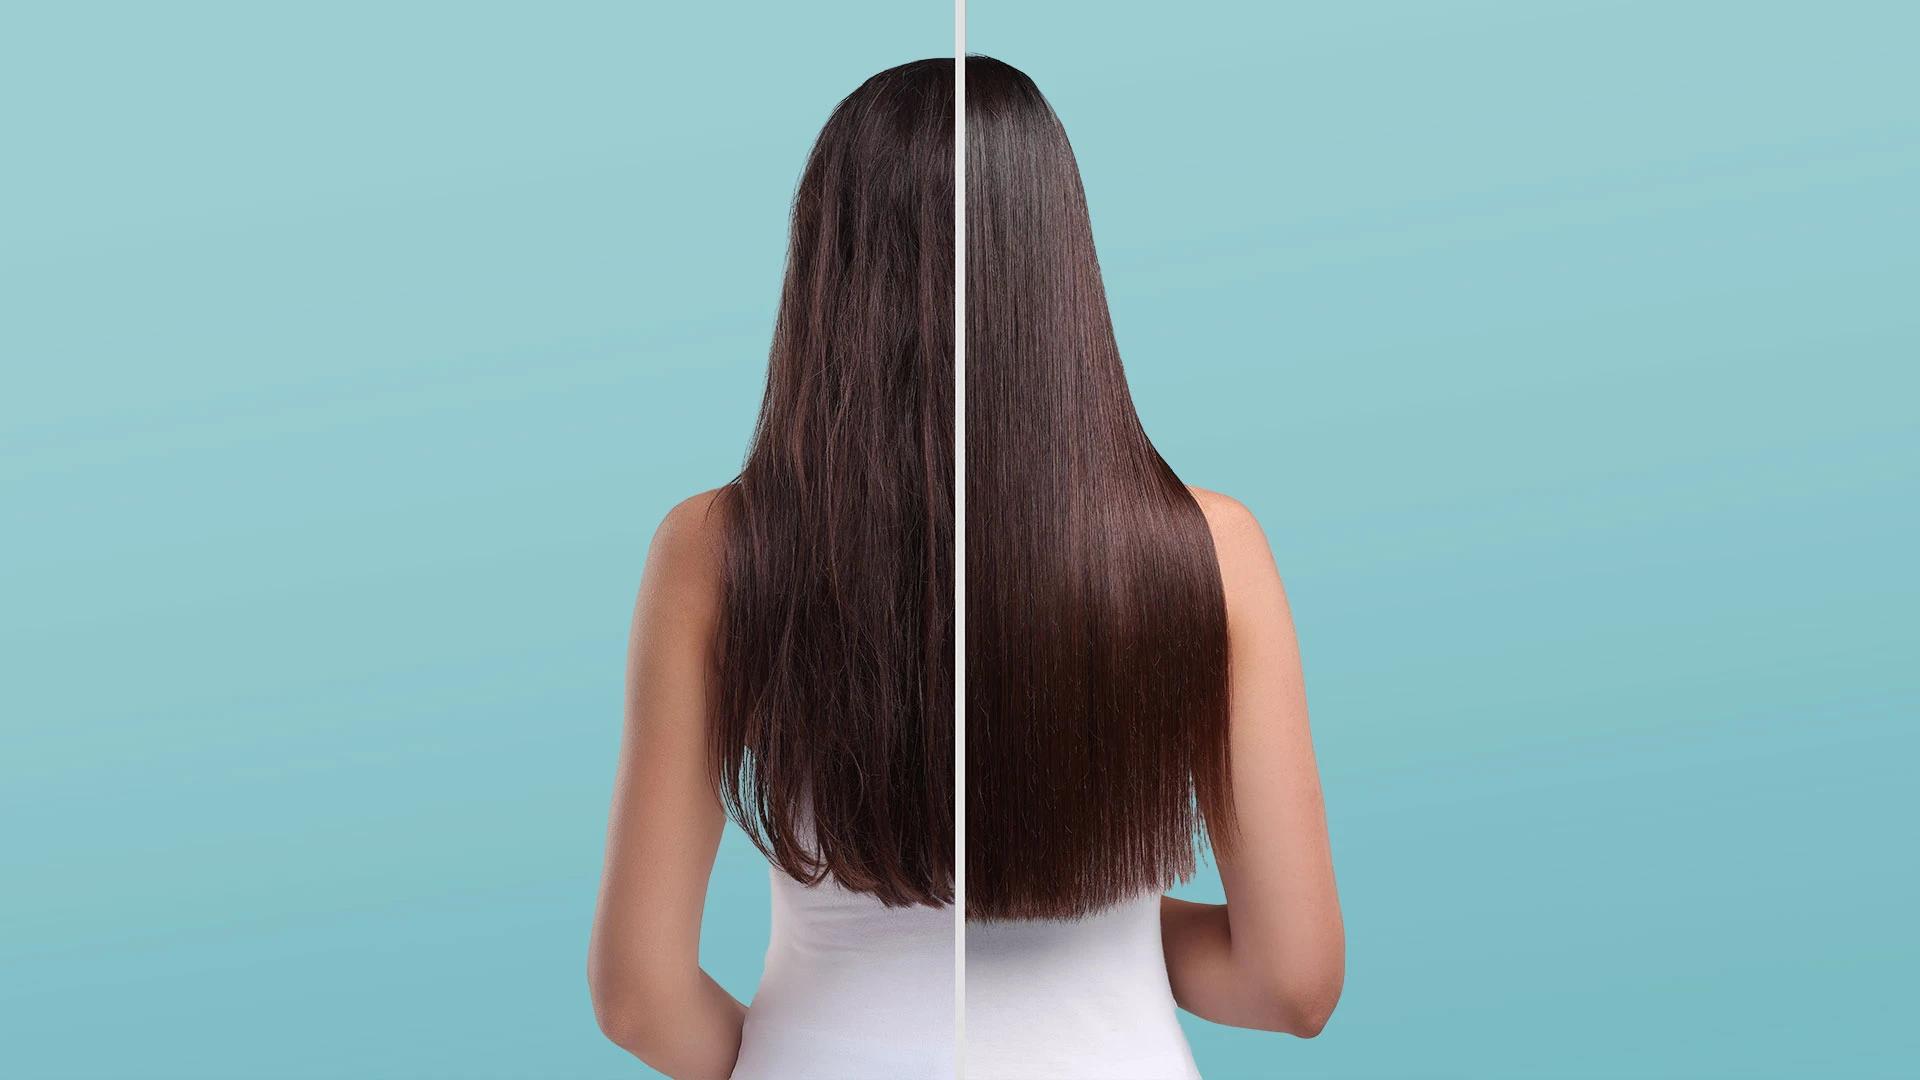

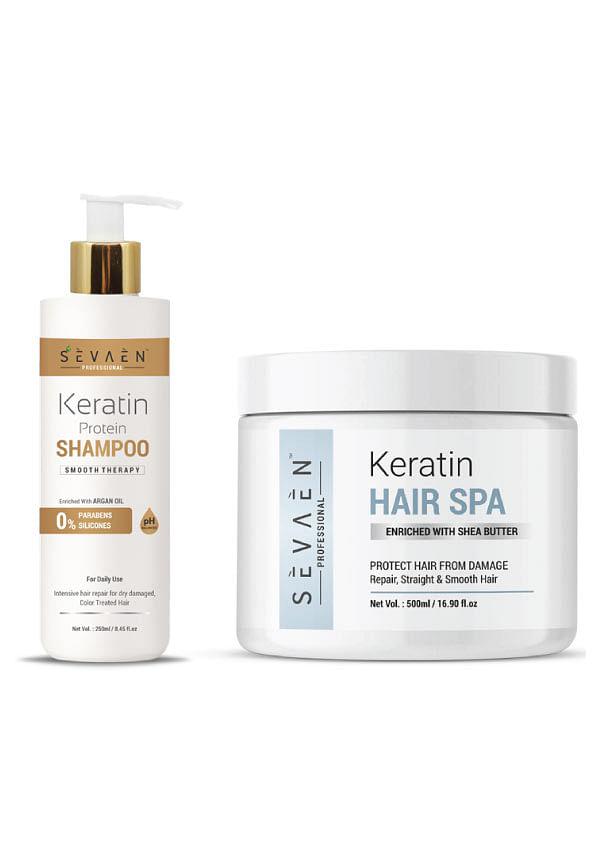
Keratin Shampoo And Hair Spa Cream For Hair Dry&Damage repair And strengthening&Smoothing Hair With Deep Conditioning Treatment
Picture this: you're scrolling through Instagram, watching someone run their fingers through impossibly smooth, glossy hair that moves like silk in slow motion. Meanwhile, you're dealing with frizz that has its own weather system and tangles that could rival a bird's nest. Sound familiar? You're definitely not alone in this struggle. The good news is that achieving that coveted smooth, manageable hair doesn't require monthly salon visits or breaking the bank. At home keratin kits have become a game-changer for anyone wanting to tame unruly hair from the comfort of their own bathroom.
Let's start with the basics because understanding what you're working with makes all the difference. Keratin is a natural protein that's already present in your hair, but over time, it gets depleted through heat styling, chemical treatments, and even just daily wear and tear. When you use a keratin hair treatment at home, you're essentially replenishing this protein and creating a protective layer around each strand.
The main difference between salon treatments and at home keratin kits lies in the concentration of active ingredients and the application technique. Professional treatments typically use stronger formulations that require specialised equipment and expertise. Home kits are formulated to be safer and more user-friendly whilst still delivering noticeable results. You can expect your hair to feel smoother and more manageable for about three to six months, depending on your hair type and how well you maintain the treatment.
Hair types that benefit most from keratin treatments include naturally curly, coarse, or chemically-damaged hair. If you're dealing with frizz, dryness, or hair that takes forever to style, you're probably a good candidate. However, if you have very fine or already straight hair, the results might be less dramatic. Safety-wise, always do a patch test first and ensure you're working in a well-ventilated area, especially if you're using a treatment that contains formaldehyde.
Not all keratin kits are created equal, and choosing the right one can make or break your results. Professional-grade kits typically cost more but offer better ingredients and longer-lasting results. Consumer kits are more budget-friendly and easier to use but might not be as effective on severely damaged or very coarse hair.
When shopping for a diy keratin hair kit, look for ingredients like hydrolysed keratin, collagen, natural oils (argan, coconut, or jojoba), and amino acids. These work together to repair damage and smooth the hair cuticle. A quality kit should include a clarifying shampoo, the keratin treatment itself, and a conditioning mask or serum. Some also come with gloves, a comb, and detailed instructions.
Price-wise, you're looking at anywhere from ₹1,500 to ₹12,000 for a good kit. The sweet spot for most people is around ₹3,000 to ₹6,000, which gives you professional-quality ingredients without the salon price tag. Always read reviews from people with similar hair types to yours, and check for certifications from recognised beauty organisations.
The best kits are sulfate-free because sulfates can strip away the keratin treatment prematurely. Look for pH-balanced formulations that won't disrupt your hair's natural acidity levels. Many newer kits also offer vegan keratin technology, which uses plant-based proteins instead of animal-derived ones. A multi-step system typically works better than a single-product approach because each step serves a specific purpose in the treatment process.
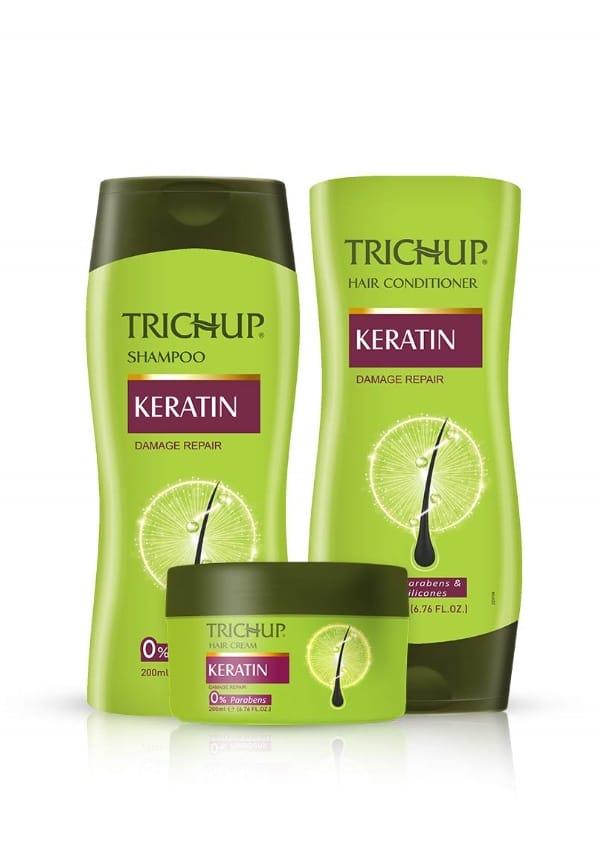
Keratin Hair Care Kit - Shampoo, Conditioner, Cream
Ready to get into the nitty-gritty? These nine methods will help you get salon-quality results from your at home hair smoothing kit.
Method 1: Proper Hair Preparation
Start with a deep cleansing shampoo to remove any product buildup, oils, or residue that could interfere with the keratin treatment. Your hair needs to be completely clean for the keratin to penetrate properly. Section your hair into four to six parts using clips, depending on thickness. This ensures even application and prevents you from missing any spots.
Method 2: Temperature Control During Application
Heat activation is crucial for keratin treatments, but too much heat can damage your hair. For fine hair, keep your blow dryer on medium heat. Thick or coarse hair can handle higher temperatures. The key is to dry your hair completely after applying the treatment but avoid overheating any one section.
Method 3: Strategic Sectioning and Application
Work in horizontal sections about an inch wide, starting from the back of your head and moving forward. Apply the treatment from mid-length to ends first, then work it up towards the roots, staying about half an inch away from your scalp. Use a fine-tooth comb to distribute the product evenly through each section.
Method 4: Timing Optimisation
Most treatments need to process for 20 to 45 minutes, but this varies by product and hair type. Fine hair processes faster, whilst thick or damaged hair might need the full processing time. Room temperature and humidity can affect timing too, so adjust accordingly.
Method 5: Post-Treatment Care Protocol
This is where many people mess up their results. Don't wash your hair for at least 72 hours after the treatment. Avoid getting it wet in the shower, sweating excessively, or using any hair accessories that might leave dents. Sleep on a silk pillowcase to prevent friction.
Method 6: Maintenance Routine Setup
Invest in a good keratin shampoo and conditioner kit specifically designed to extend your treatment. Sulfate-free formulas are non-negotiable here. Wash your hair only two to three times a week if possible, and always use lukewarm water instead of hot.
Method 7: Touch-Up Techniques
If you notice some areas looking frizzier than others after a few weeks, you can do spot treatments using a keratin hair mask for home use. Focus on the problem areas rather than treating your entire head again.
Method 8: Combining with Other Treatments
You can enhance your results by using protein masks between keratin treatments, but space them out by at least two weeks. Oil treatments are also beneficial but should be done sparingly to avoid weighing down your hair.
Method 9: Troubleshooting Common Issues
If you end up with uneven results, don't panic. You can use at home keratin hair repair products to smooth out inconsistencies. For future treatments, take photos of your sectioning pattern so you can replicate successful applications.
Let's walk through the entire process step by step. First, gather all your tools: the keratin kit, a blow dryer, flat iron, sectioning clips, gloves, and a timer. Make sure you're in a well-ventilated room because some treatments can have strong fumes.
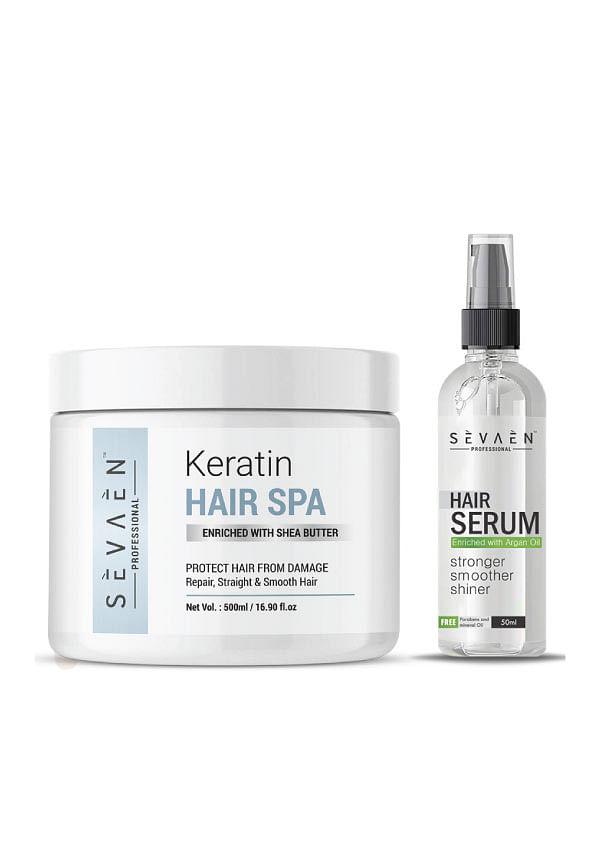
Keratin Hair Spa Cream And Hair Serum For Hair Dry&Damage repair And strengthening&Smoothing Hair With Deep Conditioning Treatment
Start by washing your hair with the clarifying shampoo that comes with your keratin smoothing treatment at home kit. Towel dry until your hair is about 80% dry, then section it into manageable parts. Apply the keratin treatment section by section, making sure every strand is coated but not dripping. Comb through each section to ensure even distribution.
Once you've covered your entire head, blow dry your hair completely using medium heat and a paddle brush. Your hair should feel slightly stiff at this point, which is normal. Some treatments require you to flat iron your hair after blow drying, whilst others don't. Follow your specific product instructions carefully.
The most common mistake people make is rushing the drying process or not applying enough product to thick sections. Take your time and don't be afraid to use more product if needed. It's better to use too much than too little.
If you're concerned about chemical exposure, non-formaldehyde keratin treatment at home options are definitely worth considering. These treatments use alternative ingredients like glyoxylic acid or amino acids to achieve similar smoothing effects without the potential health risks associated with formaldehyde.
Formaldehyde-free treatments are particularly important if you're pregnant, have respiratory issues, or sensitive skin. They're also better for regular use since they're gentler on both your hair and your overall health. The trade-off is that they might not last quite as long as traditional treatments, but many people find the peace of mind worth it.
Ingredient alternatives like glyoxylic acid work by temporarily altering the hair's structure without the harsh chemicals. Amino acids help rebuild damaged hair proteins naturally. These formulations often include nourishing oils and vitamins that actually improve hair health over time rather than just masking damage.
Your hair's condition before treatment plays a huge role in your final results. If your hair is severely damaged, consider doing a few deep conditioning treatments in the weeks leading up to your keratin application. Well-hydrated hair accepts keratin treatment better and gives more even results.
Nutrition matters too. Hair is made of protein, so eating enough protein in your diet supports the treatment from the inside out. Stay hydrated and consider taking biotin or hair vitamins if your diet is lacking.
After your treatment, establish a routine that protects your investment. Use heat protectant sprays before styling, sleep on silk pillowcases, and avoid chlorinated pools for at least two weeks. When you do swim, wet your hair with fresh water first and apply a leave-in conditioner to create a barrier.
Plan your next treatment based on how your hair responds. Most people need touch-ups every three to four months, but this varies depending on hair type, lifestyle, and how well you maintain the treatment.
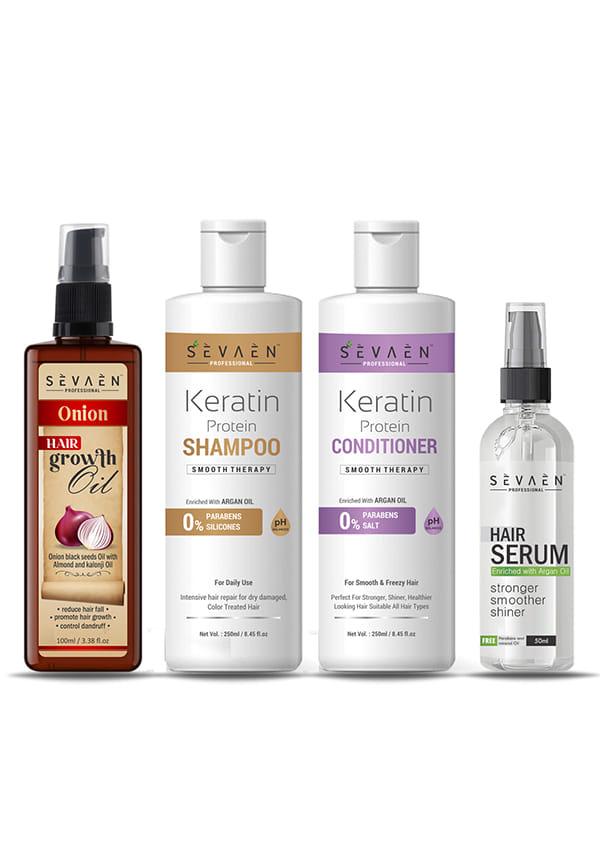
Full Hair care combo (hair growth oil+Keratin shampoo+ Keratin conditioner+ Hair serum
Yes, you can safely do keratin treatments at home if you follow the instructions carefully and take proper safety precautions. Work in a well-ventilated area, wear gloves, and do a patch test first. While the results might not be identical to professional treatments, many people achieve excellent results with quality home kits.
At home keratin treatments can be very effective, especially for reducing frizz and making hair more manageable. They typically last two to four months, which is shorter than professional treatments but still provides significant benefits. The key is choosing a quality product and following the application instructions precisely.
Keratin treatments can be excellent for high porosity hair because they help fill in gaps in the hair cuticle and create a protective barrier. High porosity hair often benefits more from keratin treatments than low porosity hair because it absorbs the treatment more readily.
Most at home keratin treatments last between two to four months, depending on your hair type, how often you wash your hair, and your styling routine. Fine hair typically sees results fade faster than thick or coarse hair. Using sulfate-free products and minimising heat styling can help extend the treatment.
When done correctly with quality products, keratin treatments shouldn't damage your hair. However, overprocessing, using too much heat, or choosing products with harsh chemicals can cause damage. Always follow instructions and consider formaldehyde-free options if you have concerns about chemical exposure.
Getting smooth, manageable hair at home with keratin treatments is totally achievable when you know what you're doing. The key is choosing the right product for your hair type, following the instructions carefully, and maintaining your results with proper aftercare. While it might take a bit of practice to perfect your technique, the time and money you'll save compared to salon visits makes it worth the effort.
Remember that consistency is everything when it comes to hair care. Your first attempt might not be perfect, but each time you'll get better at the application process and understanding what your hair needs. Don't be discouraged if your results aren't salon-perfect right away.
If you're still unsure about which products might work best for your specific hair concerns, exploring trial-sized versions can be a smart way to test different formulations before committing to full-size treatments. Smytten offers trial packs of various keratin and hair smoothing products, letting you experiment with different brands and formulations to find your perfect match.