Master the Art of Highlighter Makeup: Step-by-Step Guide

Master the Art of Highlighter Makeup: Step-by-Step Guide
Published Date - 22 July 2025
High Light It-Up Highlighter8g

Swiss Beauty

High Light It-Up Highlighter

39920 % OFF
319
Let's be real—nothing transforms your face quite like a perfectly placed bit of **highlighter makeup**. Whether you're after that subtle, everyday glow or full-on goddess vibes, mastering the art of highlighting is your ticket to a **radiant complexion** that looks effortlessly polished. This comprehensive guide will walk you through everything from choosing your ideal formula to nailing those pro-level techniques that'll have everyone asking about your skincare routine. Trust us, once you've got these skills down, there's no going back to flat, one-dimensional makeup.

Understanding Highlighter Makeup

Highlighter makeup has become the ultimate secret weapon for creating that coveted **luminous glow** we're all after. It's designed to catch and reflect light, giving your face dimension and that healthy, lit-from-within radiance that looks naturally gorgeous.

What is Highlighter Makeup?

**Highlighter makeup** is essentially **illuminating makeup** that mimics how natural light hits the high points of your face. Think of it as your cheat code for looking well-rested and glowing, even on those rough mornings. You've got four main types to choose from: • **Powder highlighters** - The classic choice that's buildable and long-lasting • **Cream highlighter** options - Perfect for that dewy, natural finish 
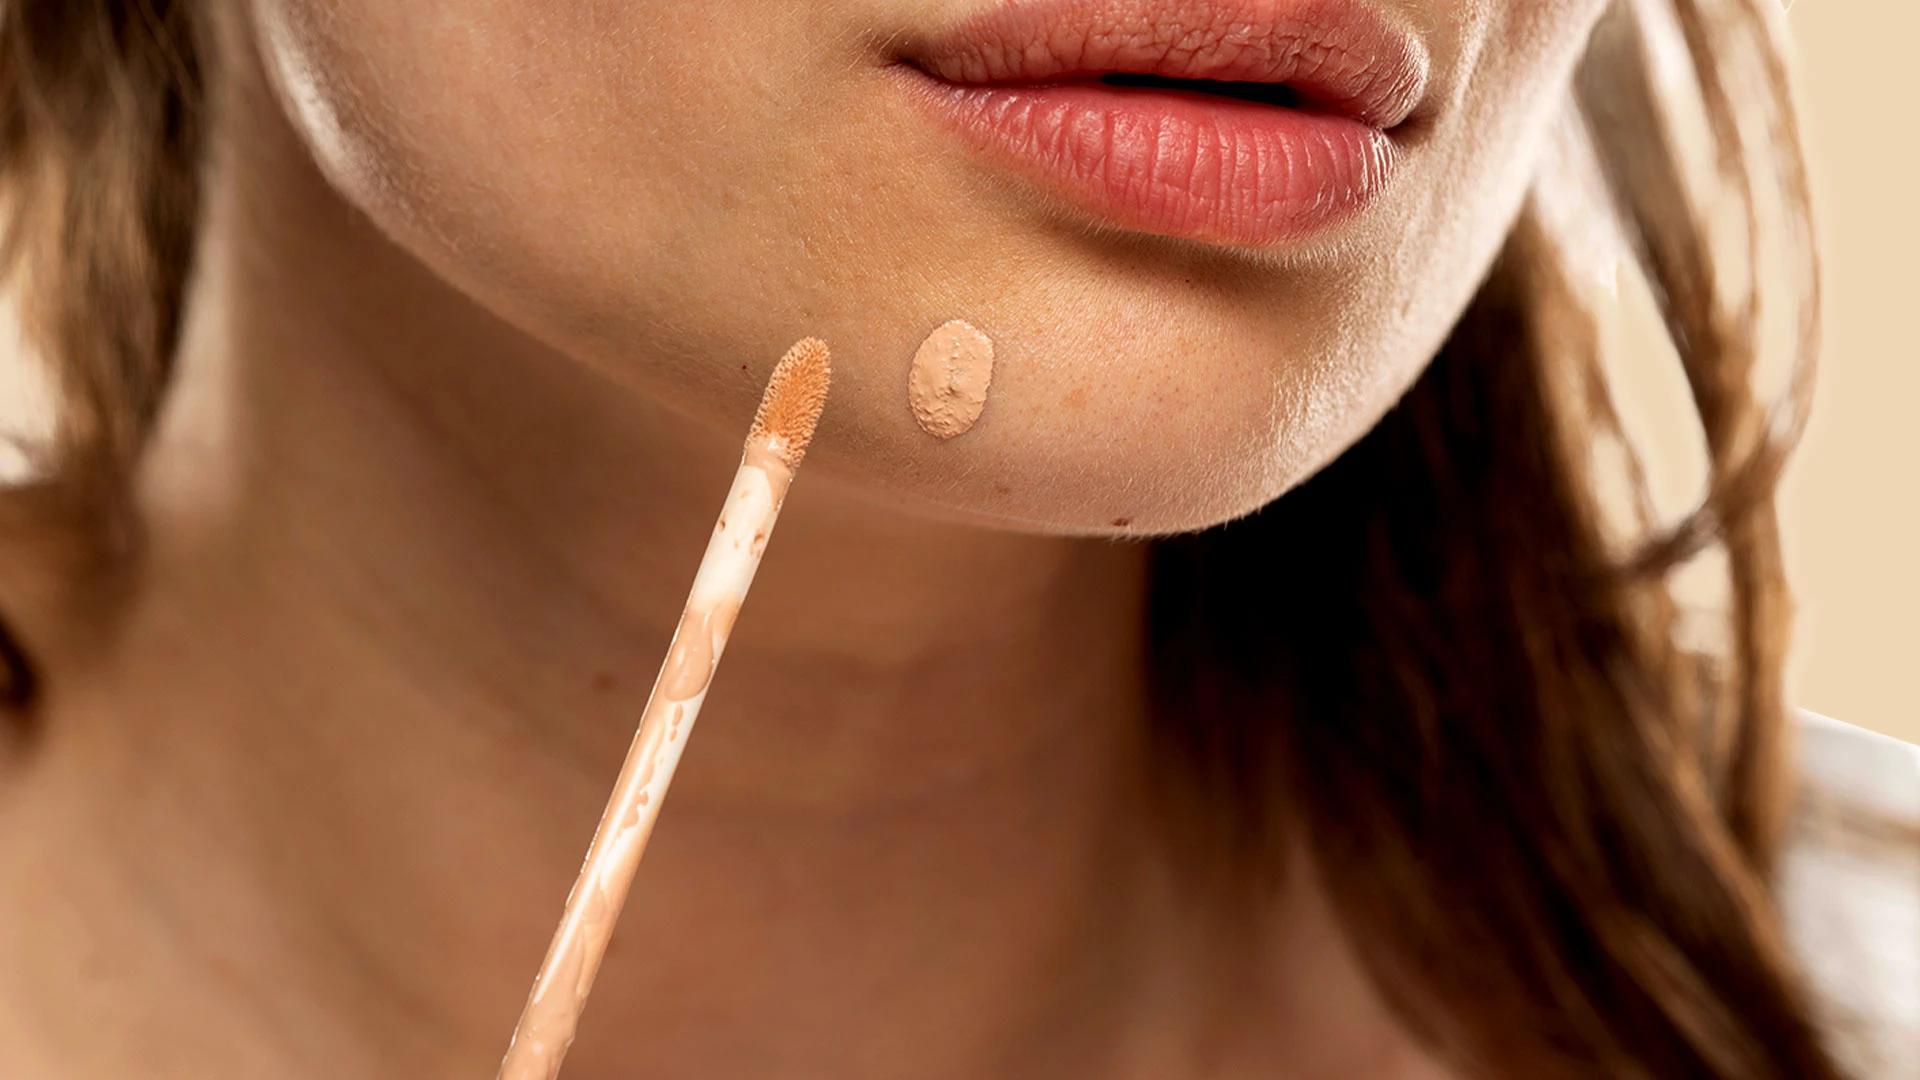
• **Liquid highlighter** formulas - Your go-to for mixing with foundation or precise application • Stick highlighters - The grab-and-go option that's foolproof for beginners

The Evolution of Highlighter Makeup

Highlighter has come such a long way from those chunky, glittery compacts of the early 2000s. The game-changer? The **strobing technique** that took off in the mid-2010s. This method focuses purely on highlighting without traditional contouring, creating that fresh-faced, **dewy skin** look that's still trending today. It's all about working with your natural bone structure rather than completely reshaping it.

The Right Highlighter for Your Skin

Picking the perfect highlighter isn't just about grabbing the prettiest compact—it's about finding what works with your unique skin tone and type. The wrong shade can look ashy or overly dramatic, whilst the right one will have you glowing like you've just stepped out of a skincare advert.

Highlighter Formulations

**Powder highlighters** are your reliable mate—they're buildable, blend easily, and work brilliantly for oily skin types. **Cream highlighter** formulas give you that natural, **dewy skin** finish that looks like it's coming from within. **Liquid highlighter** is perfect for mixing with your foundation for an all-over glow or for precise application on specific areas. **Face gloss** takes things up a notch with an intense, glossy finish that's perfect for editorial looks or when you want to make a statement.

Selecting the Perfect Shade

For fair skin tones, champagne and pearl shades create that perfect **luminous glow** without looking overdone. Medium skin looks gorgeous with golden and peachy tones that complement natural warmth. Deeper skin tones absolutely shine with bronze, copper, and rich gold shades that create stunning dimension. The key is matching your undertones—cool undertones pair beautifully with silver-based highlighters, whilst warm undertones come alive with golden shades.

Essential Tools for Highlighter Application

Having the right tools makes all the difference between a patchy, obvious highlight and that seamless, professional finish you're after. You don't need loads of fancy kit—just a few key pieces that'll make the application process smooth and effortless.

Brushes and Applicators

A fluffy fan brush is perfect for a light, diffused application that won't disturb your base makeup. Tapered brushes give you more control for precise placement on smaller areas like your nose or cupid's bow. Beauty sponges work brilliantly for blending cream formulas seamlessly into your skin. Sometimes, your fingertips are actually the best tool—especially for cream highlighters that warm up beautifully with your body heat.

Prep Products for a Flawless Base

Prep Set Glow100 ml

Recode

Prep Set Glow

69530 % OFF
487
A good primer creates the perfect canvas for your highlighter to sit on, helping it last longer and blend more seamlessly. Setting sprays can be used both before and after application—spritz your brush lightly for more intense colour payoff, or mist over your finished look to lock everything in place.

Step-by-Step Guide to Applying Highlighter

Now for the fun bit—actually applying your highlighter like a proper makeup artist. This step-by-step approach will help you build up your glow gradually, so you can control the intensity and avoid any harsh lines or patches.

Prepping Your Skin

Start with clean, moisturised skin—this creates the perfect base for everything that follows. Apply your primer evenly, paying special attention to areas where you'll be highlighting. This step is crucial for longevity and helps your **illuminating makeup** blend seamlessly with your base.

Creating a Flawless Base

Apply your foundation using your preferred method, but keep it light where you'll be highlighting—you don't want to create a thick barrier. Use concealer sparingly on the high points of your face, as too much product can make your highlighter look cakey rather than natural.

Highlighter Application Techniques

Start with your cheekbones—apply highlighter to the highest point and blend upwards towards your temples. Sweep a small amount across your brow bone, avoiding the actual brow hairs. Add a thin line down your nose bridge, but keep it subtle unless you're going for a more dramatic look. A tiny dab on your cupid's bow makes your lips look fuller and more defined. Don't forget the inner corners of your eyes—this instantly makes you look more awake and bright-eyed.

Blending for a Natural Look

The secret to natural-looking highlighter is seamless blending. Use circular motions with a clean brush to soften any harsh edges. Build up the intensity gradually—it's much easier to add more than to tone down an overly dramatic highlight. Check your work in different lighting to ensure it looks natural from all angles.

Advanced Highlighter Techniques

Once you've mastered the basics, these advanced techniques will take your highlighting game to the next level. These methods are what separate amateur makeup from professional-looking results that photograph beautifully.

Layering Different Formulas

Start with a **cream highlighter** as your base, then add **shimmer powder** on top for extra dimension and staying power. This layering technique gives you that complex, multidimensional glow that looks expensive and professional. The cream provides the base luminosity, whilst the powder adds sparkle and locks everything in place.

Strobing Technique

The **strobing technique** is all about strategic highlighting without any contouring or bronzing. Focus on where light naturally hits your face—cheekbones, nose bridge, forehead centre, and chin. This creates that fresh, **dewy skin** look that's perfect for daytime or when you want to look naturally glowing. Use a **liquid highlighter** mixed with your moisturiser for an all-over subtle glow.

Creating a Dewy, Radiant Complexion

Glam Highlighter Palette12 gm

Colors Queen

Glam Highlighter Palette

3298 % OFF
303
Mix a drop of **liquid highlighter** with your foundation for an all-over **luminous glow** that looks like perfect skin. This technique, combined with strategic placement of additional highlighter, creates that enviable **radiant complexion** that looks healthy and youthful. The key is using a light hand—you want to look glowing, not greasy.

Highlighter Makeup for Different Occasions

Different occasions call for different levels of glow. What works for your morning coffee run might be too subtle for a night out, whilst your weekend party look could be over the top for the office.

Daytime Luminous Glow

For everyday wear, keep your **luminous glow** subtle and natural. Use a **cream highlighter** that's only one or two shades lighter than your skin tone. Focus on the high points of your cheekbones and a tiny bit on your nose bridge. This creates that healthy, well-rested look that's appropriate for work and casual settings.

Evening Glamour

Evening looks can handle more intensity and drama. Layer your cream base with a **shimmer powder** for extra sparkle that catches restaurant lighting beautifully. Don't be afraid to extend your highlight slightly higher on your cheekbones and add a bit more to your temples for that sculpted, glamorous effect.

Special Event Illumination

For weddings, parties, or photo-heavy events, you can really go for it with your highlighting. Use **facial contouring** techniques alongside your highlighting to create maximum dimension. **Face gloss** on the high points adds editorial-level drama that photographs beautifully and creates that coveted glass-skin effect.

Troubleshooting Common Highlighter Issues

Even with the best techniques, sometimes things don't go quite to plan. Here's how to fix the most common highlighting hiccups and prevent them from happening in future applications.

Preventing Cakiness and Creasing

Cakey highlighter usually happens when you've applied too much product or haven't blended properly. Use a clean, fluffy brush to diffuse harsh lines and blend everything seamlessly. If you've gone overboard, gently press a damp beauty sponge over the area to tone it down without disturbing your base makeup.

Adjusting for Oily Skin

Oily skin types should stick to powder formulas that won't slide around throughout the day. Set your **cream highlighter** with a matching powder shade for longevity. Use a mattifying primer on oily areas before applying your base, but skip it where you'll be highlighting to maintain that **dewy skin** effect.

Techniques for Mature Skin

Mature skin looks best with **cream highlighter** formulas that don't settle into fine lines. Avoid glittery textures that can emphasise texture, and instead opt for smooth, pearl-like finishes. Focus on the outer corners of your cheekbones rather than directly on top, as this creates lift without drawing attention to any areas you'd prefer to downplay.

Maintaining Your Highlighter Look

Fusion Highlighter6 gm

Swiss Beauty

Fusion Highlighter

37915 % OFF
322
A gorgeous highlight is only as good as its staying power. These tips will help you maintain that fresh, glowing look throughout the day without constant touch-ups or fading.

Touch-up Tips

Carry a small **cream highlighter** stick for quick touch-ups—it's much easier than travelling with powder and brushes. A quick dab on your cheekbones and blend with your fingers will refresh your glow instantly. If you're using powder, gently press rather than rub to avoid disturbing your base makeup.

Removing Highlighter Makeup

Remove your makeup gently with a proper cleanser—oil-based cleansers work brilliantly for breaking down long-wearing formulas without harsh rubbing. Follow up with your regular skincare routine to keep your skin healthy and glowing naturally, which makes your **illuminating makeup** look even better the next day.

Frequently Asked Questions

What's the difference between highlighter and illuminator?

Highlighter is typically more concentrated and placed on specific areas, whilst illuminator usually refers to products that give an all-over glow, often mixed with foundation or moisturiser.

Can I use highlighter if I have oily skin?

Absolutely! Stick to powder formulas and set any cream products with powder. The key is choosing the right formula and application technique for your skin type.

How do I choose the right highlighter shade for my skin tone?

Test shades on your cheekbone in natural light. The right shade should look like your skin but brighter—avoid anything that looks chalky or too warm/cool for your undertones.

Is it necessary to use a brush to apply highlighter?

Not always! Fingers work brilliantly for cream formulas, whilst brushes give more control with powders. Experiment to find what works best for you.

Can highlighter be used on body parts other than the face?

Definitely! Try it on your collarbones, shoulders, or legs for events where you want an all-over glow. Just use a larger brush for even application.

Final Thoughts

Mastering **highlighter makeup** is honestly one of the best skills you can add to your beauty routine. It's the difference between flat, one-dimensional makeup and that enviable **radiant complexion** that looks effortlessly polished. Remember, the best highlight is one that looks like it's coming from within—natural, seamless, and perfectly suited to your unique features. Start with subtle applications and gradually build up your confidence with more dramatic techniques. Your perfect glow is out there waiting to be discovered, so don't be afraid to experiment and find what works best for your skin tone and personal style.
Sangria Experience Logo
Document