Master Concealer: Step-by-Step Flawless Coverage Guide
 6 gm
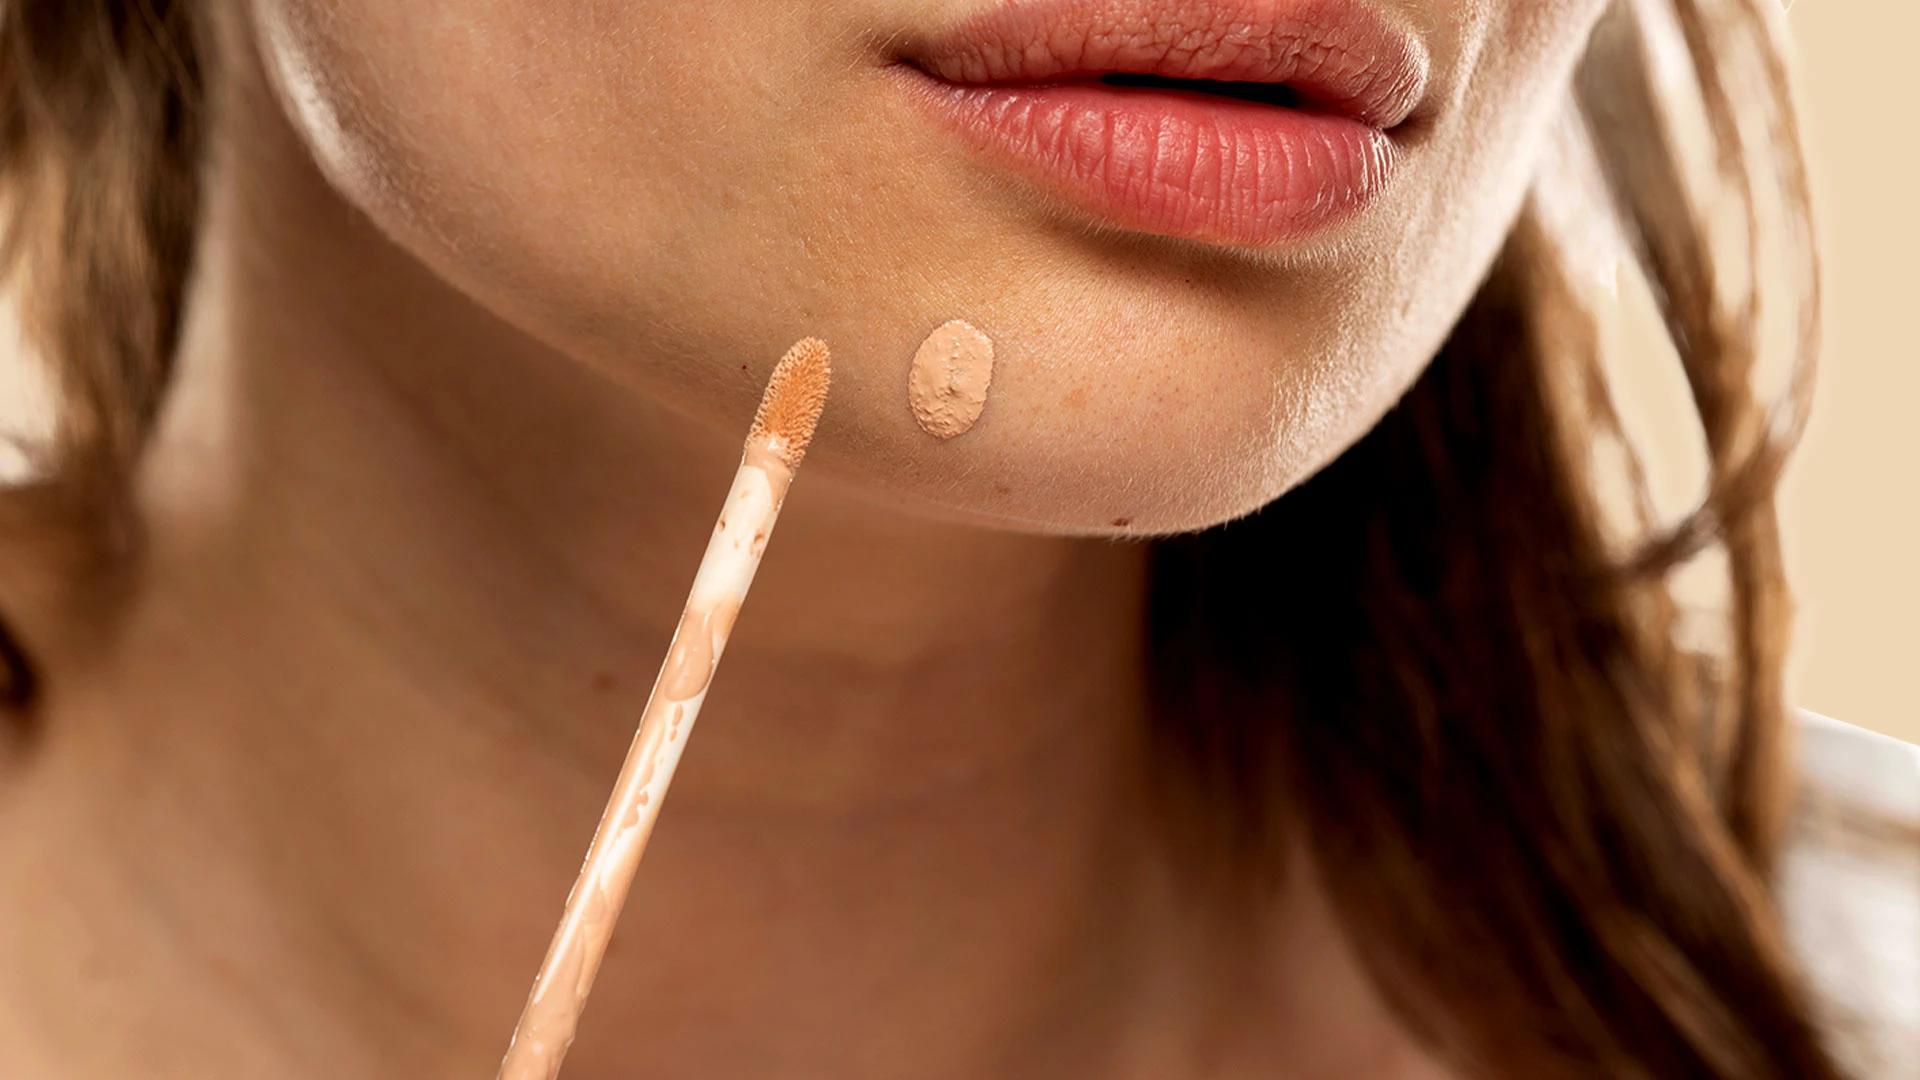
6 gmLiquid Light Weight Concealer With Full Coverage
Real talk—concealer is the ultimate makeup multitasker that deserves way more credit than it gets. Whether you're dealing with those stubborn dark circles after a late-night Netflix binge or want to make a blemish disappear before that important meeting, the right concealer can be a total game-changer. But here's the thing: getting that flawless, airbrushed finish isn't just about slapping on any old product. It's about understanding your skin, choosing the right formula, and mastering those application techniques that make all the difference. From liquid concealer to stick formulas, color correctors to waterproof options, there's a whole world of concealer magic waiting to be discovered.
Before diving into application techniques, let's get the foundations sorted. Think of concealer as your makeup toolkit's Swiss army knife—versatile, essential, and surprisingly powerful when you know how to use it properly. The key to nailing that perfect coverage lies in understanding what you're working with and why certain formulas work better for different concerns.
Liquid concealer tends to be your go-to for buildable coverage and blends like a dream. It's particularly brilliant for under-eye coverage because it doesn't settle into fine lines as much. Stick concealer packs more punch in terms of coverage—perfect for spot-treating blemishes or when you need that full-coverage makeup look. Cream concealers sit somewhere in between, offering decent coverage with a creamy texture that's kind to dry skin. Then there's the color corrector—think of it as concealer's clever cousin that tackles specific colour issues before you even apply your main concealer.
Here's where many people go wrong—matching concealer shades isn't just about finding something close to your skin tone. For blemish concealer, you want an exact match to your skin. But for under-eye coverage, go one shade lighter to brighten and lift that area. Consider your undertones too—if you have warm undertones, peachy or golden-based concealers will look more natural than pink-toned ones.
Think of this step as creating the perfect canvas for your masterpiece. Proper prep work is what separates amateur application from professional-looking results. Your skin needs to be in the right condition to hold concealer properly and prevent that dreaded cakey look.
Start with clean, moisturised skin—this isn't negotiable. A good moisturiser creates that smooth base your concealer needs to glide on seamlessly. If you're using primer, apply it after your moisturiser but before concealer. Eye cream is particularly important for the delicate under-eye area, as it prevents concealer from looking dry or emphasising fine lines.
This is where the magic happens before you even touch your main concealer. Purple or lavender correctors neutralise yellow tones and dullness. Peach or orange tackles blue and purple tones like dark circles or veins. Green corrects redness from spots or rosacea. Apply these sparingly and blend well before moving on to your regular concealer.
Now for the main event—the actual application that transforms your complexion. These makeup application techniques might seem simple, but there are subtle tricks that make all the difference between good coverage and absolutely flawless results.
Apply concealer in an inverted triangle shape under your eyes—this brightens a larger area than just dotting product on dark circles. Use your ring finger or a damp beauty sponge to gently pat and blend the edges. Never rub or drag the product, as the under-eye skin is delicate and this can cause creasing.
Less is definitely more here. Dab a tiny amount directly onto the blemish using a small, flat brush or clean fingertip. Press the product down rather than rubbing it in, then gently blend just the edges. Build coverage gradually if needed—it's easier to add more than to fix a cakey mess.
For those days when you want everything covered, work in thin layers. Apply your lightest coverage first, then go back and spot-treat areas that need more attention. Use different application methods—fingers for warmth and blending, brushes for precision, and sponges for seamless finishing.
Ready to level up your concealer game? These pro techniques take your application from basic coverage to sculpted perfection. Once you've mastered the fundamentals, these advanced methods can completely transform your makeup routine.
Use a concealer two shades lighter than your skin tone to highlight the centre of your forehead, bridge of your nose, under-eye area, and chin. A shade darker than your natural tone can subtly contour around your hairline and jawline. Blend everything seamlessly for a naturally sculpted look that photographs beautifully.
These formulas are brilliant for long-lasting wear but require specific techniques. Work quickly as they set fast, and use pressing motions rather than rubbing. Set immediately with a light dusting of translucent powder to lock everything in place. Perfect for those 12-hour days or special events where touch-ups aren't an option.
Your skin type plays a huge role in which concealer formulas work best and how you should apply them. What works brilliantly on oily skin might look completely wrong on dry skin, so tailoring your approach is key to getting that flawless finish.
Look for hydrating, creamy formulas that won't emphasise dry patches. Apply a facial oil or rich moisturiser first, let it absorb, then use pressing motions to apply concealer. Avoid powder setting on very dry areas, or use the tiniest amount possible. A setting spray works better than powder for locking everything in place.
Oil-free, matte formulas are your best friends here. Use a mattifying primer first, then apply concealer with a brush rather than fingers to avoid transferring oils. Set with translucent powder immediately, and consider carrying blotting papers for touch-ups throughout the day rather than adding more product.
Even with perfect technique, concealer can sometimes have a mind of its own. These common problems have simple solutions once you know what causes them and how to prevent them from happening in the first place.
Creasing usually happens when you apply too much product or skip the setting step. Use thin layers, set with powder, and try the triangle method for under-eyes rather than applying product directly on the crease line. If your concealer looks cakey, you're either using too much or the formula is too thick for your skin type.
Lightweight, hydrating formulas work best as they won't settle into fine lines. Avoid heavy coverage directly on wrinkles—instead, use color corrector first, then a light layer of concealer. Press rather than rub during application, and use a damp sponge for the most natural finish.
These insider secrets separate amateur application from professional results. Professional makeup artists have learned these tricks through years of working with different skin types, lighting conditions, and coverage needs.
Mix different concealer shades to create your perfect match, especially as your skin tone changes with the seasons. Add a drop of facial oil to thick concealers to make them more blendable, or mix in a tiny amount of foundation to adjust the coverage level. This customisation ensures your concealer works perfectly for your unique needs.
A light layer of concealer on your eyelids creates the perfect base for eyeshadow application. It neutralises any discolouration and helps eyeshadow colours appear more vibrant and last longer. Just make sure to set it with a light dusting of powder before applying your eyeshadow.
These are the questions that come up most often when people are trying to master their concealer technique. Getting these fundamentals right makes everything else so much easier.
Liquid concealer works best for under-eye coverage and large areas because it blends seamlessly and builds gradually. Stick concealer is brilliant for precise spot coverage and when you need heavier coverage for blemishes or discolouration. Many people find having both types gives them the most flexibility.
Absolutely! Concealer can work beautifully on its own for a natural, spot-coverage look. Just make sure to blend the edges well so there are no harsh lines, and choose a shade that matches your skin tone perfectly rather than going lighter.
Use an eye cream first, apply concealer in thin layers, and always set with a light dusting of translucent powder. The triangle application method also helps as it avoids placing product directly in the crease line where movement happens.
Gentle pressing or patting motions work better than rubbing or dragging. Use your ring finger, a damp beauty sponge, or a small brush depending on the area and coverage needed. Work from the centre of the area outward, blending just the edges.
Liquid concealers should be replaced every 12-18 months, while stick concealers can last up to 2 years if stored properly. If the texture changes, it starts to smell off, or it's not performing as well as it used to, it's time for a fresh one.
Mastering concealer application is honestly one of those skills that pays off every single day. Whether you're going for that no-makeup makeup look or building up to full glam, knowing how to work with different formulas and application techniques gives you so much confidence. Remember, it's all about finding what works for your skin type, practicing the techniques, and not being afraid to experiment. Your perfect concealer routine might be different from your friend's, and that's completely normal. The key is understanding your skin's needs and having the right techniques in your toolkit to address them. With these tips in your beauty arsenal, you're well on your way to achieving that flawless, natural-looking coverage that makes your skin look like the best version of itself.
