How to Remove Glitter Makeup Safely and Gently
 50gms
50gmsCosmic Nectar Polishing Face Scrub
We've all been there—you've just rocked the most stunning glitter look for a night out, but now you're staring at your reflection wondering how on earth you're going to get all those sparkly bits off without scrubbing your skin raw. Glitter makeup removal can feel like trying to solve a puzzle whilst half-asleep, especially when traditional makeup removers seem to just push the glitter around rather than actually removing it. The good news? There are proper techniques that'll get you glitter-free without turning your face into a scratched-up mess. Let's dive into the methods that actually work, so you can enjoy your sparkly moments without dreading the cleanup.
Here's the thing about glitter—it's designed to stick around. Most glitter makeup uses special adhesives that help those tiny particles cling to your skin through dancing, sweating, and general life chaos. When you try to remove glitter with regular makeup remover and a cotton pad, you're essentially just moving the particles around your face rather than lifting them off.
The science behind glitter adhesion is pretty straightforward. These microscopic particles have irregular edges that grip onto skin texture, whilst the binding agents in glitter makeup create a film that standard micellar water or makeup wipes can't easily break down. This is why scrubbing harder doesn't work—it just pushes glitter deeper into your pores and can cause micro-scratches on your skin.
Common mistakes that make glitter removal worse include:
Using circular scrubbing motions that spread glitter around
Applying too much pressure with cotton pads
Using alcohol-based removers that can irritate already sensitive skin
Trying to remove everything in one go instead of working in stages
The key difference between cosmetic and craft glitter removal is that makeup-grade glitter typically uses gentler adhesives, but it's still stubborn enough to require specific techniques. Craft glitter, on the other hand, uses industrial-strength adhesives and should never be used on your face.
Real talk—the tape method might sound a bit mad, but it's genuinely the most effective first step for glitter makeup removal. This technique works because tape can lift glitter particles without the need for harsh rubbing or chemicals that might irritate your skin.
Here's your step-by-step tape technique for gentle removal:
Use fashion tape or medical tape (avoid duct tape or super-strong adhesives)
Gently press a small piece of tape onto the glittery area
Lift straight up—don't pull sideways
Repeat with fresh pieces of tape until most visible glitter is gone
Work in small sections rather than trying to cover large areas
Fashion tape is your best bet because it's specifically designed for skin contact. Medical tape works well too, as it's gentle and hypoallergenic. Regular sellotape can work in a pinch, but use it sparingly and never leave it on for more than a few seconds.
When removing glitter from around your eyes, cut the tape into tiny strips and work with your eyes closed. The skin around your eyes is delicate, so use minimal pressure and never pull the tape towards your eye.
 100 ml
Mineral Glow Scrub
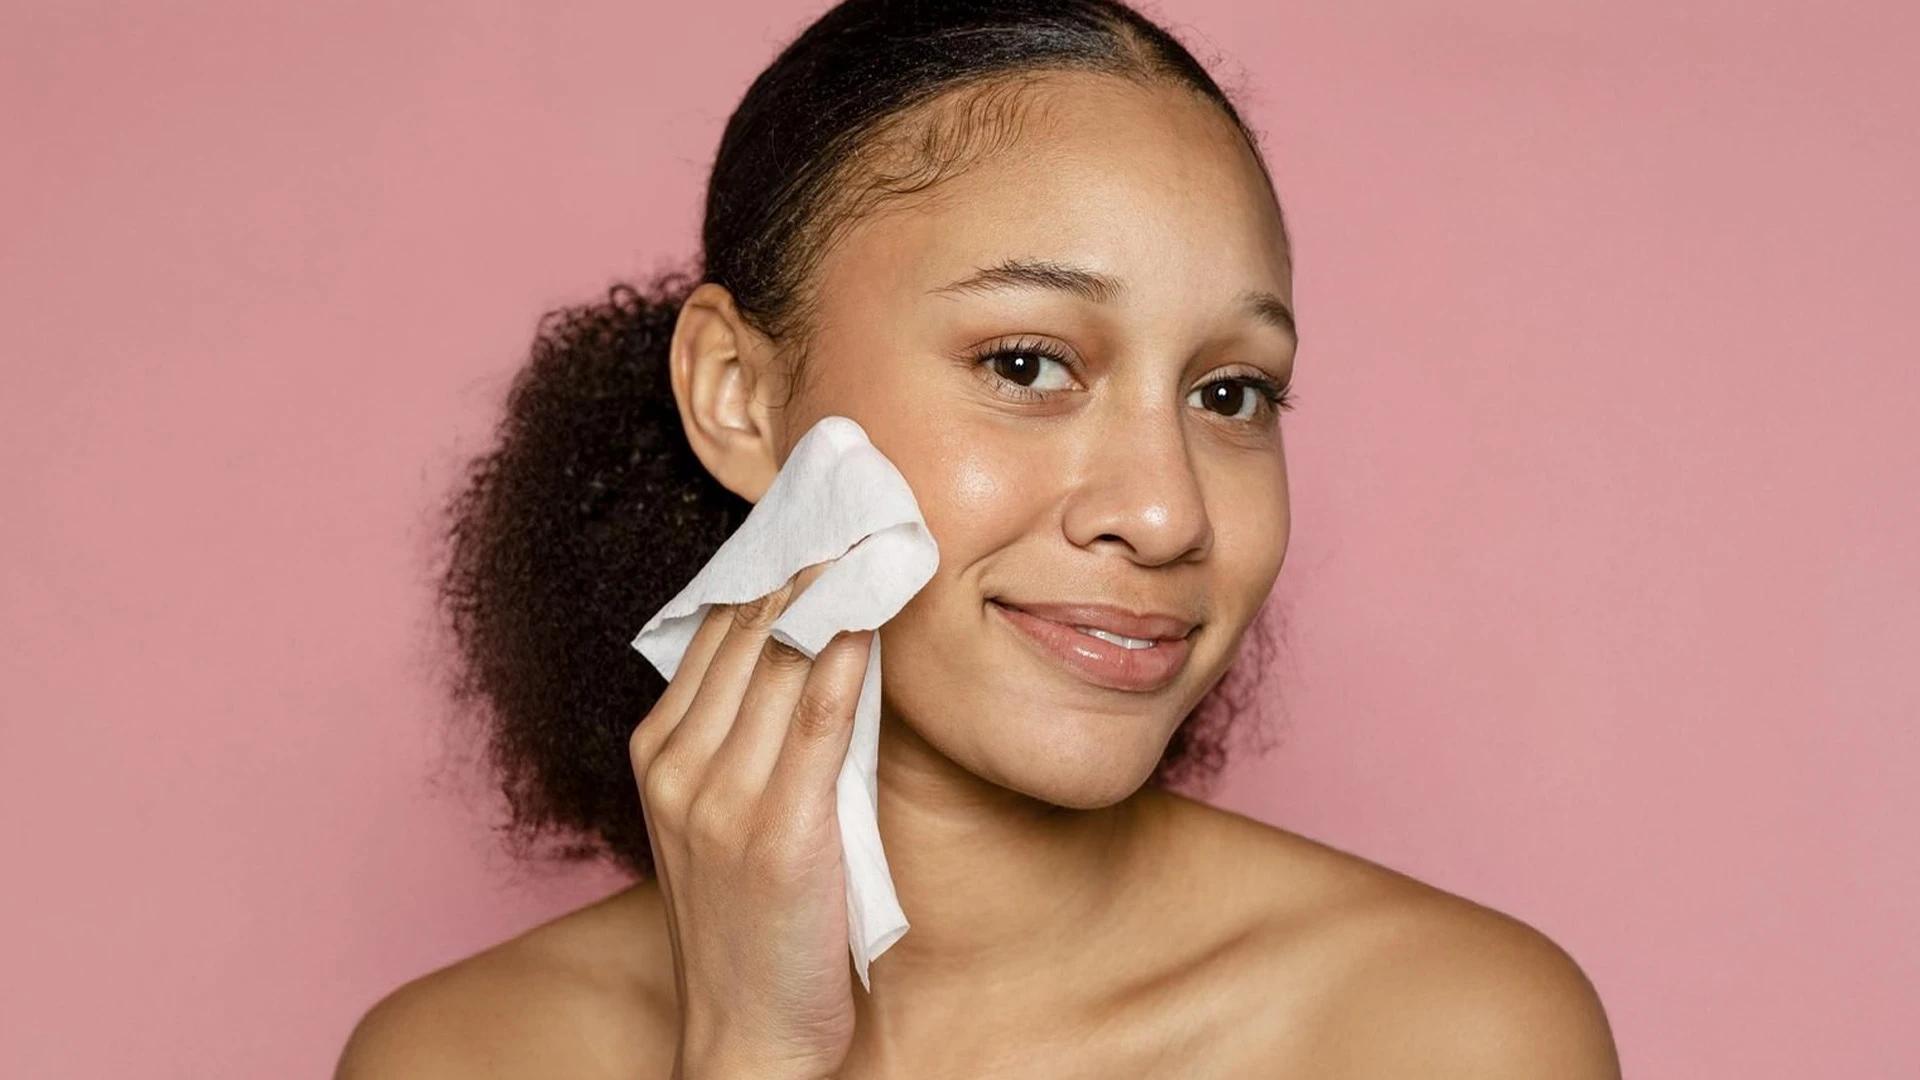
After you've tackled the bulk of the glitter with tape, oil-based cleansers become your secret weapon for getting rid of any remaining particles and the adhesive residue. Oil dissolves the binding agents in glitter makeup more effectively than water-based removers, making this the most thorough method for complete removal.
The science here is simple—like dissolves like. The oils break down the film-forming ingredients in glitter makeup, allowing the remaining particles to slide off your skin rather than clinging on for dear life.
Cleansing balms work brilliantly because they start solid and melt into oil when warmed between your hands. Micellar oils are another excellent option, as they combine the dissolving power of oil with the gentle lifting action of micellar technology.
If you're in a pinch, coconut oil or jojoba oil from your kitchen can work wonders. Apply a small amount to your fingertips, gently massage over the glittery areas, then wipe away with a soft cloth. Just remember to follow up with your regular cleanser to avoid clogged pores.
Not all areas of your face are created equal when it comes to glitter removal. The delicate eye area requires a completely different approach than your cheeks or forehead, and sometimes you might want to remove glitter without disturbing the rest of your makeup.
Your eye area needs extra TLC during glitter removal. Start with a waterproof micellar water specifically designed for eyes—these are formulated to be gentle whilst still being effective at breaking down stubborn makeup.
Soak a cotton pad with your chosen remover and hold it against your closed eye for about 10 seconds before gently wiping downwards. Never rub back and forth, as this can cause irritation and push glitter into your lash line.
Sometimes you've nailed your base makeup but want to tone down the glitter for a different look. Use the tape method first, then spot-treat any remaining areas with a cotton bud dipped in oil-based remover. Work in small, precise movements to avoid disturbing your foundation.
Life happens, and sometimes you need to remove glitter when you're nowhere near your usual makeup removal setup. Whether you're at work, out with friends, or travelling, these emergency techniques will sort you out.
Makeup wipes aren't ideal for glitter removal, but if they're all you have, use them gently and follow up with whatever oil-based product you can find. Even a tiny amount of lip balm can help dissolve glitter adhesive in a pinch.
 24 gm
24 gmGlitter Palette Less Bitter, More Glitter
Petroleum jelly might seem like an odd choice, but it's surprisingly effective at breaking down glitter makeup. Apply a small amount, let it sit for a minute, then gently wipe away with tissue. Just be prepared for a slightly greasy feeling until you can properly cleanse your skin.
Pack a small roll of fashion tape, some cotton buds, and travel-sized cleansing balm. This trio will handle most glitter emergencies without taking up much space in your bag.
Once you've removed the visible glitter, your work isn't quite done. A proper post-glitter cleaning routine ensures you've got every last particle and prevents any potential skin irritation.
The double cleansing method works brilliantly here. Start with your oil-based cleanser to break down any remaining adhesive, then follow with your regular water-based cleanser to remove the oil and any final traces of makeup.
Sometimes tiny glitter particles can get lodged in your pores. A gentle exfoliant used once or twice a week can help shift these without causing irritation. Look for chemical exfoliants with BHA or AHA rather than harsh scrubs.
After all that removal work, your skin might feel a bit sensitive. Apply a soothing moisturiser or face oil to restore your skin barrier and prevent any dryness or irritation.
The best glitter removal starts with smart application. Using a good eyeshadow primer or face primer creates a barrier between the glitter and your skin, making removal much easier later on.
When applying glitter makeup, consider using a setting spray before application rather than after. This creates a tacky base for the glitter to stick to, but one that's easier to remove than direct skin contact.
If you're conscious about environmental impact, look for biodegradable glitter options. These break down naturally and are often easier to remove from skin too. Many brands now offer eco-friendly glitter that performs just as well as traditional versions.
 10 ml
10 mlEyeshadow Loose Glitter
Speaking of trying new products, platforms like Smytten make it easy to test different glitter makeup and removal products without committing to full sizes. With over 1,500 trusted brands available in trial sizes, you can discover your perfect glitter removal routine through their curated trial packs. Getting up to 8 minis for just ₹249 with 100% cashback means you can experiment with different removal methods and products until you find what works best for your skin.
The tape method followed by oil-based cleansers provides the safest and most thorough glitter makeup removal. Start with fashion tape to lift the bulk of particles, then use a cleansing balm or oil to dissolve any remaining adhesive.
Yes, Vaseline can effectively remove glitter by breaking down adhesives, though dedicated oil-based cleansers are generally more effective and less likely to clog pores.
Use fashion tape to gently lift glitter particles first, then spot-treat remaining areas with a cotton bud dipped in oil-based remover. Work in small, precise movements to avoid disturbing your base makeup.
Fashion tape or medical tape is much safer for facial skin. Regular tape can be used briefly with extreme gentleness, but it's more likely to cause irritation or remove skin along with the glitter.
Use a good primer before applying glitter makeup, and consider setting spray application techniques that create easier removal. Investing in quality, skin-safe glitter products also makes a huge difference.
Removing glitter makeup doesn't have to be a nightmare that leaves your skin looking like you've been in a fight with a cheese grater. With the right techniques—starting with the tape method and following up with oil-based cleansers—you can get back to glitter-free skin safely and gently.
Remember, the key is patience and the right products. Rushing the process or using harsh scrubbing motions will only make things worse and potentially damage your skin. Take your time, work in stages, and always follow up with proper skincare to keep your skin happy.
Whether you're a glitter enthusiast who rocks sparkly looks regularly or someone who occasionally dabbles in festival makeup, having a solid removal routine in your back pocket means you can enjoy the glamour without dreading the cleanup. After all, life's too short to avoid glitter just because you're worried about getting it off—now you know exactly how to handle it like a pro.
