How to Find the Perfect Blush Placement Now
 1 unit
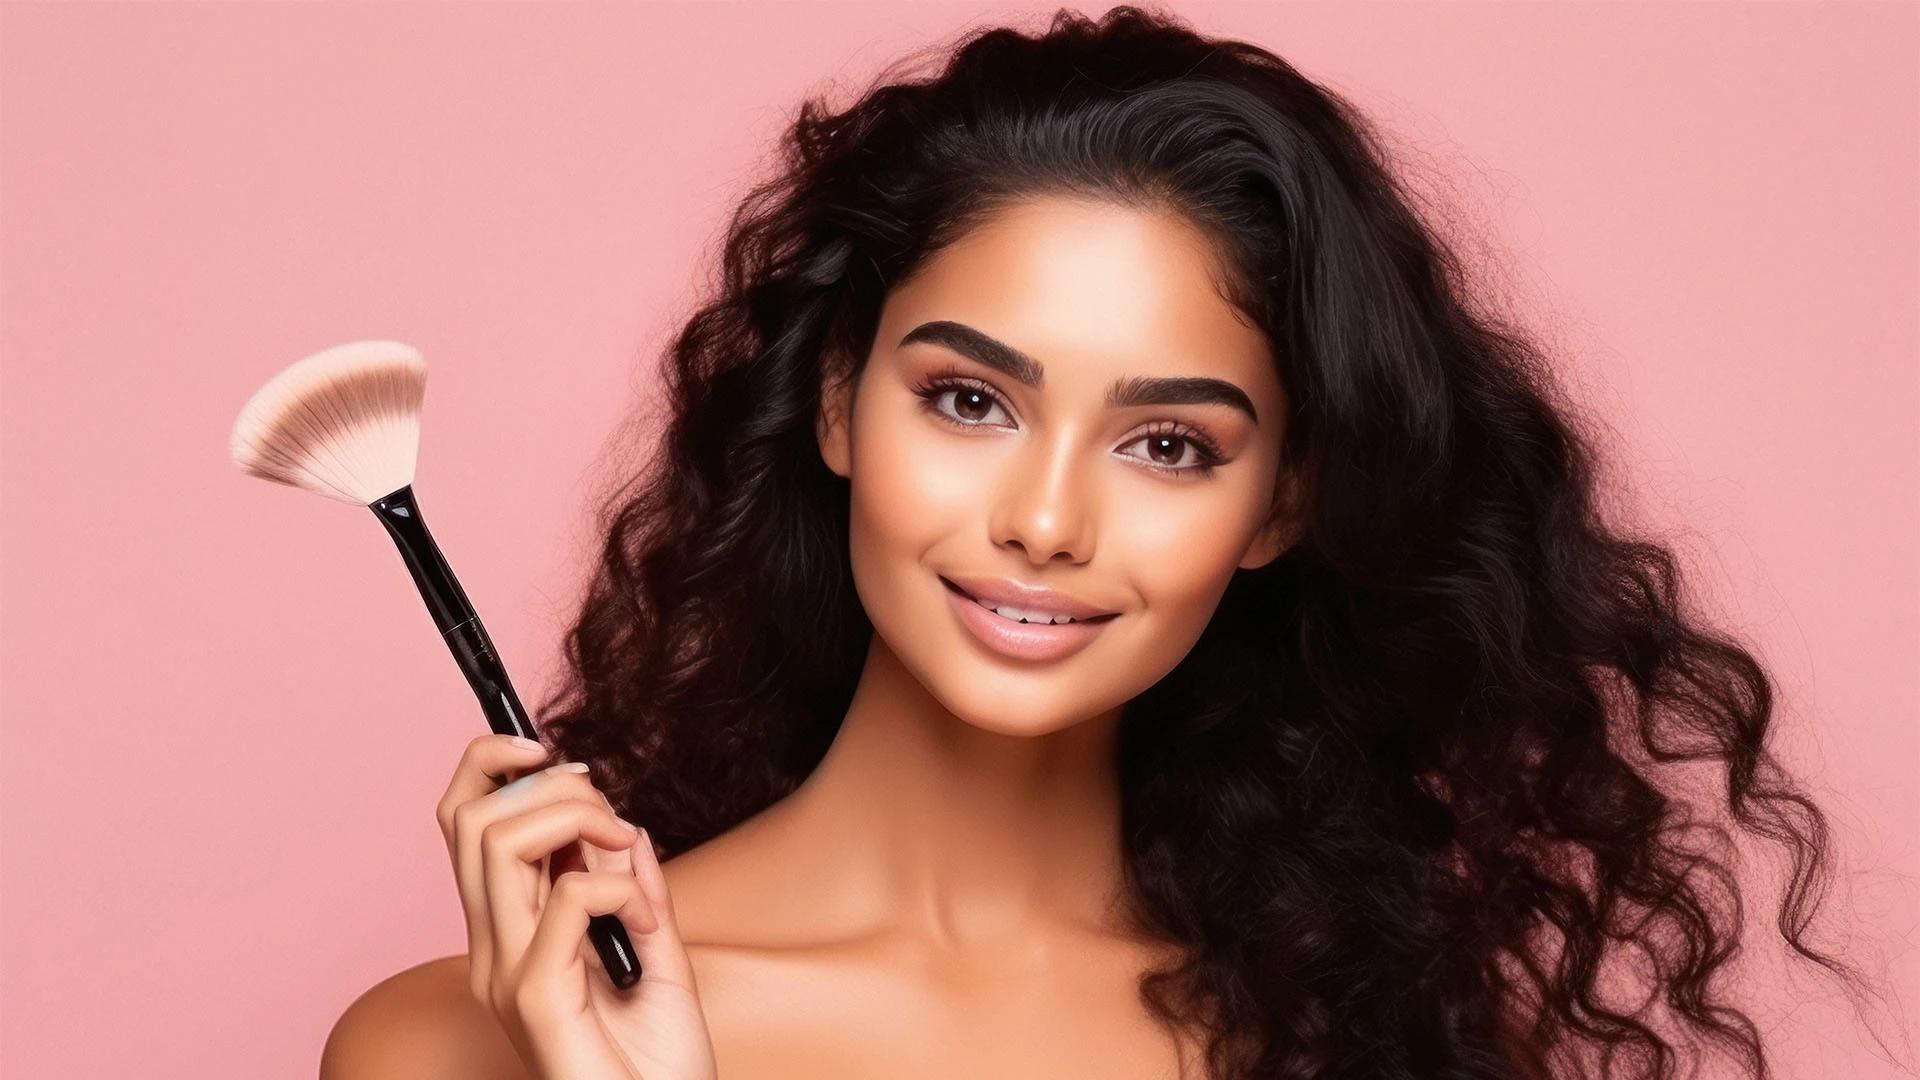
Rectractable Powder Brush (EV-20RT)
Let's be real—blush can make or break your entire makeup look. You might have the perfect foundation and killer eye makeup, but if your blush placement is off, everything feels a bit wonky. The thing is, correct blush placement isn't just about slapping some colour on your cheeks and calling it a day. It's about understanding your face shape, knowing where your natural flush zones are, and mastering a few simple techniques that'll have you looking like you just stepped out of a professional makeup session. Whether you're after that subtle everyday glow or something more dramatic for a night out, getting your blush placement right is the secret to looking effortlessly put-together.
Before diving into specific techniques, it's worth understanding why correct blush placement matters so much. Your face has natural flush zones—areas where blood naturally pools when you're excited, embarrassed, or have been exercising. These spots are typically the apples of your cheeks, but the exact placement varies depending on your bone structure and face shape.
Your natural flush zones are your best guide for blush placement. Smile genuinely in the mirror—see those rounded areas that pop up? Those are your apples. But here's where it gets interesting: the apples aren't always the best spot for everyone. Some faces benefit from higher placement on the cheekbones, whilst others look better with blush swept lower towards the jawline.
You could have the most expensive, perfectly matched blush in the world, but if it's in the wrong spot, it won't do you any favours. Blush application tips from makeup artists consistently emphasise that placement trumps everything else. The right placement can lift your features, create the illusion of higher cheekbones, and make your face appear more balanced.
Editorial blush placement—the kind you see in magazines—often involves dramatic placement high on the cheekbones or even extending to the temples. Everyday placement is typically more conservative, focusing on enhancing your natural features rather than creating new ones. Both have their place, but knowing the difference helps you choose what works for your lifestyle.
Your face shape is your roadmap to perfect blush placement. What works brilliantly on your mate might look completely wrong on you, and that's totally normal. Understanding blush for face shape takes the guesswork out of application and helps you create the most flattering look possible.
If you've got a round face, you'll want to create the illusion of length and definition. Apply blush slightly higher than the apples of your cheeks, sweeping it upwards towards your temples. This technique helps elongate your face and creates the appearance of more defined cheekbones.
Lucky you—oval faces are considered the ideal shape, so you've got the most flexibility with blush placement. You can apply blush directly on the apples of your cheeks for a classic look, or experiment with higher placement for a more sculpted effect. The key is not to go too low, which can drag your features down.
 1 unit
Powder Brush (PB-09)
Square faces benefit from blush placement that softens angular features. Apply blush in a circular motion on the apples of your cheeks, blending upwards and outwards. Avoid harsh lines or geometric shapes—you want everything to look soft and rounded.
Heart-shaped faces often have wider foreheads and narrower chins, so the goal is to balance these proportions. Apply blush slightly lower on your cheeks than you might think, focusing on the lower half of the apple area. This helps add width to the lower portion of your face.
Now that you know where to place your blush, let's talk about how to apply blush like a pro. These techniques will help you achieve that perfect, natural-looking flush every time.
This classic technique is brilliant for beginners. Place two fingers horizontally under your eye, starting from the outer corner. Your blush should go no closer to your nose than where your fingers end. This prevents that overly dramatic, clown-like effect that happens when blush is placed too close to the centre of your face.
For a natural blush look, start with less product than you think you need. Tap off excess from your brush, then apply in light, circular motions. Build up the colour gradually—you can always add more, but it's much harder to take away. Focus on blending the edges so there are no harsh lines.
Draping is a professional technique where blush is used to contour and highlight simultaneously. Apply a deeper shade in the hollows of your cheeks, then use a lighter, more vibrant shade on the apples. This creates dimension and can dramatically enhance your bone structure.
For long-lasting colour, try layering different types of blush. Apply cream blush first, blending it into the skin with your fingers or a damp beauty sponge. Then, dust powder blush over the top using a fluffy brush. This technique gives you the natural finish of cream with the staying power of powder.
Different blush formulas require different application techniques. Understanding these differences is crucial for achieving the look you're after and making the most of the products you've got.
 1 unit
Powder Brush - Small (MBP-09)
Powder blush is the most forgiving formula, especially for beginners. Use a fluffy, dome-shaped brush for diffused application, or an angled brush for more precise placement. The key is to tap off excess product and build up colour gradually. This formula works well over powder foundation and setting powder.
Cream blush gives the most natural, skin-like finish. Apply it with your fingers, using gentle tapping motions to blend the edges. Work quickly, as cream formulas set faster than powder. This type works best on bare skin or over liquid foundation, before setting powder.
Liquid blush can be tricky but gives gorgeous results when done right. Use a small amount—seriously, less than you think—and blend immediately. The biggest mistake is using too much product, which can look patchy or streaky. Mix it with a drop of facial oil if you need more working time.
These formulas are perfect for that just-pinched look. They're typically buildable and long-wearing. Apply with fingers, starting from the centre of the apple and blending outwards. These work brilliantly for no-makeup makeup days when you want just a hint of colour.
Even with the best intentions, blush application can go wrong. Here are some quick fixes for the most common issues you might encounter.
If your blush looks muddy, it's usually because you've applied too much product or the colour is clashing with your undertones. Use a clean, fluffy brush to blend the edges and diffuse the colour. If it's still too intense, dust a bit of translucent powder over the top to tone it down.
Applied too much blush or put it in the wrong spot? Don't panic. Use a clean makeup sponge or brush to gently blend and diffuse the colour. You can also apply a bit of foundation or concealer over the area and start again with a lighter hand.
The secret to professional-looking blush is seamless blending. Use circular motions with a clean brush to soften any harsh edges. The goal is to create a gradient effect where the colour is most intense at the centre and gradually fades out.
 1 unit
Vega Luxury Everyday Back Brush (BA-2/5)
If one cheek looks different from the other, step back and assess which one looks better. Then, adjust the other cheek to match. It's easier to add more product than to remove it, so start by building up the lighter side.
When you're experimenting with different blush application tips and techniques, having access to various formulas and shades makes all the difference. Smytten's curated trial packs let you explore different blush options from trusted brands without committing to full-size purchases. With over 1,500 brands available, you can discover your perfect blush match through mini-sized products that help you make confident choices about what works best for your skin tone and face shape.
The correct placement depends on your face shape, but generally, blush should go on the apples of your cheeks when you smile. Use the two-finger rule: place two fingers horizontally under your eye from the outer corner—your blush shouldn't go closer to your nose than where your fingers end.
The most common mistakes include placing blush too close to the nose (creating a clown-like effect), applying too much product at once, not blending the edges properly, and using the wrong placement for your face shape. Another mistake is applying blush too low on the cheeks, which can drag your features downward.
The two-finger rule is a foolproof method for correct blush placement. Place two fingers horizontally under your eye, starting from the outer corner. Your blush application should not extend closer to your nose than where your fingers end. This prevents over-application towards the centre of your face.
For a natural look, start with a light hand and build up gradually. Smile to find your apples, then apply blush in gentle circular motions. Use a fluffy brush and tap off excess product before application. The key is seamless blending—there should be no harsh lines or obvious colour patches.
Yes, blush placement often needs adjustment as we age. Mature skin typically benefits from placing blush slightly higher on the cheekbones rather than on the apples, as this creates a lifting effect. Avoid placing blush too low, which can emphasise sagging or make features appear to droop.
For diffused, natural application, use a large, fluffy dome brush. For more precise placement, try an angled brush. Stippling brushes work well for building up colour gradually, whilst fan brushes are perfect for a very light, subtle application. The brush you choose depends on the intensity and precision you want.
Mastering correct blush placement is one of those skills that completely transforms your makeup game. It's not just about adding colour—it's about understanding your unique features and enhancing them in the most flattering way possible. Remember, the best blush placement is the one that makes you feel confident and looks natural on your face.
The beauty of makeup is that there's always room to experiment and find what works best for you. Whether you prefer the subtle flush of cream blush or the buildable intensity of powder formulas, the key is practice and patience. Start with these fundamental techniques, then adapt them to suit your personal style and preferences.
With Smytten's extensive range of trial-sized products from over 1,500 trusted brands, you can explore different blush formulas and shades without the commitment of full-size purchases. This approach lets you discover what truly works for your skin tone, face shape, and lifestyle—because why settle for maybe when you can try it all and find your perfect match?
