7 Pro Tips for a Flawless Smokey Eye Look
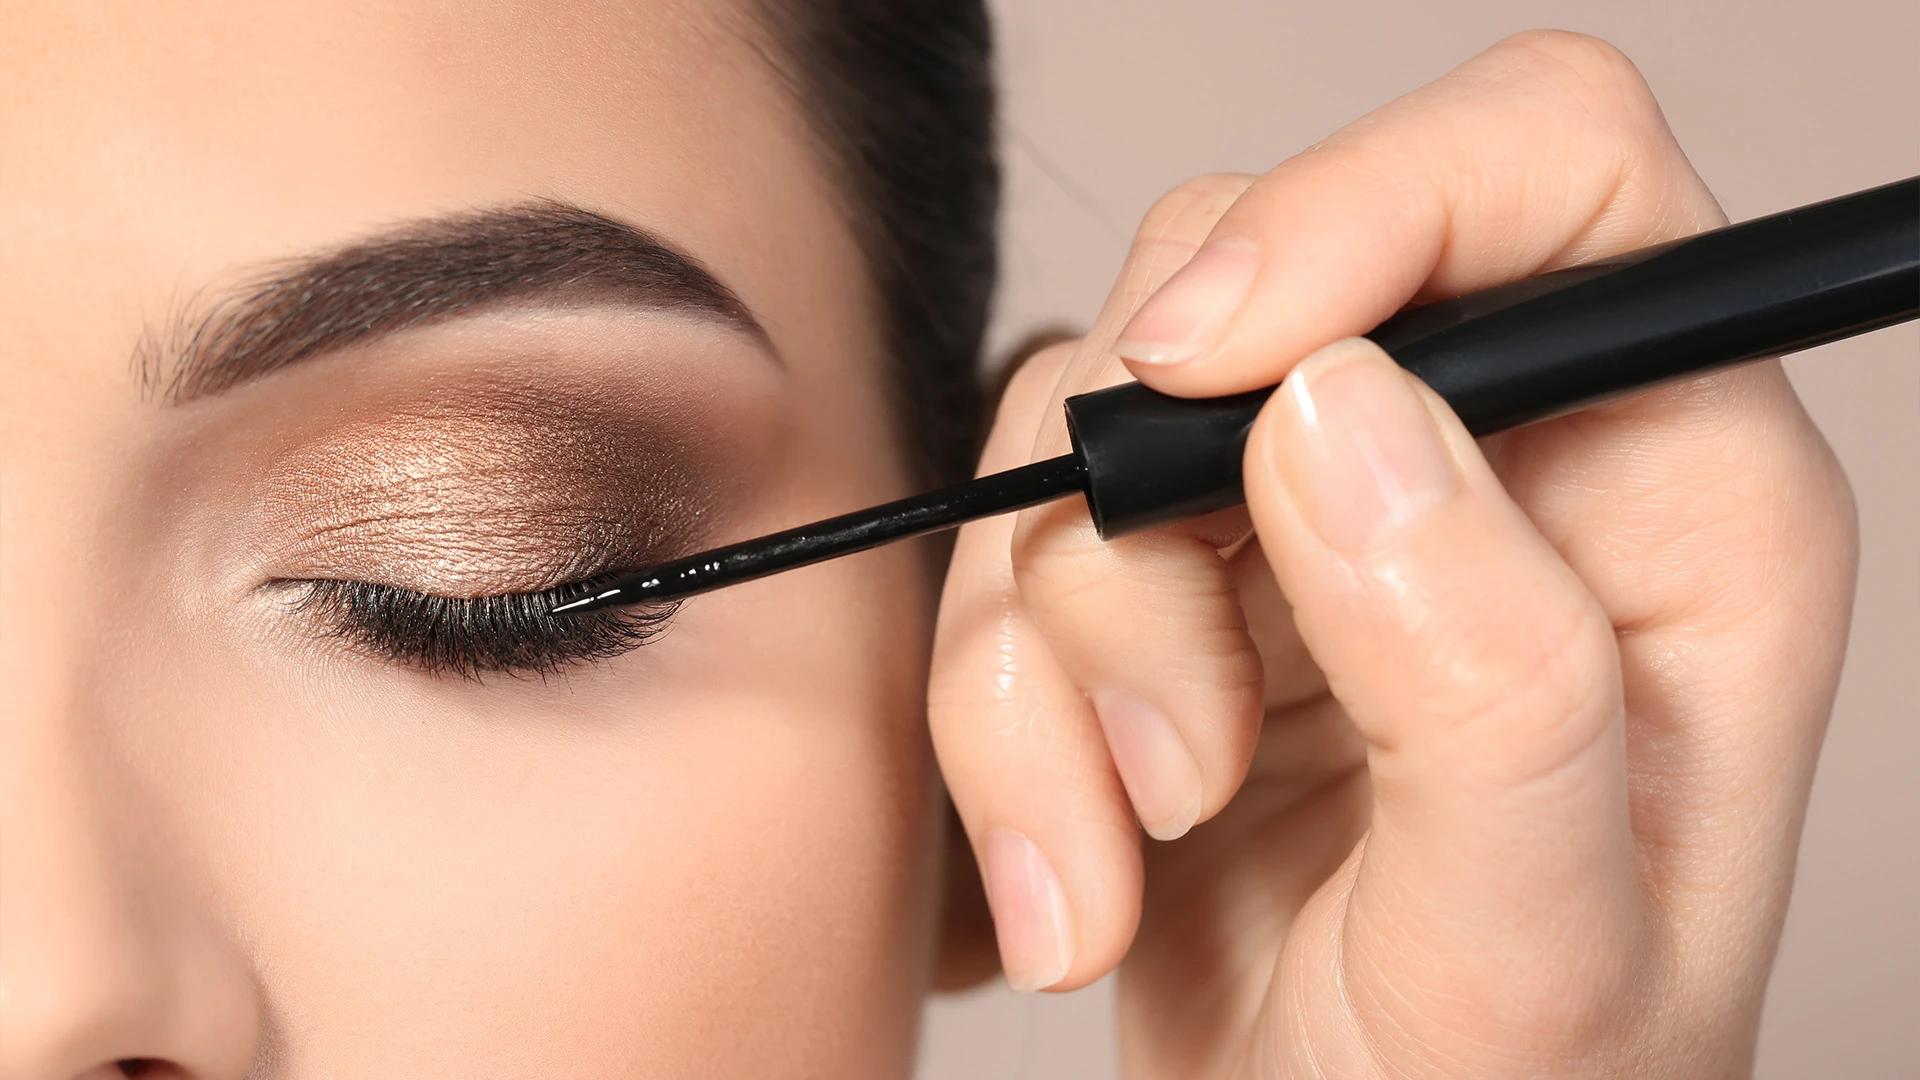
Let's be real—smokey eyes can feel like rocket science when you're staring at a million tutorials that promise "easy" results but leave you looking like you've been in a fight with your eyeshadow palette. The good news? A flawless smokey eye look isn't about having the most expensive products or being a makeup artist. It's about knowing the right techniques and having a game plan. Whether you're after a subtle brown smokey eye for brunch or a dramatic black smokey eye for date night, these seven pro tips will help you nail the look every single time. No more muddy colours, no more uneven blending, and definitely no more starting over three times before you get it right.
Here's the thing about smokey eye tutorials—most of them skip the fundamentals and jump straight to the fun stuff. But a proper smokey eye isn't just about slapping on dark eyeshadow and hoping for the best. A flawless smokey eye has three key elements: seamless blending, strategic colour placement, and the right balance of intensity. The biggest mistake? Going too dark too fast. Real talk, the best smokey eyes are built in layers, starting light and gradually deepening the colour. Think of it like building a gradient—you want that smooth transition from light to dark, not harsh lines that scream "amateur hour." Another common slip-up is neglecting the transition shade. This lighter colour acts as a buffer between your skin tone and the darker shades, making blending so much easier.
Most tutorials assume you've got steady hands and professional brushes, but let's be honest—not everyone does. They also tend to use models with specific eye shapes that might not match yours. The key is adapting techniques to work with your unique eye shape and the tools you actually have.
Before we dive into the actual smokey eye tutorial, let's sort out your toolkit. You don't need to break the bank, but having the right basics will make your life so much easier. The most important tool? A fluffy blending brush. This is your best mate for creating those seamless transitions that separate amateur from pro. For eyeshadow, you'll want a palette with at least three shades: a light transition colour, a medium tone, and a deep shade for drama. If you're just starting with smokey eye for beginners, stick to neutral browns—they're more forgiving than blacks and work on literally everyone. A good kajal or eyeliner is essential for defining the lash line, and don't forget a primer to keep everything in place.
No fancy brushes? No problem. A clean finger can work for packing on colour, whilst a cotton bud (the pointed kind) is brilliant for precise blending in tight spaces. Even a small, clean paintbrush from an art store can work in a pinch.
 Combo
ComboAll Day Kohl Kajal + Liquid Eyeliner Combo
 12 gm
12 gmFearless Eyeshadow Palette Smokey
For warm undertones, lean towards browns, coppers, and warm greys. Cool undertones look stunning in classic greys, silvers, and cool-toned browns. If you're unsure, neutral brown smokey eyes are universally flattering and perfect for beginners.
This is where most people mess up their smokey eye look before they've even started. Your base isn't just about primer (though that's crucial)—it's about creating the perfect canvas for blending. Start with an eyeshadow primer to prevent creasing and make colours pop. Then, apply a transition shade that's just slightly deeper than your skin tone across the entire mobile lid and into the crease. The transition shade is your secret weapon for an easy smokey eye. It creates a gradient base that makes blending the darker shades effortless. Use a fluffy brush and apply in windshield wiper motions, focusing on the outer two-thirds of your eye. This technique prevents harsh lines and gives you that professional finish.
Skipping primer is like trying to paint on a wet wall—everything slides around. Also, don't go too light with your transition shade. It should be visible but not dramatic, acting as a bridge between your skin and the darker colours coming next.
This technique is a game-changer for any makeup tutorial, especially when you're learning how to smokey eye properly. Instead of circular motions (which can create muddy colours), use back-and-forth windshield wiper movements with your blending brush. This method gives you more control and creates smoother gradients. Start with your medium-toned eyeshadow on a smaller, denser brush. Apply it to the outer corner of your eye and the outer third of your crease. Then, take your fluffy blending brush and use those windshield wiper motions to soften the edges. The key is to blend upwards and outwards, never dragging colour where you don't want it.
Patience is everything here. Apply thin layers and build up the intensity slowly. It's much easier to add more colour than to remove excess. This approach gives you better control and prevents that dreaded muddy look that can ruin your smokey eye tutorial efforts.
 Combo
ComboStatement Eye Makeup Combo
 18 gm
18 gmSummer Essentials Kit
Where you place your darkest shade makes or breaks your smokey eye look. The deepest colour should go in the outer V of your eye—imagine drawing a sideways triangle from your outer corner towards your crease. This creates depth and dimension whilst keeping the look balanced. For a classic smokey eye, you'll also want to line your upper and lower lash lines with the same dark shade. Use a small, firm brush or a pencil brush to press the colour right into the lash line. This technique makes your lashes look fuller and ties the whole look together.
Hooded eyes? Keep the darkest colour closer to the lash line and blend upwards only to where your eye is visible when open. Deep-set eyes can handle more colour in the crease, whilst prominent eyes look best with darker shades kept lower on the lid.
A brown smokey eye is your go-to for daytime drama that still looks appropriate for work or casual outings. Start with a warm, light brown as your transition shade, then build up with medium chocolate brown in the outer corner and crease. For the deepest shade, use a rich espresso or dark chocolate brown. The beauty of a brown smokey eye is its versatility. You can keep it subtle for day wear or intensify it for evening by adding more of the darkest shade and perhaps a touch of shimmer on the inner corner. Brown tones are also incredibly flattering on all eye colours—they make blue eyes pop, enhance brown eyes, and bring out the gold flecks in green eyes.
Start with a light application for daytime, then deepen the outer corner and lower lash line for evening. Add a bit of gold or bronze shimmer to the centre of your lid for extra glamour.
The black smokey eye is the ultimate evening look—dramatic, sultry, and undeniably chic. But here's the secret: you don't actually start with black. Begin with dark grey or charcoal, then add true black only in the very outer corner and along the lash line. This approach prevents the harsh, gothic look that can happen when you go straight to black. Use the same blending techniques, but be extra careful with colour placement. Black is unforgiving, so build it up slowly and blend thoroughly between each application.
 4 gm
4 gmRetinol Eye Stick
 20 ml
20 mlPomegranate + Retinol Eye Cream
Balance is key with black smokey eyes. Keep the rest of your makeup relatively simple—think nude or pink lips and a natural-looking base. The eyes should be the star of the show.
The lower lash line can make or break your smokey eye tutorial results. For a cohesive look, you want to connect your upper and lower eye makeup, but it's easy to go overboard here. Use a small, dense brush to apply a lighter version of your crease colour along the lower lash line, focusing on the outer two-thirds. For extra drama, line the waterline with a dark kajal, but be strategic about it. If you have smaller eyes, this might make them appear even smaller. Instead, try lining just the outer third of the waterline, or use a dark brown instead of black for a softer effect.
To prevent your smokey eye from looking too heavy, add a touch of light, shimmery eyeshadow or highlighter to the inner corner of your eyes. This opens up the eye area and adds a beautiful contrast to all that sultry darkness.
Your smokey eye look isn't complete without the right finishing touches. Mascara is crucial—apply multiple coats to both upper and lower lashes, or add false lashes if you're feeling fancy. The goal is to balance the intensity of your eyeshadow with equally dramatic lashes. Highlight placement is also key for a polished finish. A subtle highlight on the brow bone (not too shimmery) lifts the entire eye area and creates beautiful dimension. You can also add a tiny bit of the same highlight to the centre of your mobile lid to make your eyes appear larger and more awake. Setting your look is the final step that many people skip. Use a setting spray on a small brush and lightly mist over your eye area, or gently press translucent powder under your eyes to catch any fallout before it settles on your cheeks. Exploring different eyeshadow formulas and finding what works best for your skin type can be a journey. With platforms like Smytten, you can try mini versions of various eyeshadow palettes and eye makeup products from trusted brands before committing to full-size purchases. This approach lets you experiment with different textures and colour combinations without the worry of wasting money on products that might not work for you.
Start with primer, apply a transition shade, add medium colour to the outer corner, deepen with your darkest shade, blend thoroughly, line the eyes, and finish with mascara. Take your time with each step and blend between applications.
 30 gm
30 gmSqualane Under Eye Cream with Caffeine
 4.5ml
4.5mlPop-Eye Eyeliner
A smokey eye features graduated colour intensity from light to dark, creating a "smoky" gradient effect. Regular eye looks might use colour but don't necessarily have this signature blended, dimensional quality.
Use lighter, more neutral shades like soft browns and taupes. Apply the same techniques but with a lighter hand, focusing on subtle definition rather than dramatic intensity.
Look for long-wearing, smudge-proof formulas in deep black or brown. The kajal should be creamy enough to blend but set well enough not to migrate throughout the day.
Use a clean blending brush for each colour, don't over-blend, and build colours gradually. Also, make sure your brushes are clean and use a light hand when applying darker shades.
Absolutely! Most neutral palettes contain everything you need for a smokey eye. Look for palettes with at least three coordinating shades from light to dark.
Mastering the perfect smokey eye tutorial isn't about having expensive products or professional training—it's about understanding the techniques and practising them. Whether you're going for an easy smokey eye for everyday wear or a dramatic evening look, these seven pro tips will help you achieve that flawless finish every time. Remember, the best smokey eye look is one that makes you feel confident and beautiful. Don't be afraid to experiment with different colour combinations and intensities until you find your signature style. With Smytten's trial packs, you can explore eyeshadow palettes and eye makeup products from over 1,500 trusted brands without committing to full-size purchases. This makes it easier than ever to find the perfect products for your smokey eye adventures, ensuring you never have to settle for anything less than your ideal look.
