How to Get the Perfect V-Shape Hair Cut at Home

How to Get the Perfect V-Shape Hair Cut at Home
Published Date - 30 July 2025
The V-shape hair cut has become one of those cuts that just makes sense for loads of people. It's basically hair that's longer at the front and gradually gets shorter towards the back, creating that sleek V silhouette when you look at it from behind. What makes it your kind of pick is how it works with pretty much any hair type and adds instant movement without being too high-maintenance. Plus, you can totally nail this layered haircut at home with the right approach and tools. Let's be real—getting a professional cut can be pricey, and sometimes you just want to try something new without the drama of booking appointments.

Understanding the V-Shape Hair Cut

A V-shape hair cut is all about creating that triangular silhouette where your hair forms a point at the back. It's different from a straight-across cut because it adds natural flow and movement to your hair. The longest layers frame your face while the back tapers to create that signature V shape.

Benefits of a V-Shape Hair Cut

This cut is worth trying for so many reasons. It naturally adds volume to flat hair and gives you that bouncy, lived-in look. The face-framing layers work magic on pretty much every face shape, softening angles and highlighting your best features. You can style it sleek for work or scrunch it for weekend vibes.

Difference Between V-Shape and Other Layered Cuts

While a regular layered cut has layers throughout, the V-shape focuses on creating that specific triangular shape at the back. It's more structured than textured hair cuts but less dramatic than an inverted bob. Think of it as the perfect middle ground between subtle layers and a bold statement cut.

Tools and Products You'll Need

Before you start snipping, you'll need the right kit to nail this hair shaping technique. Good tools make all the difference between a salon-worthy cut and a DIY disaster. Start with sharp hairdressing scissors, a rat-tail comb, hair clips, and a spray bottle for keeping your hair damp.

Choosing the Right Scissors

Invest in proper hairdressing scissors—kitchen scissors just won't cut it (literally). Look for ones with sharp, straight blades that are at least 5-6 inches long. They'll give you clean cuts without damaging your hair ends.

Additional Styling Tools

You'll also want sectioning clips to keep your hair organised, a fine-tooth comb for precise parting, and a handheld mirror to check the back. A blow dryer and round brush will help you see the final result once you're done cutting.

Preparing Your Hair for the Cut

Prep work is everything when it comes to getting a clean, even cut. Start with freshly washed hair that's slightly damp—not soaking wet, but not bone dry either. This gives you the best control over your scissors and helps you see the natural fall of your hair.

Importance of Starting with Clean Hair

Clean hair shows you exactly how your natural texture behaves. Product buildup can weigh down your hair and give you a false idea of how the cut will look day-to-day. Plus, clean hair is just easier to work with.

Sectioning Your Hair Properly

Divide your hair into three main sections: two side sections and one back section. Use your ears as guides—everything in front of your ears stays forward, everything behind goes back. Secure each section with clips to keep them out of your way.

Step-by-Step Guide to Cutting a V-Shape at Home

Now for the main event—creating that perfect V-shape. Start at the back and work your way forward. Remember, you can always cut more, but you can't put hair back once it's gone. Take your time and cut small sections at a time.

Creating the Initial Shape

Start by combing all your hair straight back. Find the center point at the nape of your neck and mark it with your finger. Cut straight across at your desired length, then gradually angle the cut upwards on both sides to create that V point.

Cutting Face-Framing Layers

Bring the side sections forward and cut at an angle from shorter at the back to longer at the front. These layers should blend seamlessly with your back section while creating that flattering frame around your face.

Adding Texture and Movement

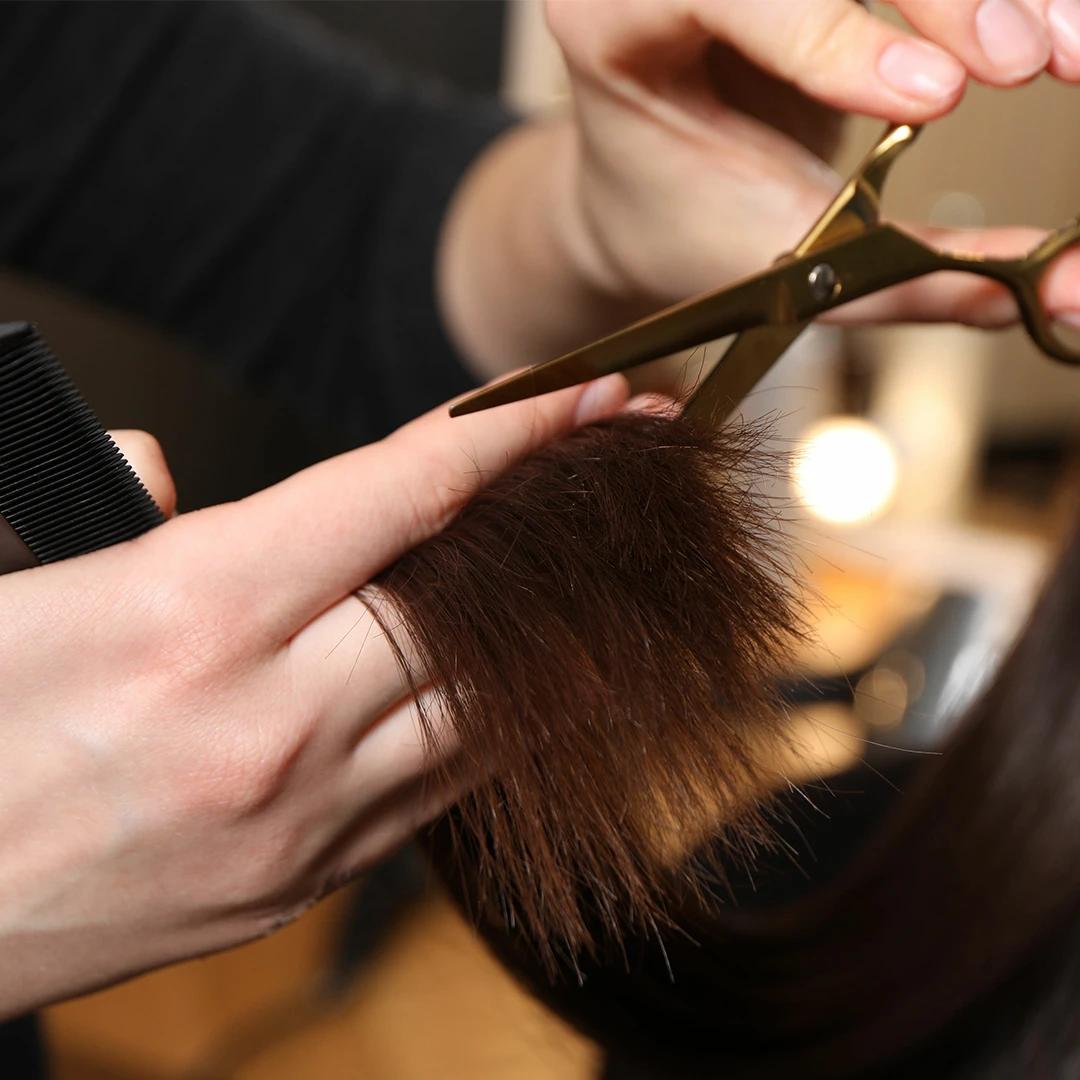
Once you have the basic shape, add some textured layers
throughout. Point-cut into the ends slightly to remove weight and create natural movement. This technique works especially well for creating that effortless, bouncy look.

Tapering the Ends

Finish by creating tapered ends throughout your cut. Hold sections of hair between your fingers and slide the scissors down to soften any harsh lines. This gives you that polished, salon-finished look.

Styling Your New V-Shape Cut

Once you've nailed the cut, it's time to style it properly. The beauty of a V-shape cut is how versatile it is—you can go sleek and straight or add waves and texture. The key is using the right products to complement your new shape.

Products for Volume

For a volumizing haircut effect, try a lightweight mousse or root lift spray. Apply to damp hair before blow-drying, focusing on the roots. This gives you that bouncy, full-bodied look that makes the V-shape really pop.

Techniques for Adding Texture

Scrunch in some texturising cream or sea salt spray for beachy waves. You can also use a curling iron on random sections to create natural-looking movement. The graduated layers will help hold any texture you add.

Maintaining Your V-Shape Hair Cut

Keeping your V-shape looking fresh doesn't require loads of maintenance, but a few simple tricks will keep it looking salon-worthy between proper cuts. Regular trims and the right products make all the difference.

Trimming Tips for Upkeep

Touch up your ends every 6-8 weeks to maintain the shape. You can do minor trims yourself, but stick to just cleaning up the very ends. Focus on keeping that V-point crisp and removing any split ends.

Best Products for Maintenance

Invest in a good leave-in conditioner to keep your ends healthy. A light oil or serum can add shine without weighing down your layers. Weekly deep conditioning treatments will keep your hair looking glossy and healthy.

Variations of the V-Shape Cut

The V-shape cut isn't one-size-fits-all—there are loads of ways to customise it for your hair type and personal style. Whether you want something subtle or dramatic, there's a version that'll work for you.

Short V-Shape Cuts

A shorter version works beautifully as a long bob with a twist. The V-shape adds interest to what could otherwise be a basic bob, giving you movement and style without requiring loads of length.

Long V-Shape Cuts with Layers

For longer hair, you can add more dramatic layers throughout while maintaining that signature V-point. This creates loads of movement and is perfect if you want that effortlessly cool, layered look.

V-Shape Cut for Curly Hair

Curly hair loves the V-shape because it follows the natural movement of curls. The layers help reduce bulk while the V-shape prevents that triangular silhouette that curly hair can sometimes create.

Frequently Asked Questions

How often should I trim my V-shape haircut?

Every 6-8 weeks is ideal to maintain the shape and keep your ends healthy. You might be able to stretch it to 10 weeks if you're good about using conditioning treatments.

Can I get a V-shape cut if I have thin hair?

Absolutely! The layered structure actually adds the illusion of thickness and movement to fine hair. Just avoid going too short, as you need some length to create the V-shape properly.

Is a V-shape cut suitable for all face shapes?

It works brilliantly for most face shapes, especially if you customise the face-framing layers. Round faces benefit from longer layers, while square faces look great with softer, more textured layers.

How do I know if a V-shape cut will suit me?

If you like having some length but want more movement than a blunt cut, it's probably your kind of pick. It's also perfect if you want something that looks styled without loads of daily effort.

Final Thoughts

Nailing a V-shape hair cut at home is totally doable with the right prep and patience. Remember to start conservatively—you can always cut more if needed. The beauty of this cut is how forgiving it is, and how it grows out gracefully too. Whether you're after subtle movement or dramatic layers, the V-shape gives you that perfectly imperfect, effortless vibe that works for pretty much any occasion. Take your time, use sharp tools, and don't be afraid to try something new—it might just become your signature look.
Sangria Experience Logo
Document