DIY Hair Scrub: Step-by-Step Guide for Scalp Exfoliation
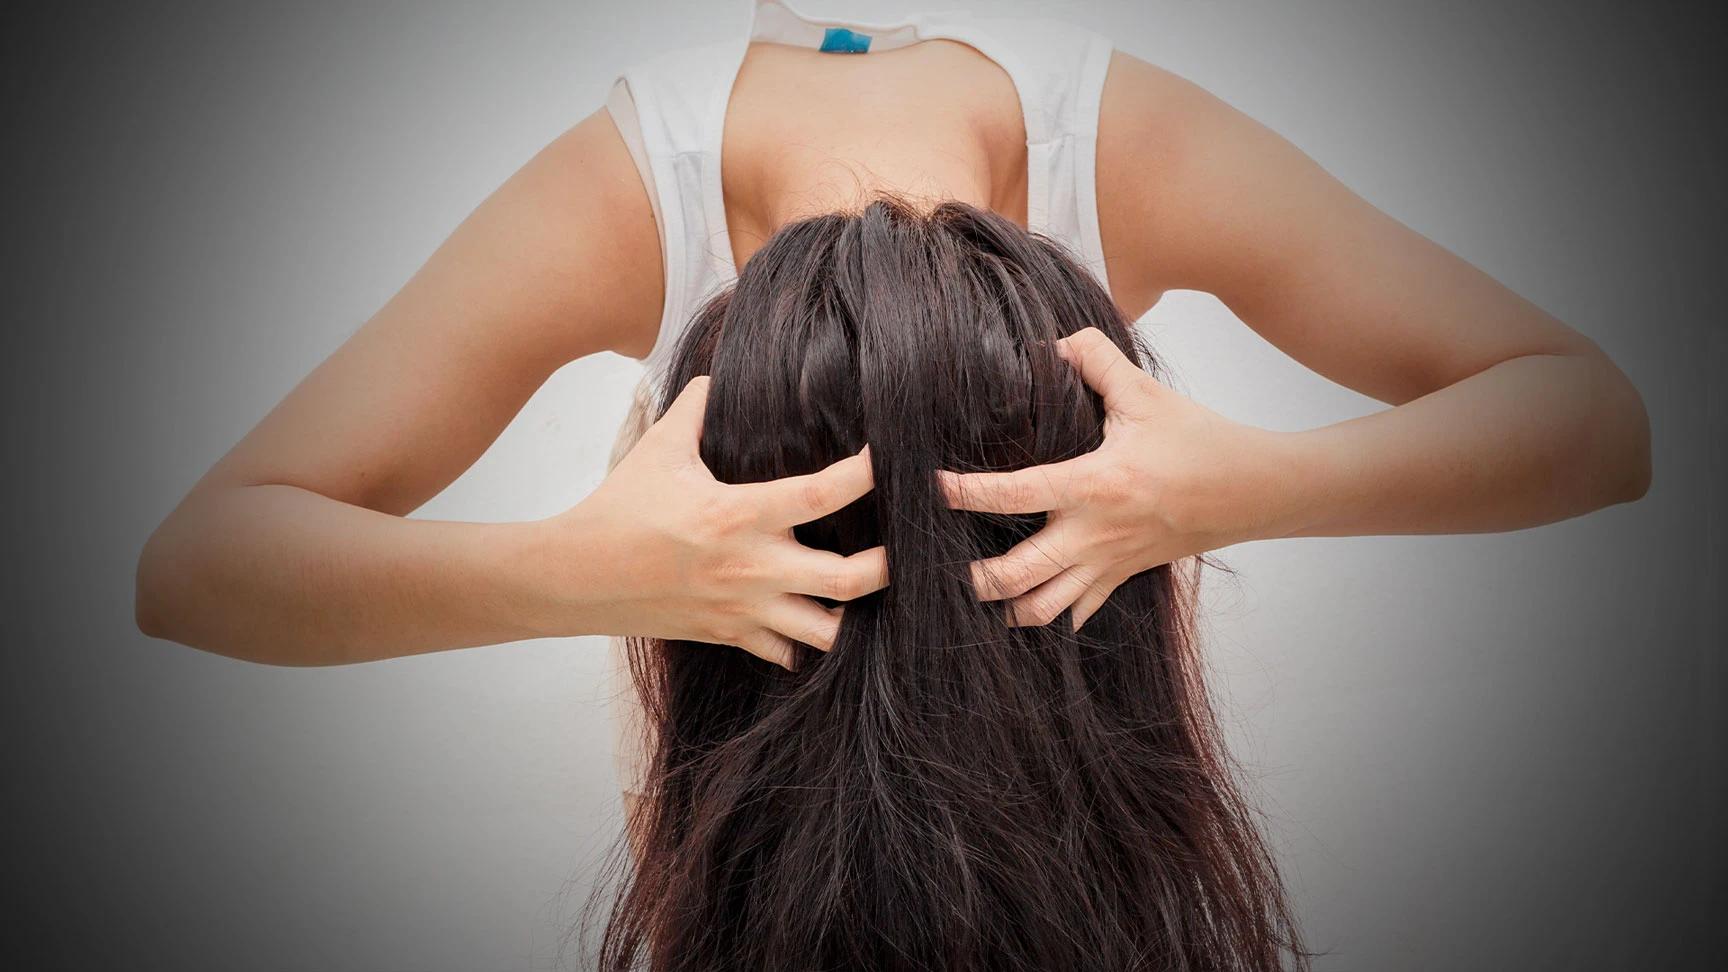
DIY Hair Scrub: Step-by-Step Guide for Scalp Exfoliation
Published Date - 29 August 2025

Your scalp might just be crying out for a proper detox without you even realising it. Think about it – you slather on serums, oils, dry shampoo, and styling products daily, but when was the last time you gave your scalp the deep cleansing it deserves? A DIY hair scrub is like hitting the reset button for your haircare routine. It's a simple yet game-changing clarifying treatment that removes buildup, unclogs follicles, and gives your hair texture the fresh start it's been waiting for. Ready to discover your scalp's new best friend?

Understanding Hair Scrubs and Scalp Exfoliation

Let's be real – your scalp is basically skin that grows hair. Just like the skin on your face, it needs regular exfoliation to stay healthy and happy. A hair scrub is your ticket to proper scalp exfoliation, working as a natural hair cleanser that goes deeper than your regular shampoo ever could.

Think of it as a follicle purifier that tackles everything from dead skin cells to stubborn product residue. The gentle scrubbing action boosts circulation, which means better nutrient delivery to your hair roots. It's like giving your scalp a mini spa day that actually shows results.

Benefits of Regular Scalp Exfoliation

Here's what makes scalp exfoliation worth your time:

  • Removes product buildup that weighs your hair down
  • Unclogs hair follicles for healthier growth
  • Promotes better blood circulation to your scalp
  • Helps your regular products work more effectively
  • Reduces flakiness and improves overall scalp health

Signs You Need a Hair Scrub

Your scalp has its own way of asking for help. Watch out for these telltale signs:

  • Your hair feels limp even after washing
  • Excessive oiliness that returns quickly
  • Flaky or itchy scalp that won't quit
  • Hair that's difficult to style or lacks volume
  • Products don't seem to work as well as they used to

Ingredients for Your DIY Hair Scrub

The beauty of DIY hair scrubs lies in their simplicity. You probably have most of these ingredients lying around your kitchen already. The key is choosing the right combination for your specific scalp needs and hair type.

Each ingredient serves a purpose – some exfoliate, others nourish, and a few tackle specific concerns like dandruff control or hair detox. The trick is finding your perfect mix.

Exfoliating Agents

These are your main players for physical exfoliation:

  • Fine sugar – gentle yet effective, dissolves easily
  • Sea salt – slightly more abrasive, great for oily scalps
  • Coffee grounds – adds caffeine boost for circulation
  • Oatmeal – super gentle, perfect for sensitive scalps

Nourishing Oils

These create the base and add moisture:

  • Coconut oil – antimicrobial properties, great for dandruff control
  • Jojoba oil – mimics natural sebum, balances oil production
  • Argan oil – packed with vitamins, adds shine
  • Olive oil – deeply moisturising, readily available

Essential Oils for Added Benefits

A few drops go a long way:

  • Tea tree oil – natural antifungal, tackles dandruff
  • Peppermint oil – stimulates circulation, feels refreshing
  • Lavender oil – soothing and calming for irritated scalps
  • Rosemary oil – may promote hair growth

Step-by-Step Guide to Making Your Hair Scrub

Creating your own hair scrub is surprisingly simple. The basic formula involves mixing an exfoliating agent with a carrier oil, then customising with additional ingredients based on your scalp's needs.

Start with small batches – you can always make more once you find your perfect formula. Fresh is best when it comes to DIY treatments.

Basic Hair Scrub Recipe

Here's your foolproof starter recipe:

  1. Mix 2 tablespoons of fine sugar with 1 tablespoon of coconut oil
  2. Add 2-3 drops of your chosen essential oil
  3. Stir until you get a paste-like consistency
  4. Adjust with more oil if too dry, more sugar if too wet

Customising Your Scrub

Make it yours with these tweaks:

  • For oily scalps – add a teaspoon of lemon juice or apple cider vinegar
  • For dry scalps – increase oil ratio, consider adding honey
  • For dandruff control – include tea tree oil or a pinch of neem powder
  • For hair detox – try activated charcoal powder (just a pinch!)

How to Apply Your DIY Hair Scrub

Application technique matters just as much as the scrub itself. The goal is gentle yet thorough cleansing – think relaxing scalp massage rather than aggressive scrubbing.

Take your time with this process. It's not just about cleaning; it's about giving your scalp the attention it deserves.

Preparation

Set yourself up for success:

  1. Wet your hair thoroughly with lukewarm water
  2. Section your hair into 4-6 parts for easy access
  3. Have your scrub ready in a small bowl
  4. Keep a wide-toothed comb handy

Application Process

Follow these steps for best results:

  1. Take a small amount of scrub on your fingertips
  2. Apply directly to your scalp, section by section
  3. Gently massage using circular motions for 2-3 minutes
  4. Focus extra attention on oily or problem areas
  5. Avoid rough scrubbing – let the ingredients do the work

Rinsing and Follow-up Care

The aftermath is just as important:

  1. Rinse thoroughly with lukewarm water until no residue remains
  2. Follow with a gentle, sulphate-free shampoo
  3. Apply conditioner to mid-lengths and ends only
  4. Consider a nourishing hair mask for extra TLC

Frequency and Best Practices

Like most good things in life, moderation is key with hair scrubs. Over-exfoliation can irritate your scalp and strip away natural oils, leaving you worse off than when you started.

Your scalp's needs will determine the perfect frequency. Pay attention to how your hair and scalp respond, and adjust accordingly.

Recommended Frequency

Here's your starting guide:

  • Normal to oily scalps – once a week maximum
  • Dry or sensitive scalps – every two weeks or less
  • Colour-treated hair – start with once a month
  • After heavy product use – as needed, but not consecutive days

Tips for Best Results

Make the most of your scalp massage sessions:

  • Always use gentle pressure – your scalp isn't a dirty pan
  • Don't skip the conditioning step afterwards
  • Listen to your scalp – if it feels irritated, take a break
  • Store leftover scrub in the fridge for up to a week
  • Do a patch test if you're trying new essential oils

Troubleshooting Common Issues

Even with the best intentions, things don't always go perfectly. Here's how to handle the most common hiccups you might encounter on your DIY hair scrub journey.

Remember, every scalp is different, so what works for your mate might not work for you – and that's completely normal.

Scalp Irritation

If your scalp feels angry after scrubbing:

  • Rinse immediately with cool water
  • Apply aloe vera gel for soothing relief
  • Skip the essential oils next time
  • Use a finer exfoliating agent
  • Reduce scrubbing time and pressure

Difficulty Rinsing

If the scrub won't wash out properly:

  • Use slightly warmer water to dissolve oils
  • Try a clarifying shampoo for stubborn residue
  • Next time, use less oil in your mixture
  • Rinse longer than you think you need to

Frequently Asked Questions

Can I use a hair scrub on colour-treated hair?

Absolutely, but proceed with extra caution. Use gentler exfoliating agents like oatmeal instead of salt, and limit treatments to once monthly. The deep cleansing can actually help remove buildup that dulls colour, but too much exfoliation might fade your shade faster.

Is a hair scrub suitable for all hair types?

Yes, but the recipe needs tweaking based on your hair type. Fine hair benefits from lighter oils like jojoba, while thicker hair can handle coconut oil. Curly hair types should focus more on scalp health and less frequent treatments to avoid disrupting natural curl patterns.

Can a hair scrub help with dandruff?

Definitely! The exfoliation removes flaky buildup while ingredients like tea tree oil tackle the underlying causes. However, if you have severe dandruff or a diagnosed scalp condition, chat with a dermatologist before starting any new treatments.

How long before I see results?

You'll likely notice cleaner, lighter-feeling hair immediately after your first treatment. For issues like improved hair texture or better product absorption, give it 3-4 sessions to see significant changes.

Final Thoughts

Your DIY hair scrub journey is all about finding what works for your unique scalp and hair needs. Start simple, listen to your hair, and don't be afraid to experiment with different ingredients until you discover your perfect formula.

While making your own scrubs is incredibly rewarding, sometimes you want to explore what's already out there. That's where Smytten comes in – India's largest product discovery platform that lets you try hair treatments and scalp scrubs from over 1,500 trusted brands before committing to full sizes. With curated trial packs covering everything in haircare, you can discover new favourites without the guesswork. Get up to 8 minis for just ₹249, plus enjoy 100% cashback that's redeemable for future orders. Whether you're DIY-ing or trying something new, remember – your hair deserves the best, and settling for 'maybe' is never an option when you can Try It All!

Sangria Experience Logo
Document