DIY Hair Oil Tutorial: Stop Hair Fall Naturally

DIY Hair Oil Tutorial: Stop Hair Fall Naturally
Published Date - 7 August 2025
Olive Oil for Hair100 ml

Sage Apothecary

Olive Oil for Hair

499
Hair fall can feel like your worst enemy, especially when you're watching strands collect on your brush daily. But here's the thing—natural hair loss remedies might just be your hair's new best mate. Creating your own hair oil for hair fall isn't just trendy; it's a game-changer that lets you take control of what goes on your scalp. This DIY approach combines ancient wisdom with modern convenience, giving you a personalised scalp treatment that works with your hair's natural rhythm. Ready to turn your kitchen into a hair laboratory?

Understanding Hair Fall and Its Causes

Let's get real about what's happening up there. Your hair follows a natural cycle—growing, resting, then shedding to make room for new strands. Normal shedding is about 50-100 hairs daily, but when you're losing more, something's off. Stress, hormonal changes, poor diet, harsh styling, and environmental factors can disrupt this cycle. Your scalp might be crying out for help, and that's where nourishing hair treatments come in. The key is understanding that healthy hair starts with a healthy scalp—think of it as the soil where your hair grows.

Benefits of Using Natural Hair Oils

Natural oils are like a spa day for your scalp. They work by penetrating deep into hair follicles, providing essential nutrients that strengthen hair follicles from the root. Unlike harsh chemical treatments, these oils moisturise dry scalp conditions without stripping away natural oils. They help reduce hair shedding by creating an optimal environment for growth whilst promoting hair growth through improved blood circulation. The best part? They're gentle enough for regular use and won't leave your hair feeling weighed down when used correctly.

Essential Ingredients for Your DIY Hair Oil

Building the perfect hair oil is like creating a recipe—you need the right base and the perfect additions. Start with carrier oils that form your foundation, then add essential oils for hair that target specific concerns. Finally, incorporate time-tested herbs that have been used for centuries.

Base Oils

Coconut oil penetrates the hair shaft better than most oils, making it perfect for deep conditioning. Castor oil is thick and rich, known for its ability to promote hair growth. Olive oil is gentle and loaded with antioxidants that nourish both hair and scalp.

Essential Oils

Hair Growth Tonic100 ml

The Man Company

Hair Growth Tonic

49945 % OFF
274
Rosemary oil is a superstar for circulation, helping nutrients reach hair follicles. Lavender oil soothes the scalp whilst promoting relaxation. Peppermint oil creates a cooling sensation and stimulates blood flow to encourage growth.

Ayurvedic Herbs

Amla (Indian gooseberry) is packed with vitamin C and strengthens hair. Bhringraj is traditionally called the 'king of herbs' for hair. Fenugreek seeds contain proteins and nicotinic acid that help prevent hair thinning.

Step-by-Step Guide to Making Your DIY Hair Oil

Bio Organic Growout Hair Oil100 ml

Indus valley

Bio Organic Growout Hair Oil

29912 % OFF
263
Creating your custom hair oil is simpler than you think. The process involves combining your chosen ingredients in the right proportions and allowing them to infuse properly. This method ensures you get maximum benefits from each ingredient.

Gathering Your Materials

You'll need a clean glass jar, measuring cups, a small saucepan, and a strainer. Gather 100ml of your chosen base oil (or a mix), 5-10 drops of essential oils, and 2-3 tablespoons of dried herbs if using them.

Mixing the Oils

Combine your base oils in the glass jar. If using multiple oils, start with equal parts and adjust based on your hair's needs. Coconut oil works well for dry hair, whilst lighter oils suit oily scalps better.

Adding Essential Oils and Herbs

Add essential oils drop by drop—they're potent, so less is more. If using herbs, gently heat the oil mixture in a saucepan for 10-15 minutes on low heat, then strain. Let the oil cool before adding essential oils.

Storage and Shelf Life

Store your creation in a cool, dark place. Properly made oil lasts 3-6 months. Always use clean hands when handling, and check for any changes in smell or texture before use.

How to Apply Your DIY Hair Oil

Application technique matters as much as the oil itself. The goal is to nourish your scalp whilst distributing the oil evenly through your hair. Proper application ensures maximum absorption and effectiveness of your hair regrowth solutions.

Preparation

Start with slightly damp hair—this helps the oil spread more easily. Part your hair into sections to ensure even coverage. Have a towel ready to wrap your hair after application.

Application Technique

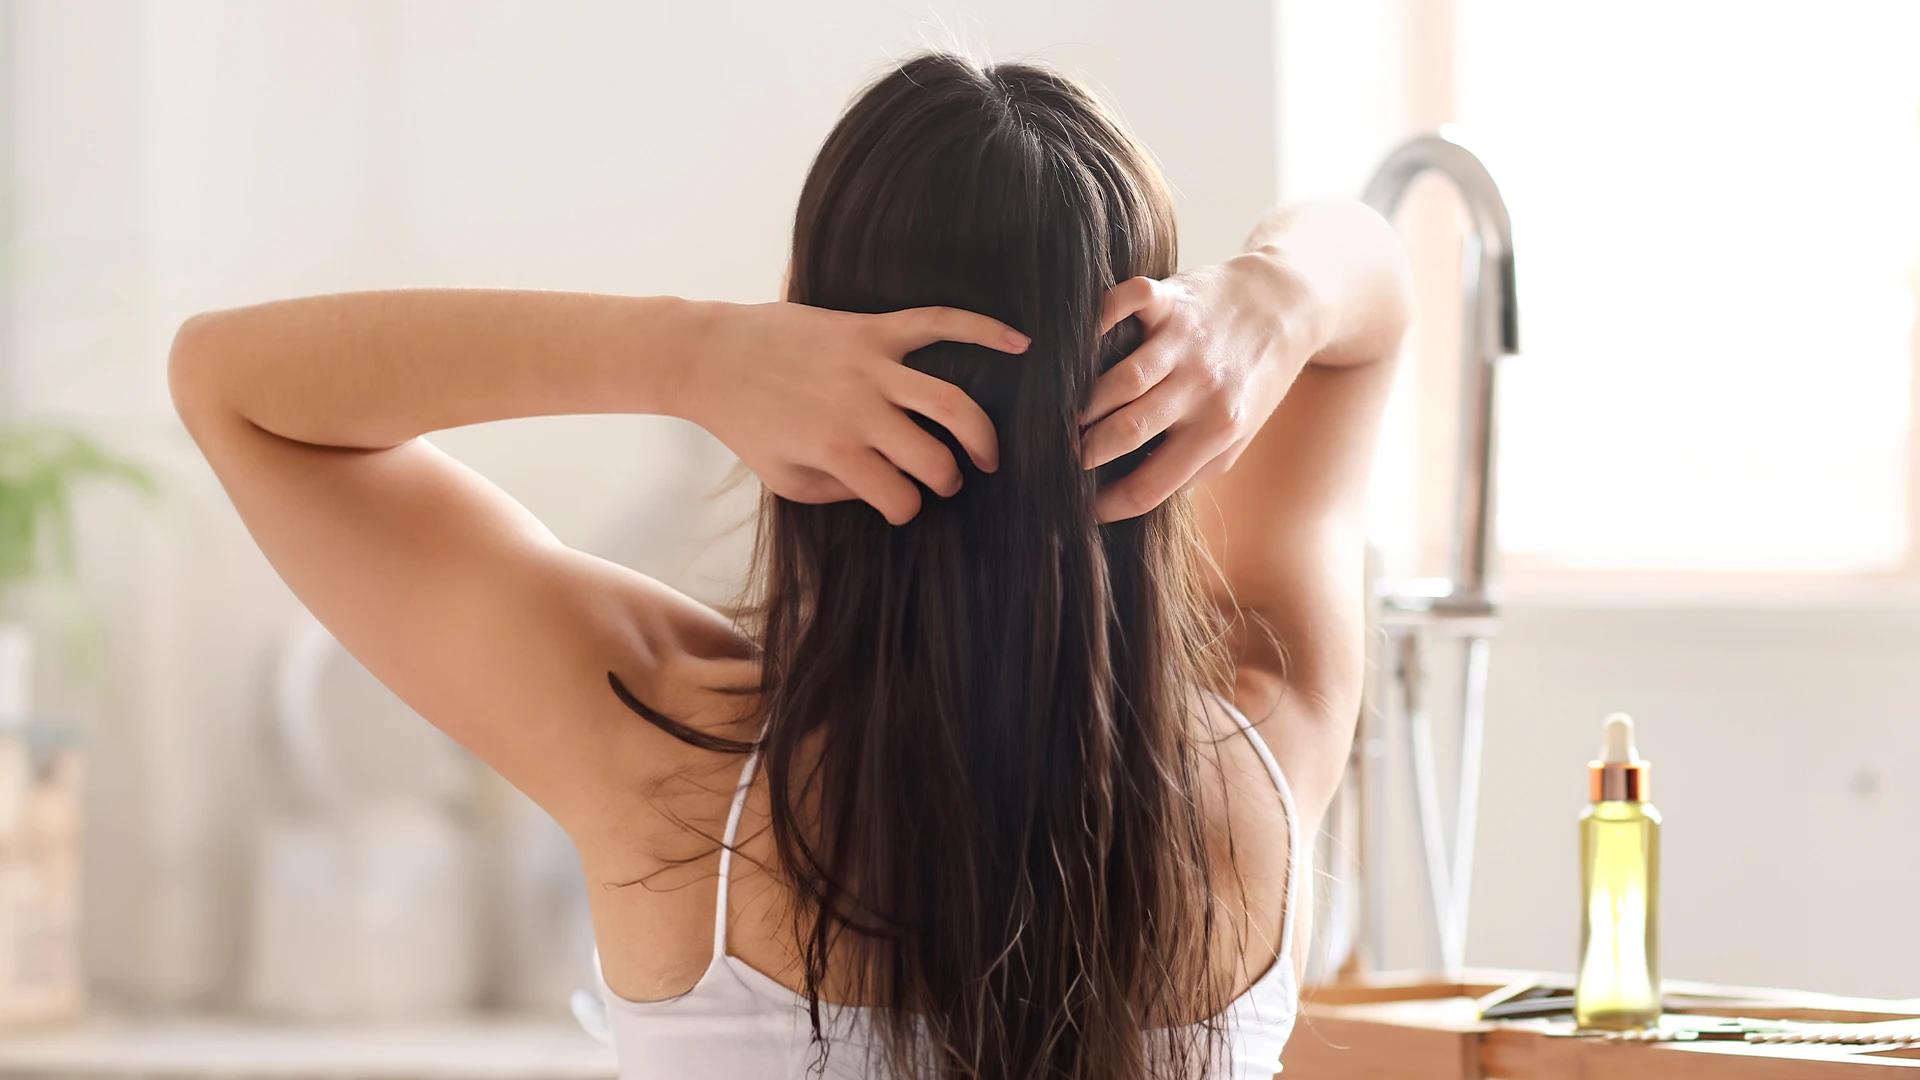
Warm a small amount of oil between your palms. Apply to your scalp first, using gentle circular motions to massage it in. Work the remaining oil through your hair lengths, focusing on the ends. The massage improves blood circulation and helps the oil penetrate better.

Recommended Frequency

Head Cooling Oil200 ml

Seer Secrets

Head Cooling Oil

450
For best results, use your oil 2-3 times per week. Leave it on for at least 30 minutes, or overnight for deeper conditioning. Consistency is key—regular use yields better results than occasional intensive treatments.

Additional Tips for Maximising Hair Oil Benefits

Your hair oil works best as part of a holistic approach to hair health. Combine it with gentle scalp massage techniques using your fingertips, not nails. A balanced diet rich in proteins, vitamins, and minerals supports hair growth from within. Stay hydrated, manage stress levels, and avoid tight hairstyles that pull on your roots. Sleep on silk pillowcases to reduce friction, and be gentle when brushing wet hair.

Tracking Your Progress

Results don't happen overnight, but you can monitor improvements along the way. Take photos of your hairline and any thinning areas monthly. Notice changes in hair texture, shine, and manageability after 4-6 weeks of regular use. Reduced hair fall in your brush and shower drain is often the first sign of improvement. New hair growth typically becomes visible after 2-3 months of consistent use.

Frequently Asked Questions

Can I use this DIY hair oil if I have an oily scalp?

Absolutely! Choose lighter base oils like jojoba or argan, and focus application on hair lengths rather than the scalp. Use less oil overall and wash out after 30 minutes instead of leaving overnight.

How long should I leave the oil in my hair?

Minimum 30 minutes for basic nourishment, 2-3 hours for deeper conditioning, or overnight for intensive treatment. Your hair type and schedule determine what works best.

Are there any side effects of using this DIY hair oil?

Natural oils are generally safe, but patch test essential oils first. Some people experience temporary increased shedding initially as weak hairs fall out to make room for stronger ones.

Can I use this oil for other hair concerns like dandruff?

Yes! Tea tree oil added to your blend helps with dandruff, whilst lavender soothes irritated scalps. Adjust ingredients based on your specific concerns.

Is this DIY hair oil suitable for all hair types?

Definitely, but ingredient ratios may vary. Fine hair needs lighter oils and smaller quantities, whilst thick, coarse hair benefits from richer formulations.

Final Thoughts

Creating your own hair oil for hair fall puts you in control of your haircare journey. This natural approach works with your hair's biology rather than against it, providing the nourishment your scalp craves. Remember, consistency beats intensity—regular use of your custom blend will yield better results than sporadic treatments. Your hair's transformation won't happen overnight, but with patience and persistence, you might just discover your new favourite haircare ritual. The best part? You'll know exactly what's going into your hair, and your scalp will thank you for it.
Sangria Experience Logo
Document