DIY Hair Mask Tutorial: Nourish Your Locks at Home

DIY Hair Mask Tutorial: Nourish Your Locks at Home
Published Date - 21 July 2025
Let's be real—your hair deserves more than just shampoo and conditioner. If you've been scrolling through endless reels of people flaunting their glossy locks, wondering what their secret is, we've got news for you. The answer might just be sitting in your kitchen cupboard. A good hair mask can transform your strands from meh to magnificent, and the best part? You don't need to splurge on expensive salon treatments. DIY hair masks are your ticket to healthier, shinier hair without breaking the bank. Ready to discover how simple ingredients can become your hair's new best friend?

Understanding Hair Masks and Their Benefits

Think of a hair mask as a deep conditioning treatment that goes way beyond your regular conditioner. While your everyday conditioner works on the surface, a hair mask penetrates deeper into your hair shaft, delivering intense nourishment where it's needed most. It's like giving your hair a proper spa day—except you're doing it from the comfort of your own bathroom. The magic happens because hair masks contain concentrated ingredients that have time to work their way into damaged cuticles and dry strands. Unlike quick rinse-out conditioners, these treatments stay on your hair longer, allowing the goodness to really sink in.

What is a Hair Mask?

A hair mask is essentially a hydrating hair treatment that's thicker and more nutrient-dense than regular conditioner. It's designed to address specific hair concerns like dryness, damage, or lack of shine. The consistency is usually creamier, and the ingredient list reads like a nutrition label for your hair—packed with oils, proteins, and moisture-binding ingredients.

Benefits of Using Hair Masks Regularly

Regular use of hair masks can work wonders for your locks. They help repair damaged hair cuticles, add moisture to dry strands, and can even help reduce breakage. Your hair becomes more manageable, shinier, and feels softer to touch. Plus, they're a brilliant way to target specific concerns without having to invest in multiple products.

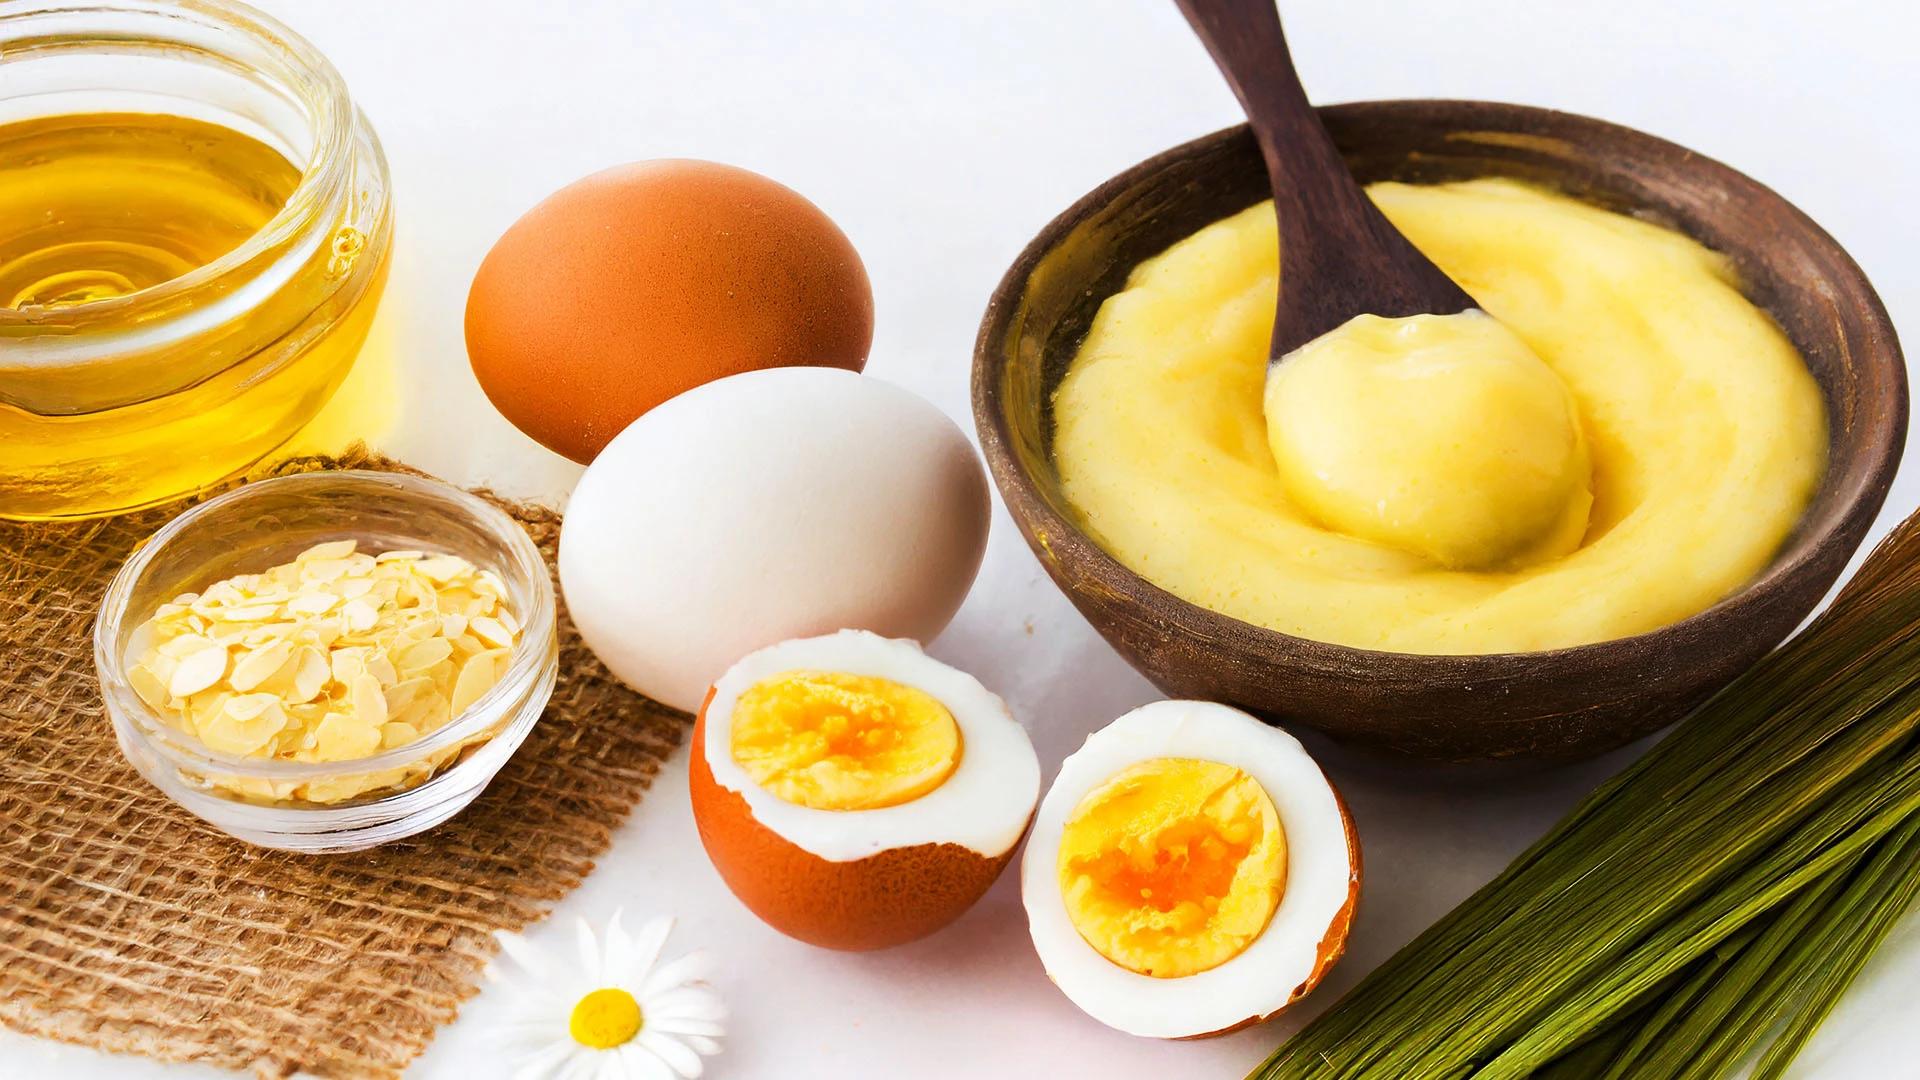
Essential Ingredients for DIY Hair Masks

Before we dive into the fun stuff, let's talk about the building blocks of effective nourishing hair care. The beauty of DIY hair masks lies in their simplicity—most ingredients are probably already in your kitchen. Each ingredient brings something different to the table, so knowing what does what helps you create the perfect blend for your hair type. These ingredients work because they mimic what your hair naturally needs: moisture, protein, and protection. When you understand what each ingredient does, you can mix and match to create your own custom moisturizing hair product.

Moisturising Ingredients

For dry, thirsty hair, reach for honey, coconut oil, or avocado. Honey is a natural humectant, meaning it draws moisture from the air into your hair. Coconut oil penetrates the hair shaft better than most oils, whilst avocado is packed with natural fats that smooth and soften. These ingredients work brilliantly as the base of any
hair repair treatment.

Protein-Rich Ingredients

Eggs are your go-to for protein power. The egg white strengthens whilst the yolk moisturises—it's like getting two treatments in one. Greek yoghurt is another winner, offering both protein and lactic acid that gently exfoliates the scalp. These ingredients help rebuild damaged hair structure.

Scalp-Soothing Ingredients

Don't forget about your scalp—it's where healthy hair starts. Tea tree oil (just a few drops), aloe vera gel, or even green tea can calm irritation and create the perfect environment for hair growth. A healthy scalp equals healthy hair.

DIY Hair Mask Recipes for Different Hair Types

Now for the good bit—the actual recipes. These tried-and-tested combinations work because they target specific hair concerns with ingredients that complement each other. The key is choosing the right recipe for your hair type and sticking with it for a few weeks to see real results. Each recipe serves as a natural hair conditioner that you can customize based on what you have at home. Don't worry if you need to substitute an ingredient—these recipes are pretty forgiving.

Hydrating Mask for Dry Hair

Mix half an avocado, two tablespoons of honey, and one tablespoon of olive oil. This combo is pure moisture magic. The avocado provides healthy fats, honey locks in hydration, and olive oil seals the deal. Perfect for hair that feels like straw and needs some serious TLC.

Protein Treatment for Damaged Hair

Whisk one whole egg with two tablespoons of Greek yoghurt and a teaspoon of honey. This protein treatment for hair helps rebuild damaged strands whilst adding moisture. It's ideal for hair that's been through the wringer with heat styling or chemical treatments.

Smoothing Mask for Frizzy Hair

Blend half a banana with one tablespoon of coconut oil and a tablespoon of honey. Bananas contain natural silicones that smooth the hair cuticle, whilst coconut oil tames frizz. This mask leaves hair feeling silky and more manageable.

Growth-Boosting Mask for Hair Fall

Combine two tablespoons of aloe vera gel with one tablespoon of castor oil and a few drops of rosemary essential oil. This works as both a scalp treatment
and hair strengthener. Massage it into your scalp to stimulate blood flow and promote healthy growth.

Step-by-Step Tutorial: How to Apply a DIY Hair Mask

Getting the application right is just as important as choosing the right ingredients. The way you apply your mask can make the difference between okay results and absolutely gorgeous hair. Think of it as a mini ritual—taking your time here pays off in the end. Proper application ensures even distribution and maximum absorption. It's not just about slapping it on and hoping for the best—there's a method to the madness.

Preparation

Start with damp, not soaking wet hair. Gently towel-dry after washing, but leave your hair slightly moist. This helps the mask spread more easily and prevents it from sliding off. Have a wide-tooth comb handy and maybe put on an old t-shirt just in case.

Application Technique

Start from mid-length to ends, avoiding the roots unless it's specifically a scalp treatment. Use your fingers or a wide-tooth comb to distribute evenly through each section. Don't forget the underneath layers—they need love too. Work in small sections for the most thorough coverage.

Processing Time

Most masks need 20-30 minutes to work their magic. For an overnight hair mask, wrap your hair in a silk scarf or use a silk pillowcase to prevent mess. The longer processing time allows for deeper penetration, but don't overdo it—too long can sometimes backfire.

Rinsing and Aftercare

Rinse with cool water first to remove the bulk of the mask, then follow with your regular shampoo if needed. Some masks are light enough that you might not need shampoo afterwards. Finish with a light conditioner on the ends if your hair feels like it needs it.

Tips for Maximising the Benefits of Your DIY Hair Mask

Knowing a few insider tricks can take your hair mask game from good to absolutely brilliant. These tips come from understanding how hair actually responds to treatments and what makes the biggest difference in results. Consistency is key, but so is listening to your hair. What works for your mate might not work for you, and that's perfectly normal.

Frequency of Use

Once a week is the sweet spot for most hair types. Dry or damaged hair might benefit from twice weekly sessions, whilst oily hair should stick to once every 10 days. Pay attention to how your hair responds and adjust accordingly.

Overnight Hair Mask Method

For seriously damaged hair, an overnight treatment can work wonders. Use lighter oils like argan or jojoba, and protect your pillows with old towels. This extended treatment time allows for maximum penetration and repair.

Combining with Heat Treatment

Gentle heat helps ingredients penetrate better. Wrap your hair in a warm, damp towel or use a shower cap and sit in a steamy bathroom. Don't use direct heat like hair dryers—that can actually damage your hair further.

Common Mistakes to Avoid When Using Hair Masks

Even with the best intentions, it's easy to make mistakes that can sabotage your results. Knowing what not to do is just as important as knowing what to do. These common pitfalls can turn a potentially amazing treatment into a hair disaster. The good news is that most mistakes are easily fixable once you know what to look out for.

Overuse of Protein Treatments

Too much protein can make hair stiff and brittle. If your hair feels crunchy or breaks easily after protein treatments, scale back and focus on moisturising masks instead. Balance is everything—your hair needs both protein and moisture.

Neglecting Your Scalp

Your scalp needs attention too, but not every mask is scalp-friendly. Heavy oils and rich ingredients can clog pores and cause irritation if applied to the scalp unnecessarily. Know which ingredients are scalp-safe and which ones to keep away from your roots.

Wrong Ingredients for Your Hair Type

Fine hair can get weighed down by heavy oils, whilst thick, coarse hair might need richer treatments. Coconut oil works brilliantly for some people but can make others' hair feel greasy. It's all about finding what works for your specific hair type and concerns.

Frequently Asked Questions

How often should I use a hair mask?

Once a week works for most hair types, but you can adjust based on your hair's needs. Damaged hair might benefit from twice weekly treatments, whilst healthy hair might only need a mask every 10 days.

Can I leave a hair mask on overnight?

Yes, but choose lighter ingredients like oils rather than heavy, sticky mixtures. Wrap your hair to protect your bedding and avoid ingredients that might irritate your scalp with extended contact.

Are DIY hair masks as effective as shop-bought ones?

Absolutely, when made with the right ingredients for your hair type. DIY masks often contain fewer additives and preservatives, allowing the active ingredients to work more effectively.

Can I use a hair mask on oily hair?

Yes, but focus on lightweight ingredients and avoid applying to your roots. Clay-based masks or those with tea tree oil work particularly well for oily hair types.

How long does it take to see results from using hair masks?

You might notice immediate softness and shine, but significant improvements in hair health typically show after 3-4 consistent treatments over several weeks.

Final Thoughts

DIY hair masks are honestly one of the best-kept secrets in haircare. They're cost-effective, customisable, and use ingredients you probably already have at home. The key is finding the right combination for your hair type and being consistent with your treatments. Don't expect miracles overnight, but with regular use, you'll start noticing softer, shinier, and healthier-looking hair. Remember, your hair is unique, so don't be afraid to experiment with different ingredients until you find your perfect blend. Whether you're dealing with dryness, damage, or just want to maintain healthy locks, there's a DIY solution waiting in your kitchen cupboard.
Sangria Experience Logo
Document